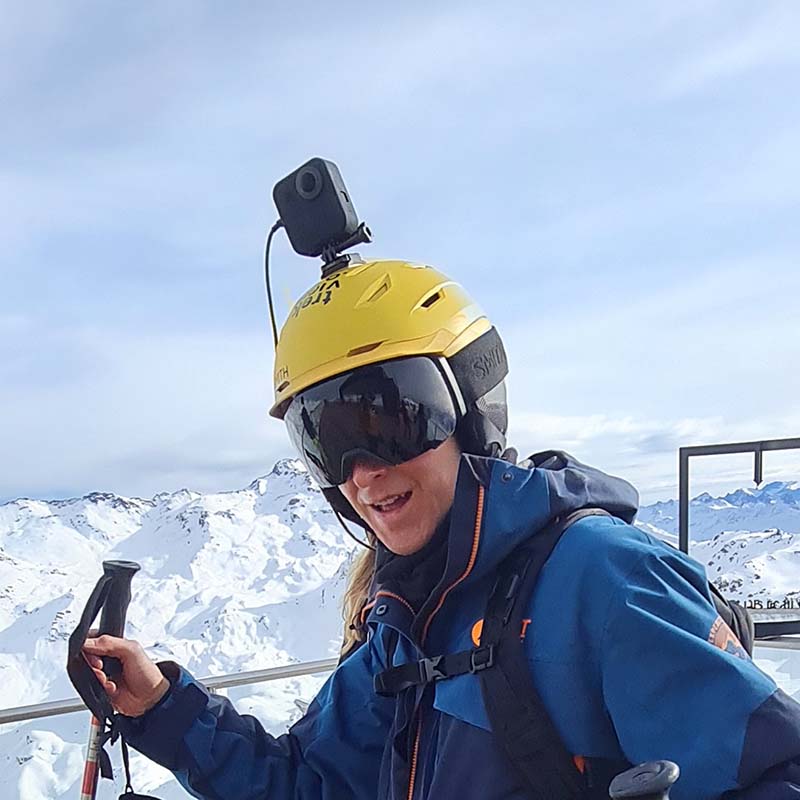
The bare minimum you’ll need, and some recommended accessories for building a Trek Pack to shoot 360-degree tours.
The requirements
- A camera that was rugged and could be used without fear of getting damaged by light rain showers (I live in England after all);
- A camera that was Street View Ready (shooting at or above 4K resolution, has a GPS sensor);
- Storage and battery life for tours up to 20 kilometres on foot;
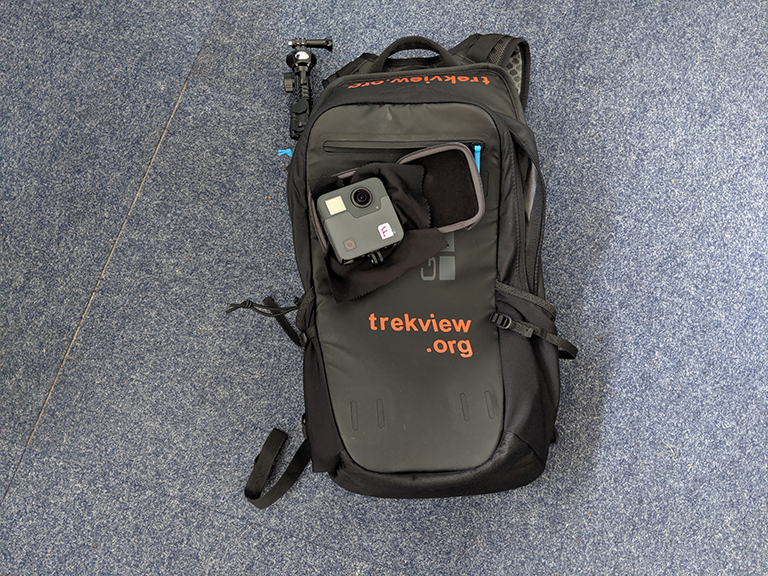
- A backpack and mount that could easily be setup and taken down for travel;
- Software that could be used to easily process imagery on non-professional grade equipment;
All for a total budget of around £500.
The camera
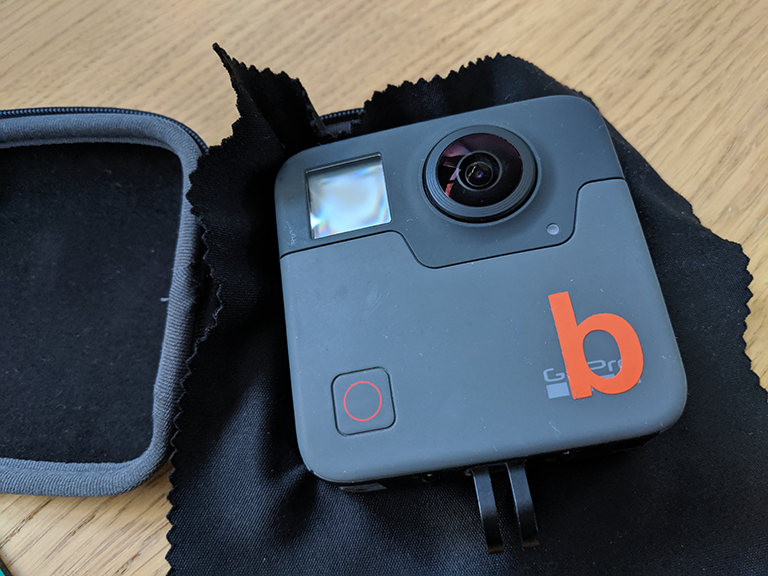
This is the hardest (and most expensive) part.
It met the technical requirements; shot videos and time-lapse photos, had a resolution of 4K, was waterproof, captured GPS co-ordinates against images, and had good software to process and stitch images.
I’ll go into the software bit in a later post. Though briefly, to create an image you need to “stitch” the photos taken by different lenses to create a 360-degree photo. There are generally two ways consumer level 360-degree cameras stitch photos:
- On camera, or
- In post-processing
Post-processing offers more control on the outcome, for example, it allows you to adjust for times when the camera has slightly rolled to one side ensuring the resulting create a level horizon. The downside; it is a manual process and can add a significant amount of time to the publishing process.
The only issue was price. In the UK, at the time of purchase, GoPro Fusion cameras sold for about £500 new.
I’d recommend against buying new. You can usually find equipment that has been used a handful of times before the owner stashed it away in a drawer somewhere, never to be used again. Check the usual places; eBay, Facebook Marketplace, etc.
I managed to find a barely used GoPro Fusion on eBay for £200. It even came with 2 16GB MicroSD cards and a backpack (more on both of those later).
The monopod
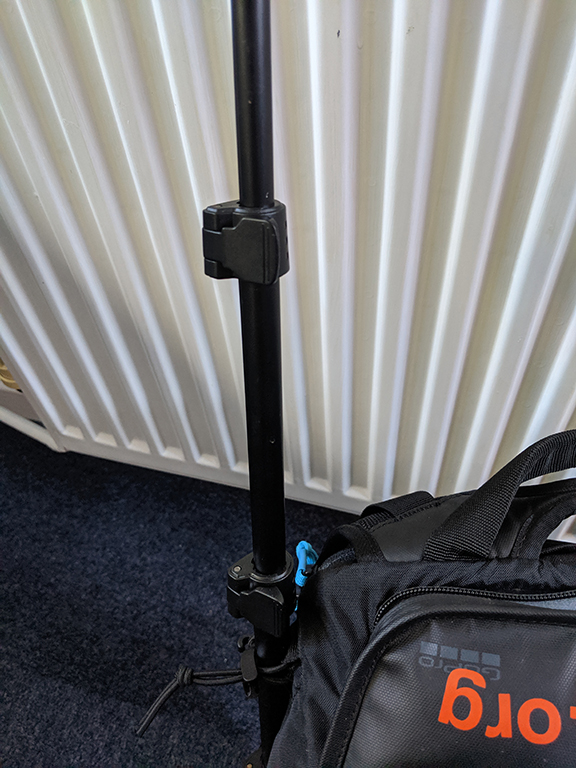
To take photos that don’t capture the side of your head, you’ll need a monopod.
Ideally you’ll want one around 120cm so that it can be mounted to a backpack and still rise above your head.
I chose a cheap monopod on Amazon for £12 that has worked perfectly.
Make sure to buy one with sturdy locking mechanisms (ideally flip-locks) – remember you’ll be moving around a lot during a shoot. Many monopods are designed for fairly static use.
The backpack
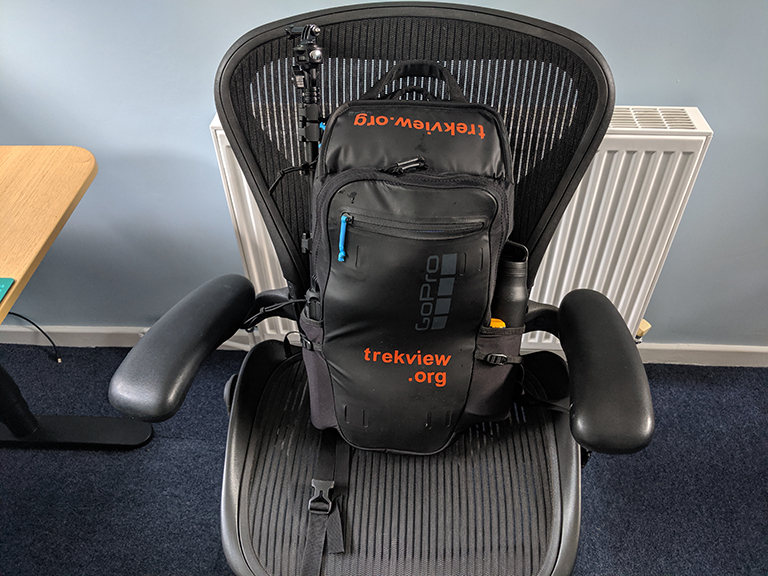
Any backpack with a side water bottle pocket and fairly flat sides will work. The key thing is to make sure that the telescopic pole will remain in position when you’re shooting. Even walking gently can quickly cause an unsupported pole to shift in position.
I use the GoPro Seeker backpack, simply because it was sold with the camera.
A word of warning; the backpack is expensive. At the time of writing the lowest price I can find is about £100. That said, I do highly rate it for shooting as it has existing elastic straps for securing the monopod, tons of pockets for GoPro accessories, and lots of room for water and snacks.
The accessories
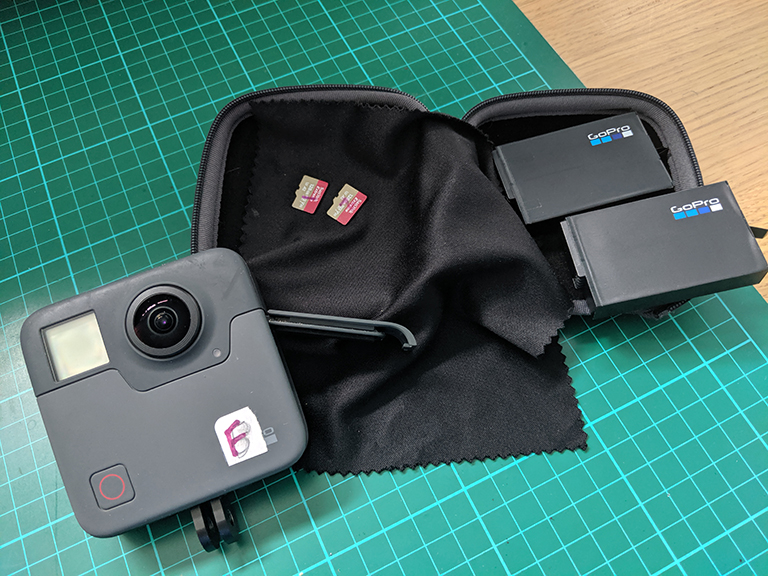
After each shoot I download and process the photos on my computer then delete them from the MicroSD card. The two required 16GB MicroSD cards (one for the front camera, one for the back camera) that came with the GoPro Fusion are more than enough when used in this way. 5 hours of shooting using a 5 second time-lapse will use up around 2GB to 3GB of storage on the GoPro Fusion.
The biggest limitation is battery life. I found shooting using a 5 second time-lapse was the best option for capturing enough imagery to make a walking Street View tour (images < 5m apart) without draining the battery life too quickly (or causing the battery/camera to overheat).
In this mode I get around 3 hours of continuous shooting. To make sure I’d have enough for a 5 hour shoot, I also purchased an official GoPro Fusion spare battery for £25 on Amazon. Don’t be tempted by the cheap batteries available. I was, and discovered many were 75% less efficient than the official offerings.
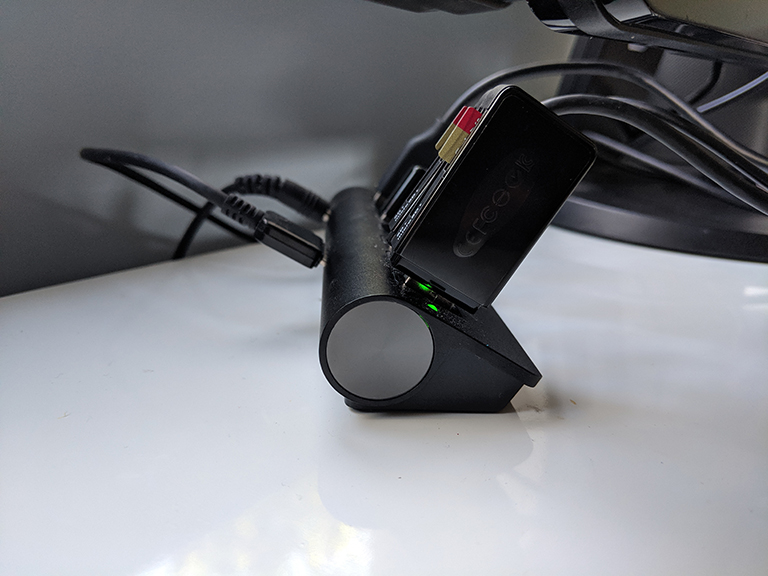
You will also find having two USB MicroSD card readers makes to easier to manage photos on your, though this is optional. I’d recommend processing the photos without them first and see how you get on. If you do decide you want them, they can be bought cheaply for about £5 on eBay or Amazon.
To help promote Trek View (and let passers by understand what the camera was for), I also bought some bright orange vinyl stickers on eBay for £3 to stick on the backpack.
The total
- GoPro Fusion, GoPro Seeker backpack, 2x 16GB MicroSD Cards @ £200 (eBay)
- Monopod @ £12 (Amazon)
- Spare GoPro Fusion battery @ £25 (Amazon)
- 2 x USB MicroSD card readers @ £5 /ea (eBay)
- Vinyl stickers @ £3 (eBay)
Total Trek Pack cost: £245
We're building a Street View alternative for explorers
If you'd like to be the first to receive monthly updates about the project, subscribe to our newsletter...
