Trek Pack v2 Kit Setup
Setting it up, what goes where...
Kit Setup
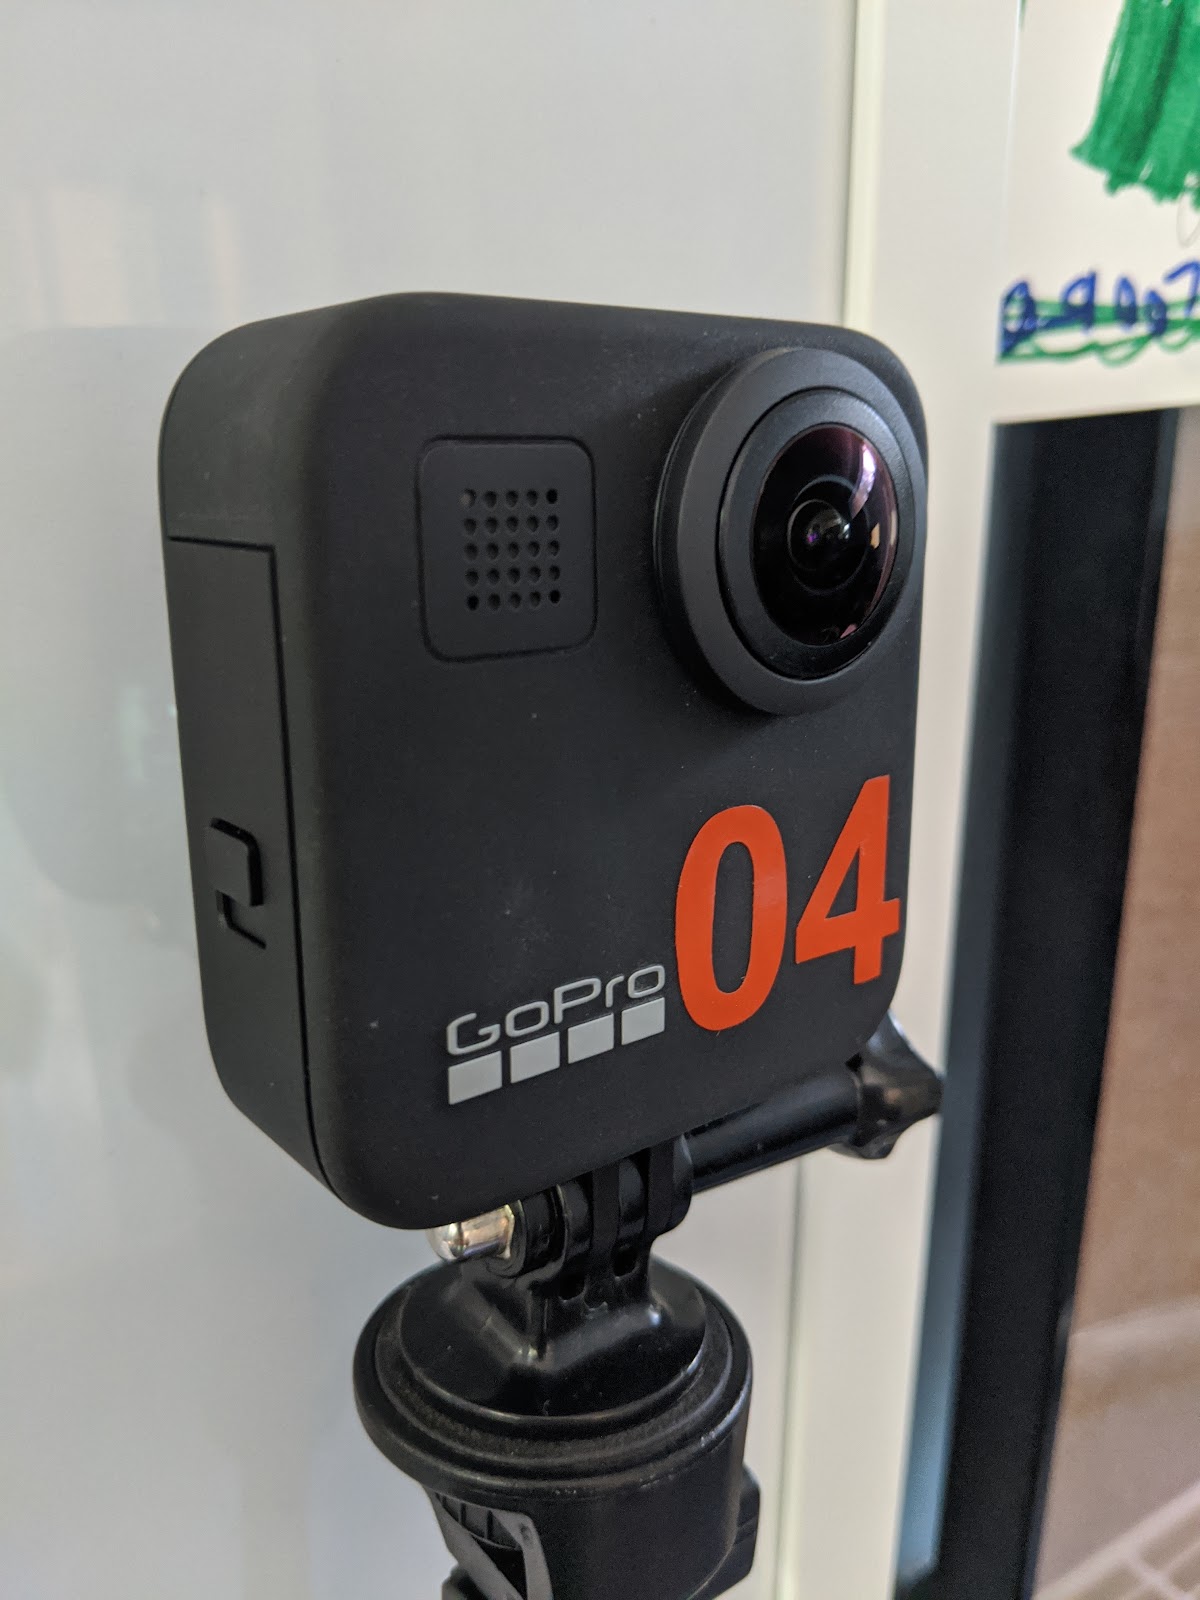
The Camera
Basics
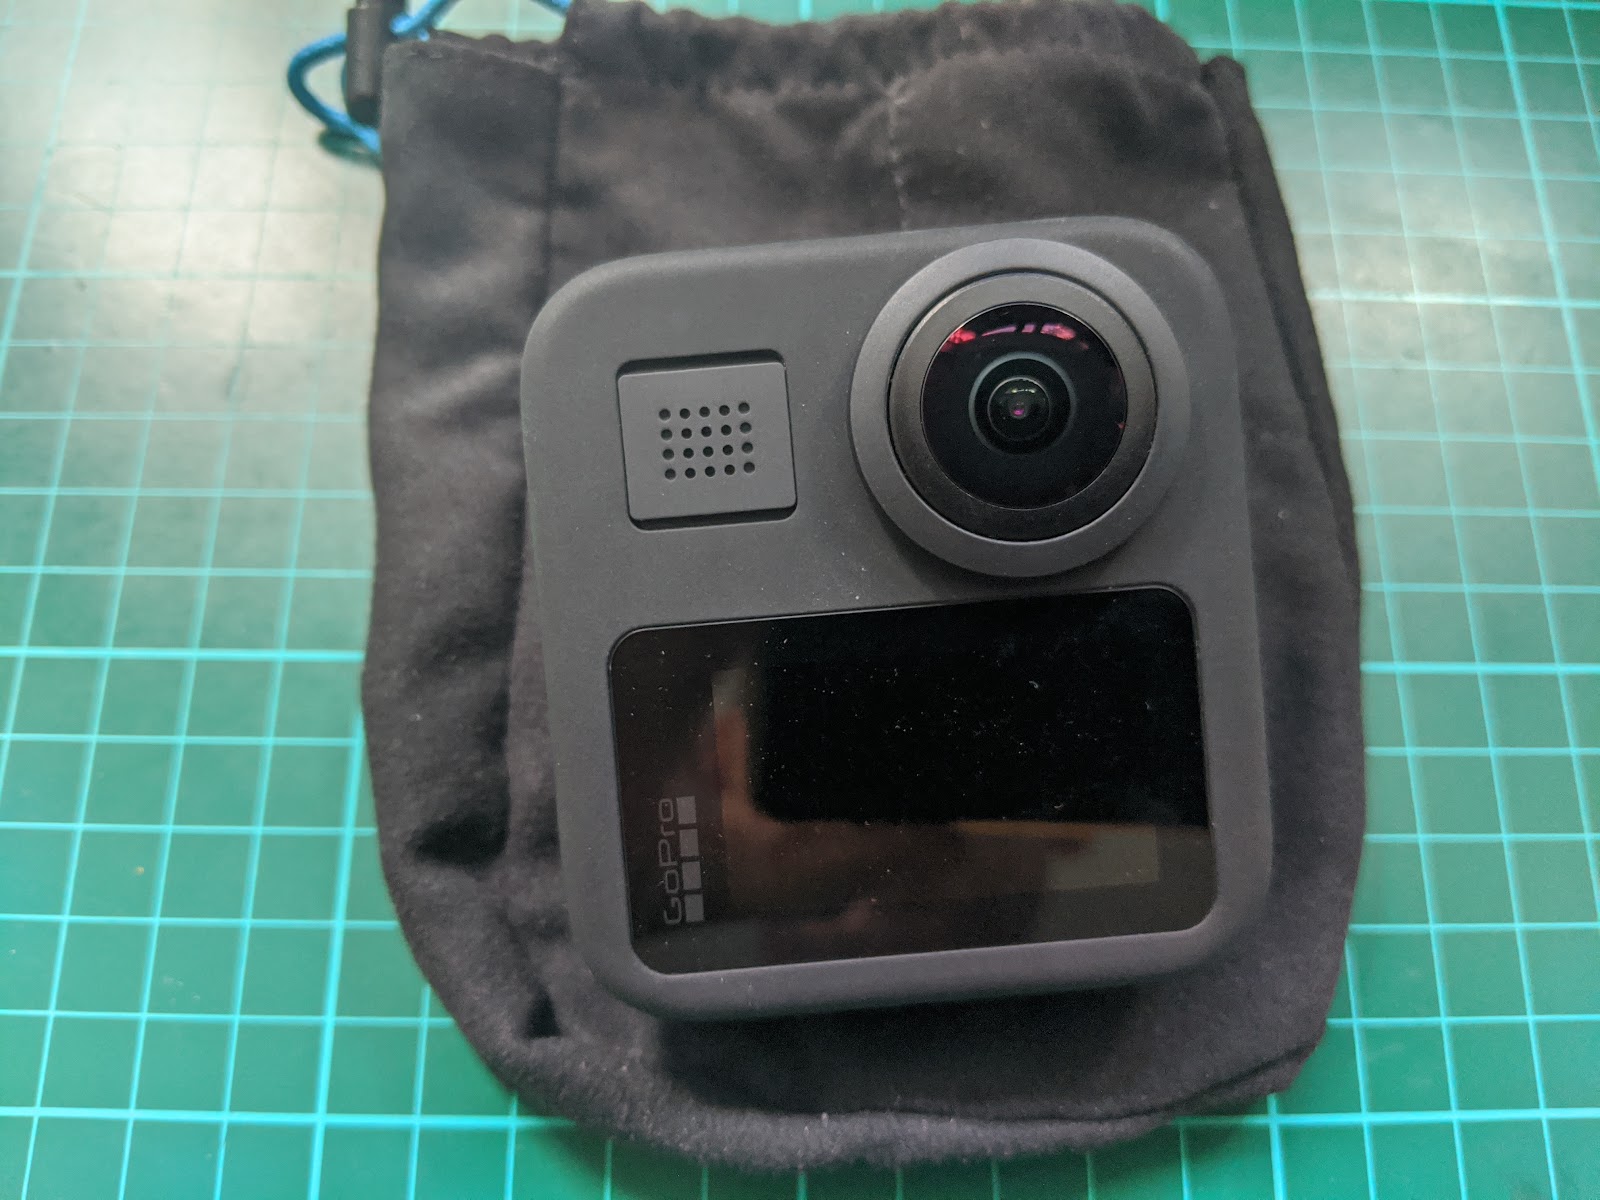
Back (lens cap off)
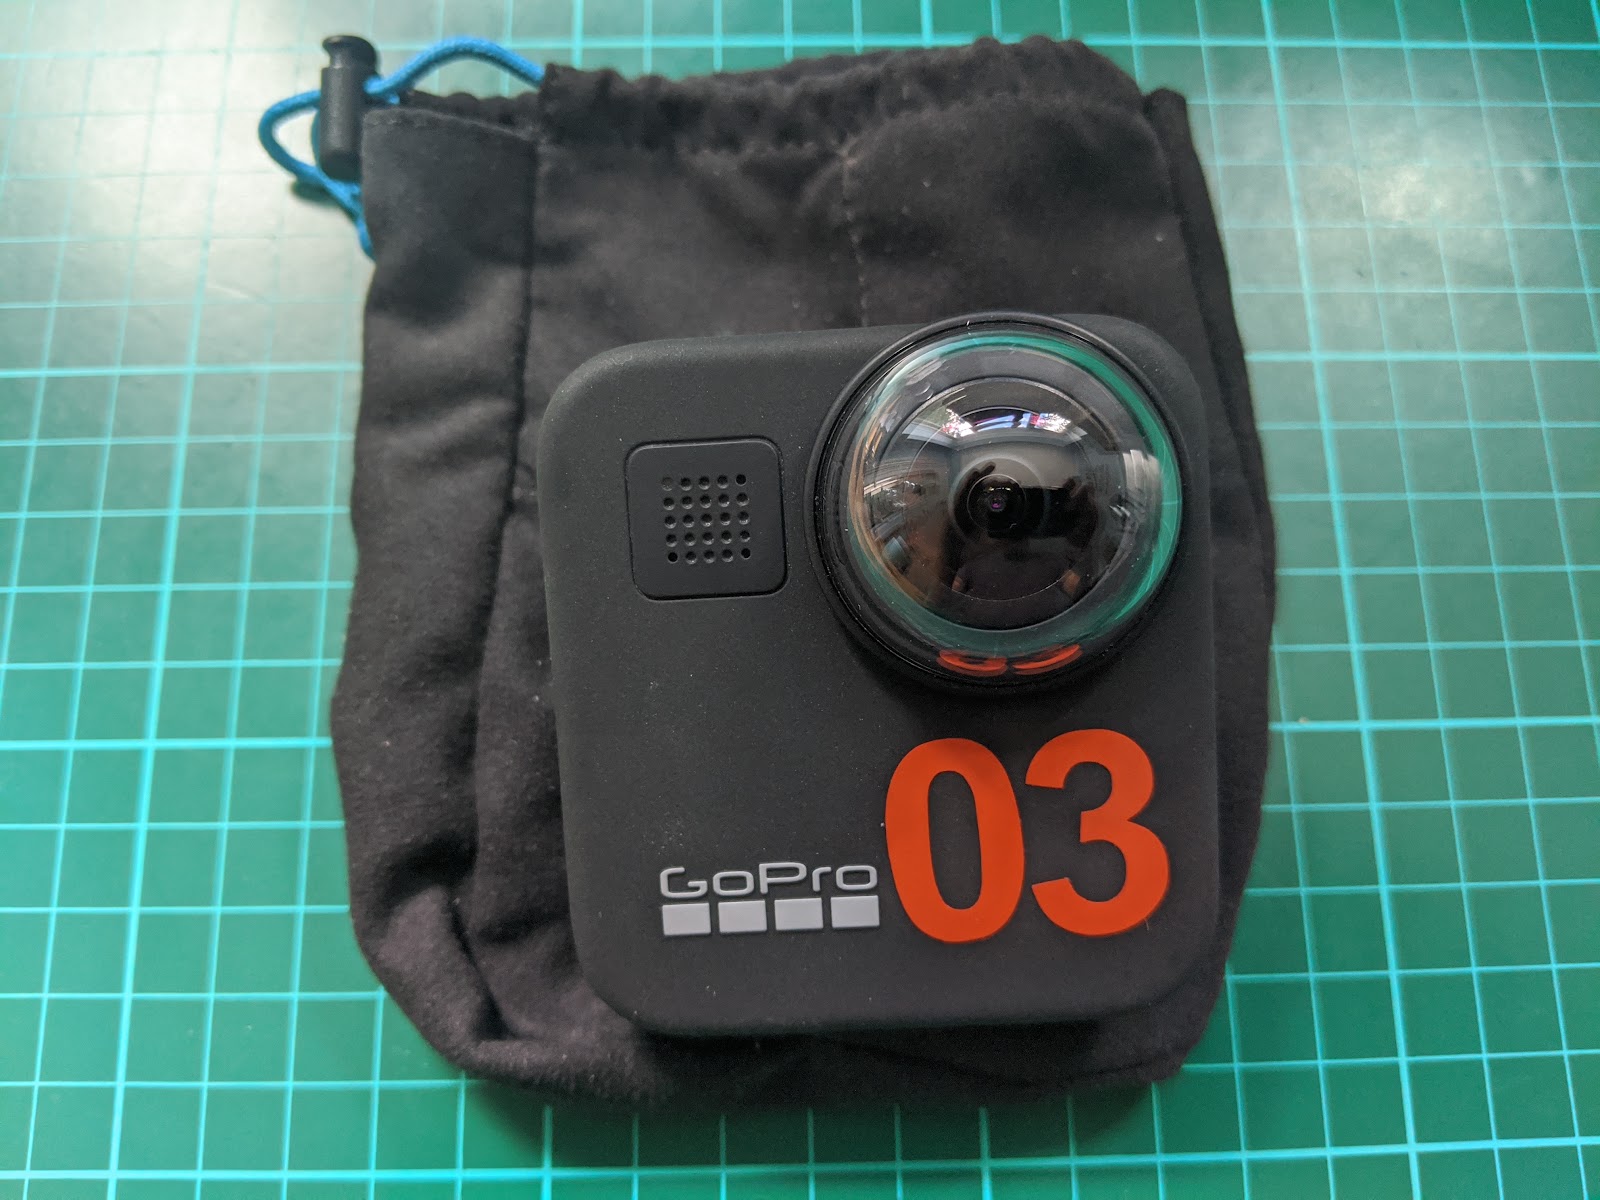
Front (lens cap on)
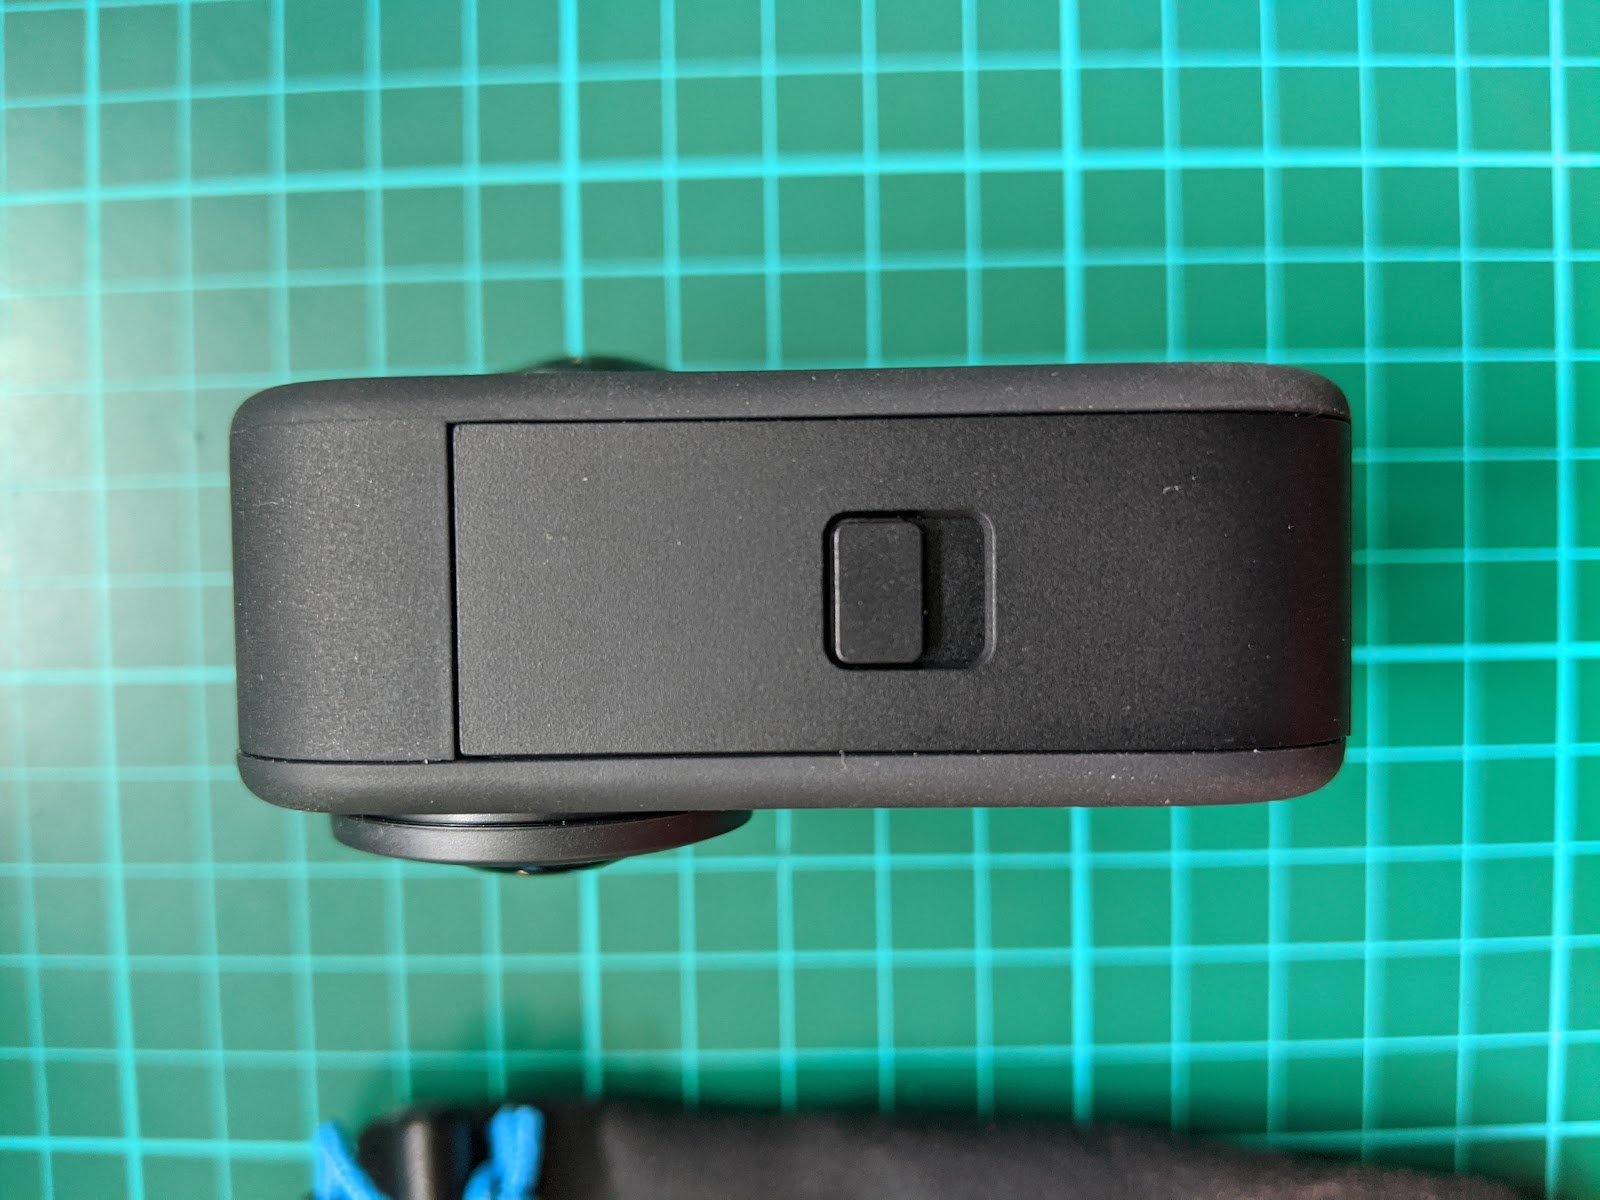
Camera Door Locked
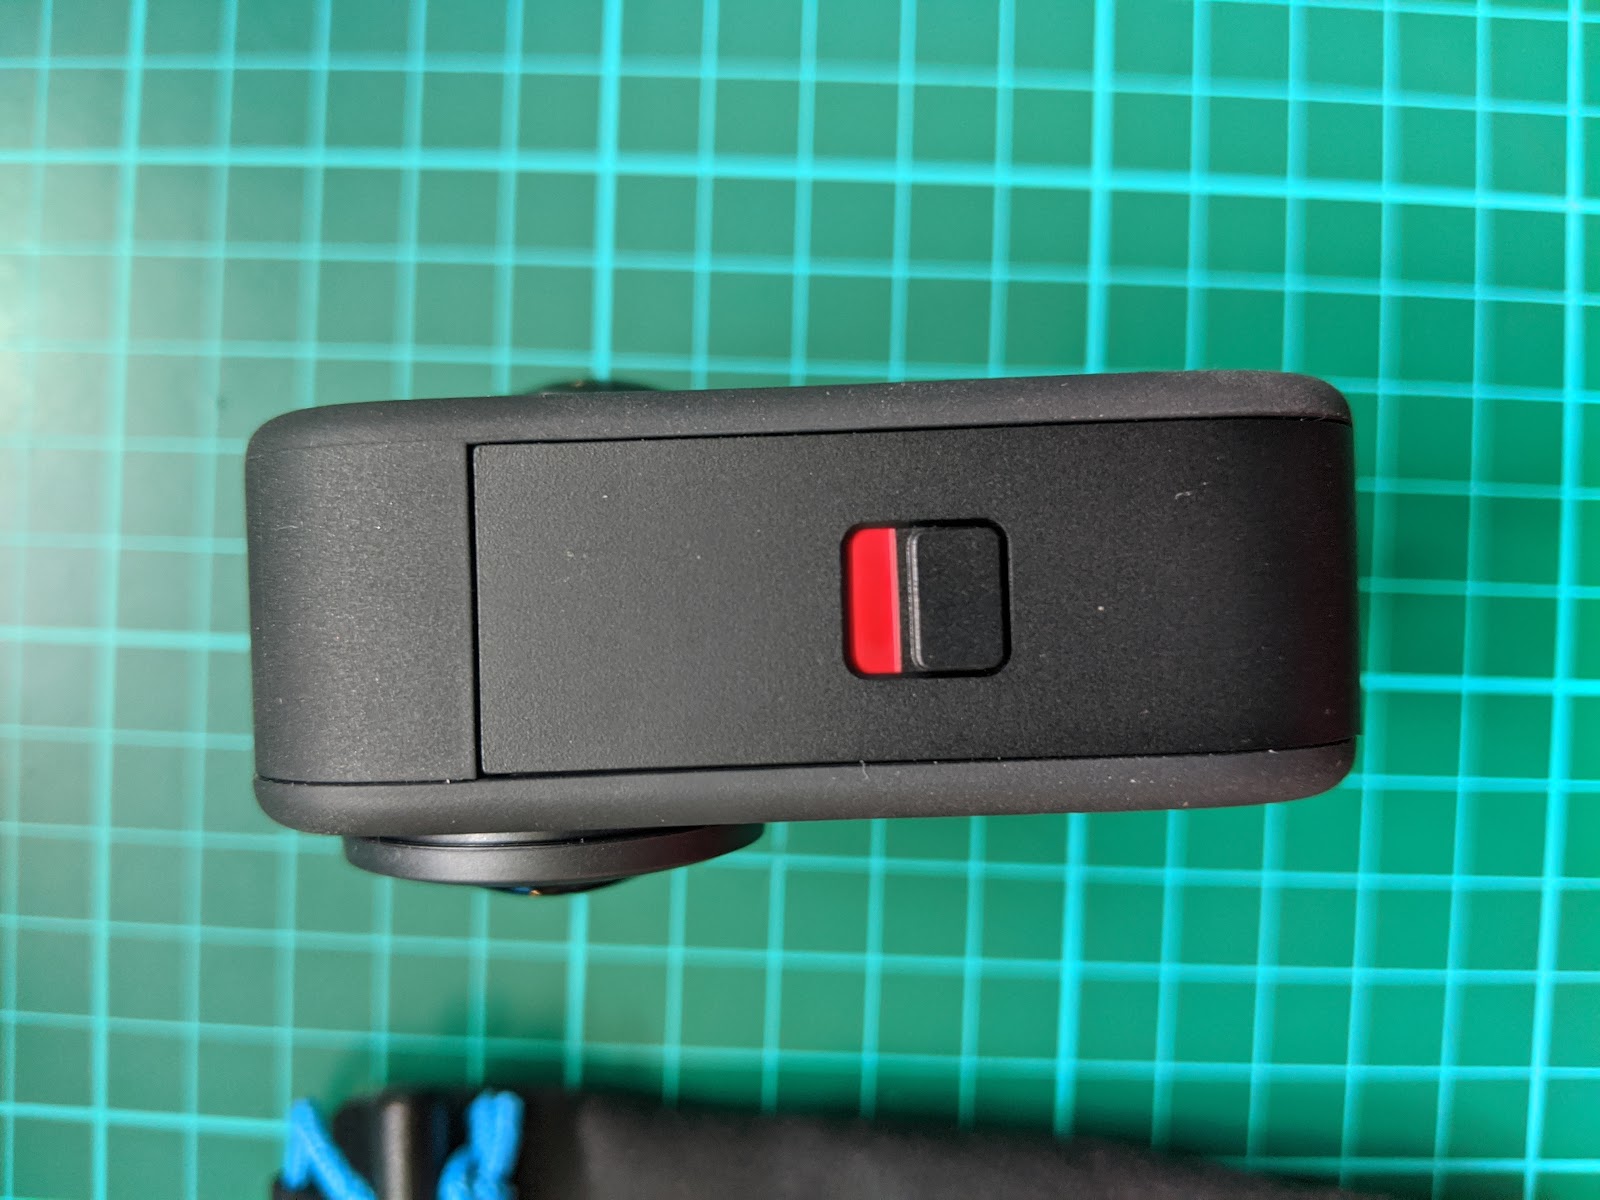
Camera Door Unlocked
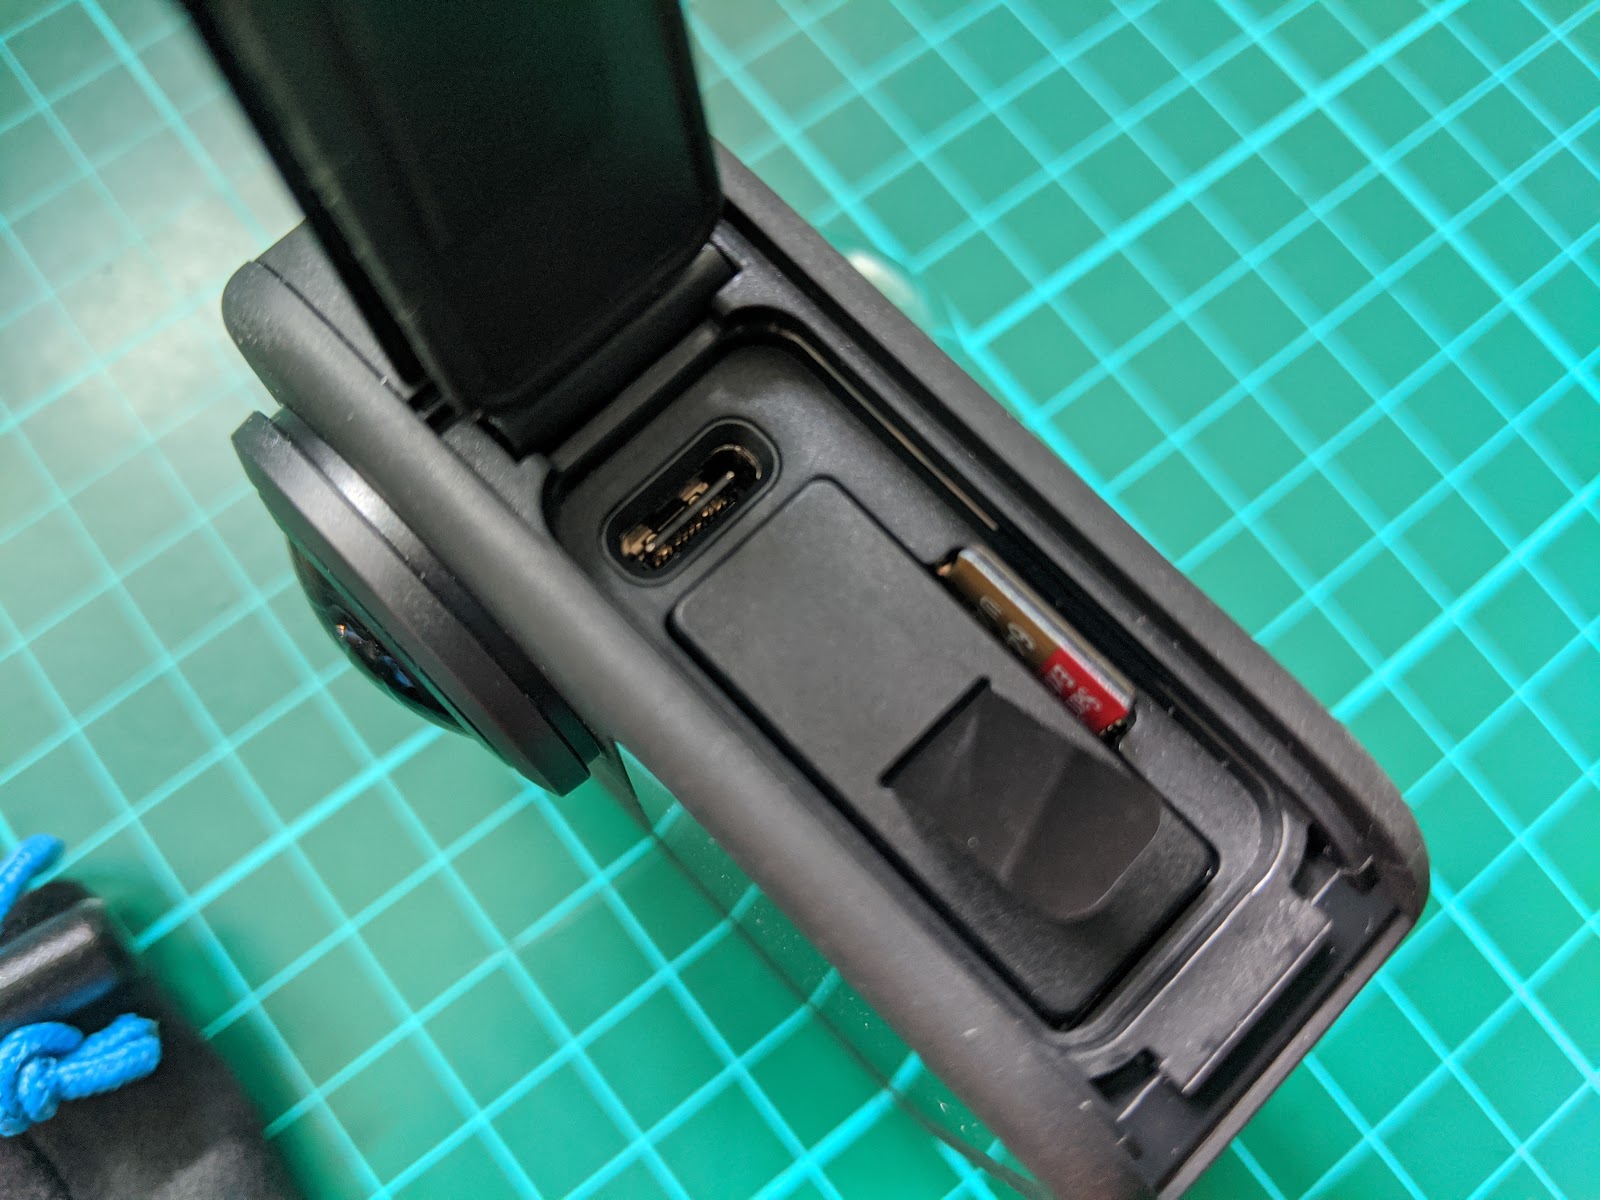
Camera Door Open (Battery and memory card inserted. USB-C charging / connection slot)
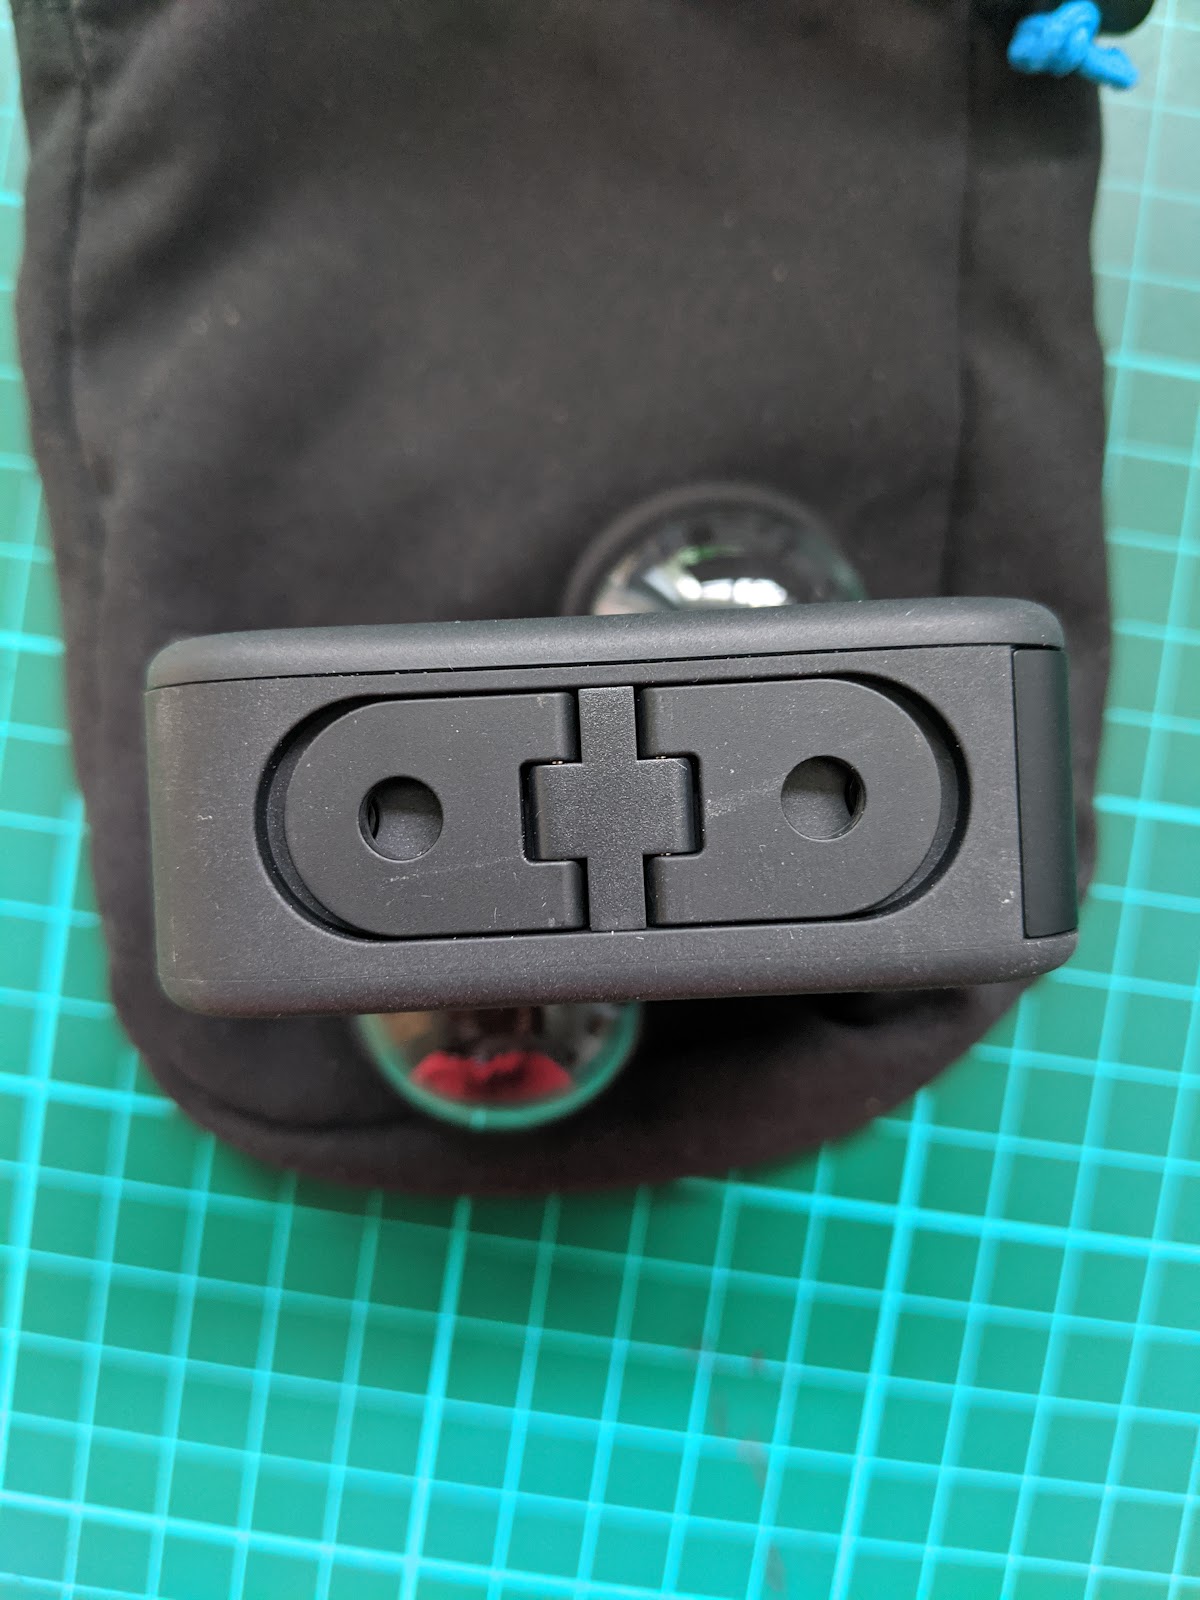
Bottom of camera (legs retracted)
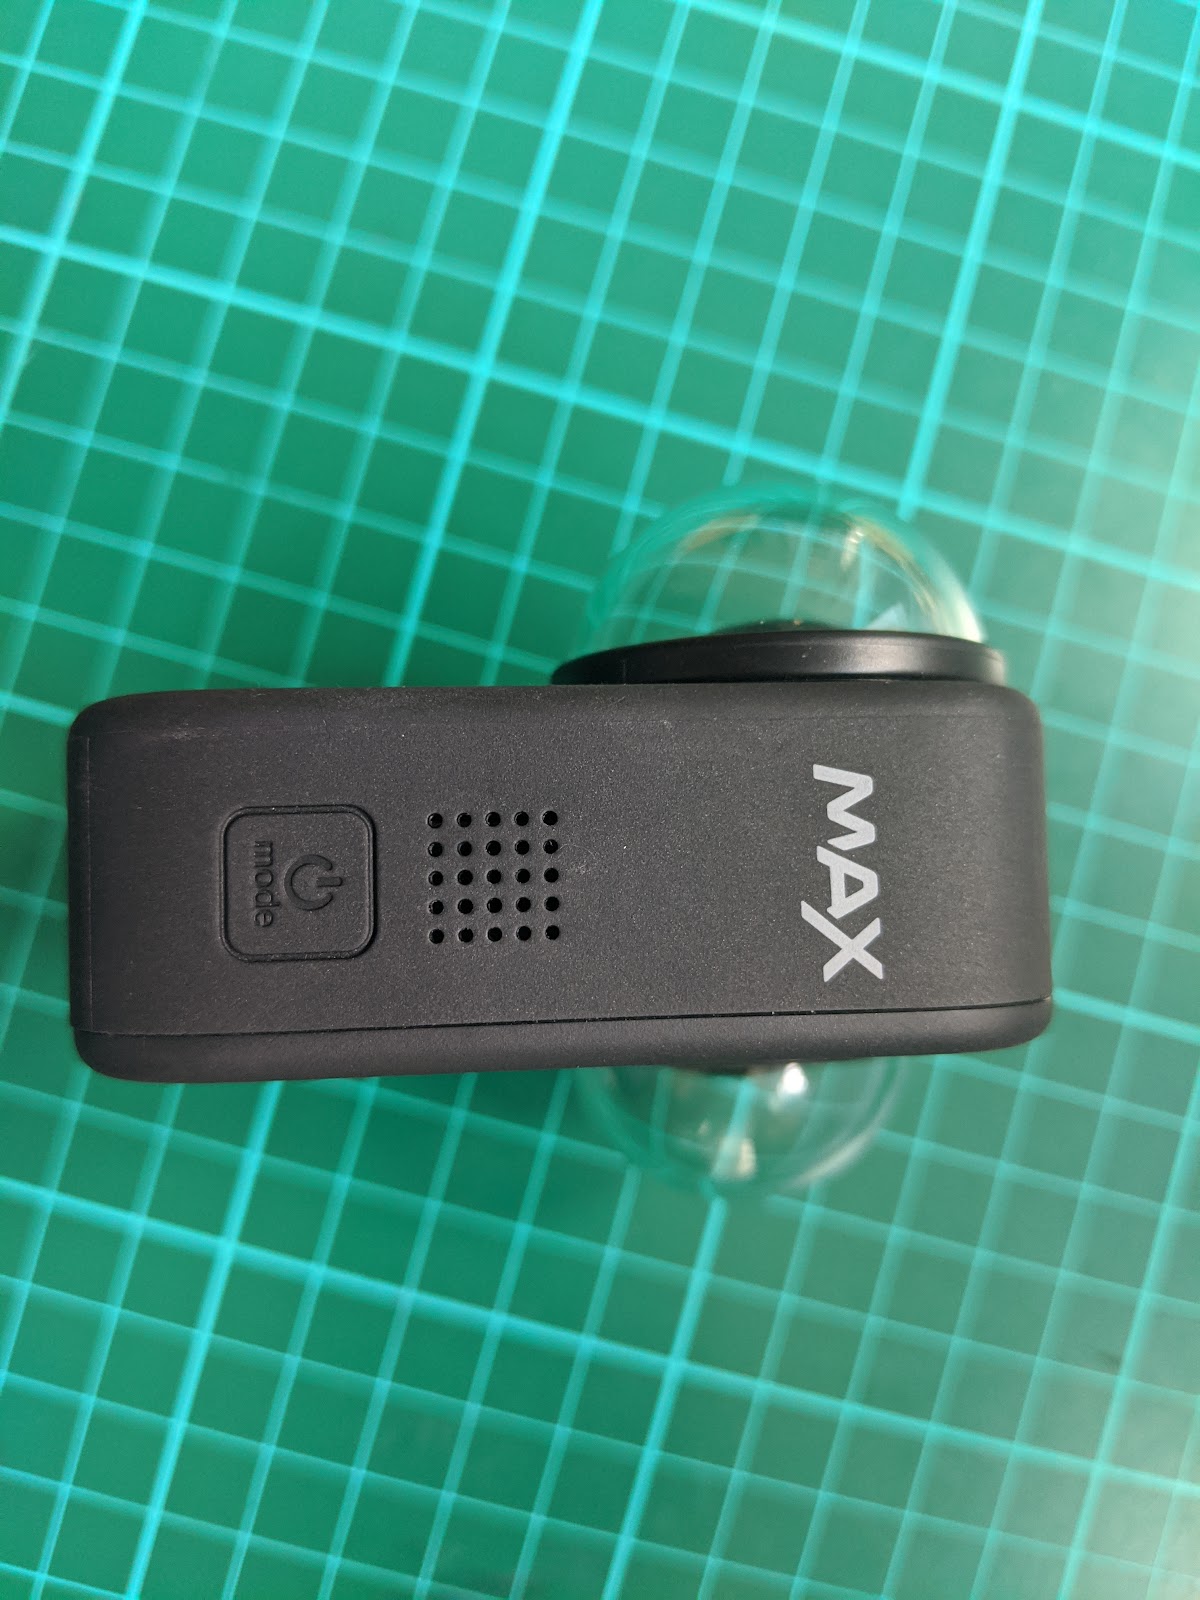
Side of camera (power button)
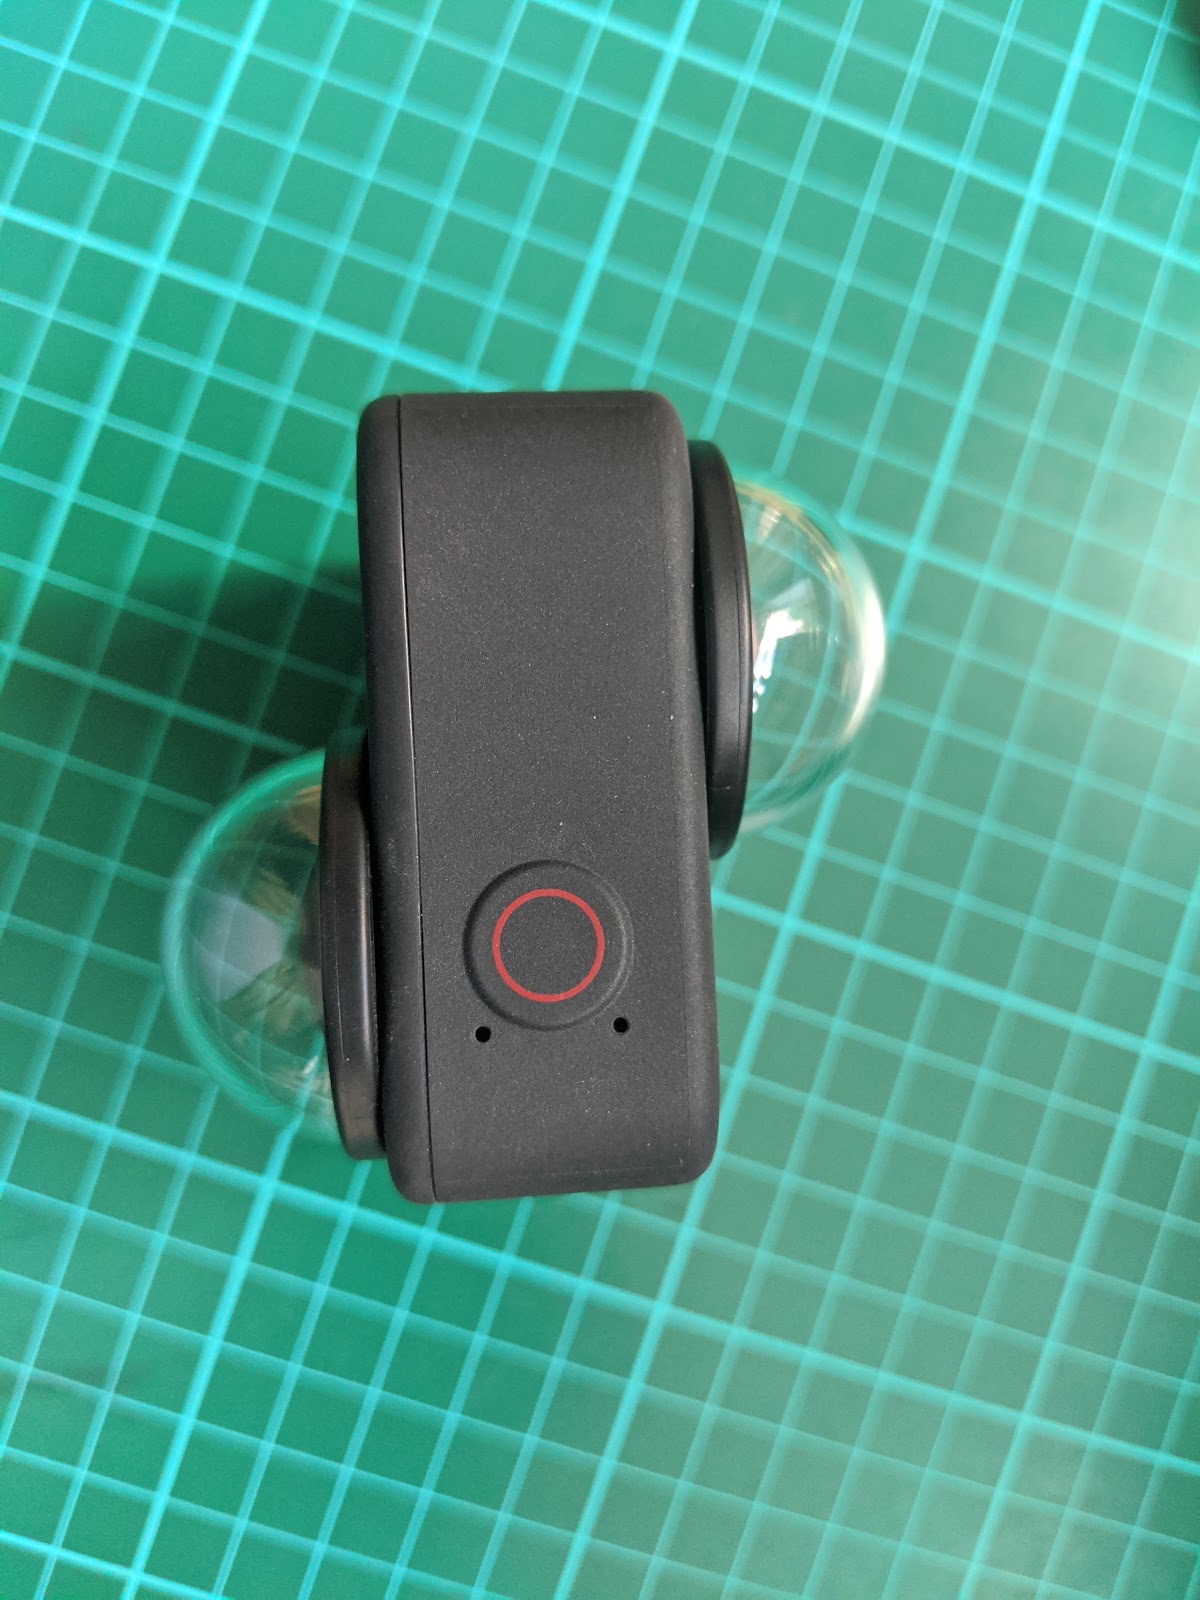
Top of camera (start button)
Setting correct time
It is important that the camera time matches the local time. Using the GoPro app you can configure this under the camera setting by clicking “Set Date and Time” or by connecting the camera to your phone via the GoPro mobile app.
Turning on "Beeps"
You can turn on sound (beep) to indicate key actions on the camera (when a capture is started or stopped, the camera is turned on or off, etc.).
This is a particularly useful setting with the camera mounted on your pack (especially when the battery runs out) -- so you don’t continue trekking, to realise the camera has stopped shooting.
Limitations
Weather
Whilst the GoPro MAX is waterproof, rain poses a problem. It won’t damage the camera, however, even in light rain showers droplets will form on the lens. Not only are these visible in the photos, raindrops also cause issues with the camera's ability to focus correctly leading to blurred photos.
Storage
A 256GB memory card should hold around 100,000 photos / 10 hours of video. You shouldn’t need to worry about space running out if you’re shooting photos alone (the battery will be more of an issue).
Make sure to check SD card size compatibility if using a larger SD Card.
If you are using a smaller memory card, beware, it can quickly fill up in video mode.
You’ll be able to see the available photo capacity on the LCD screen on the camera or in the app.
A word of warning; just deleting photos from the SD cards will not delete them entirely. The SD cards have a hidden .trashes folder which stores a copy of the deleted photos (useful for recovery).
To permanently delete the .trashes folder and free up the space, you can insert the SD cards into your computer (using the USB adaptor supplied) and selecting “Empty trash” on your computer (the same “Empty trash” function you would use to delete files locally).
Battery life
A standard GoPro MAX battery will last about a maximum of 2 hours when shooting video, and 4 when shooting in timelapse.
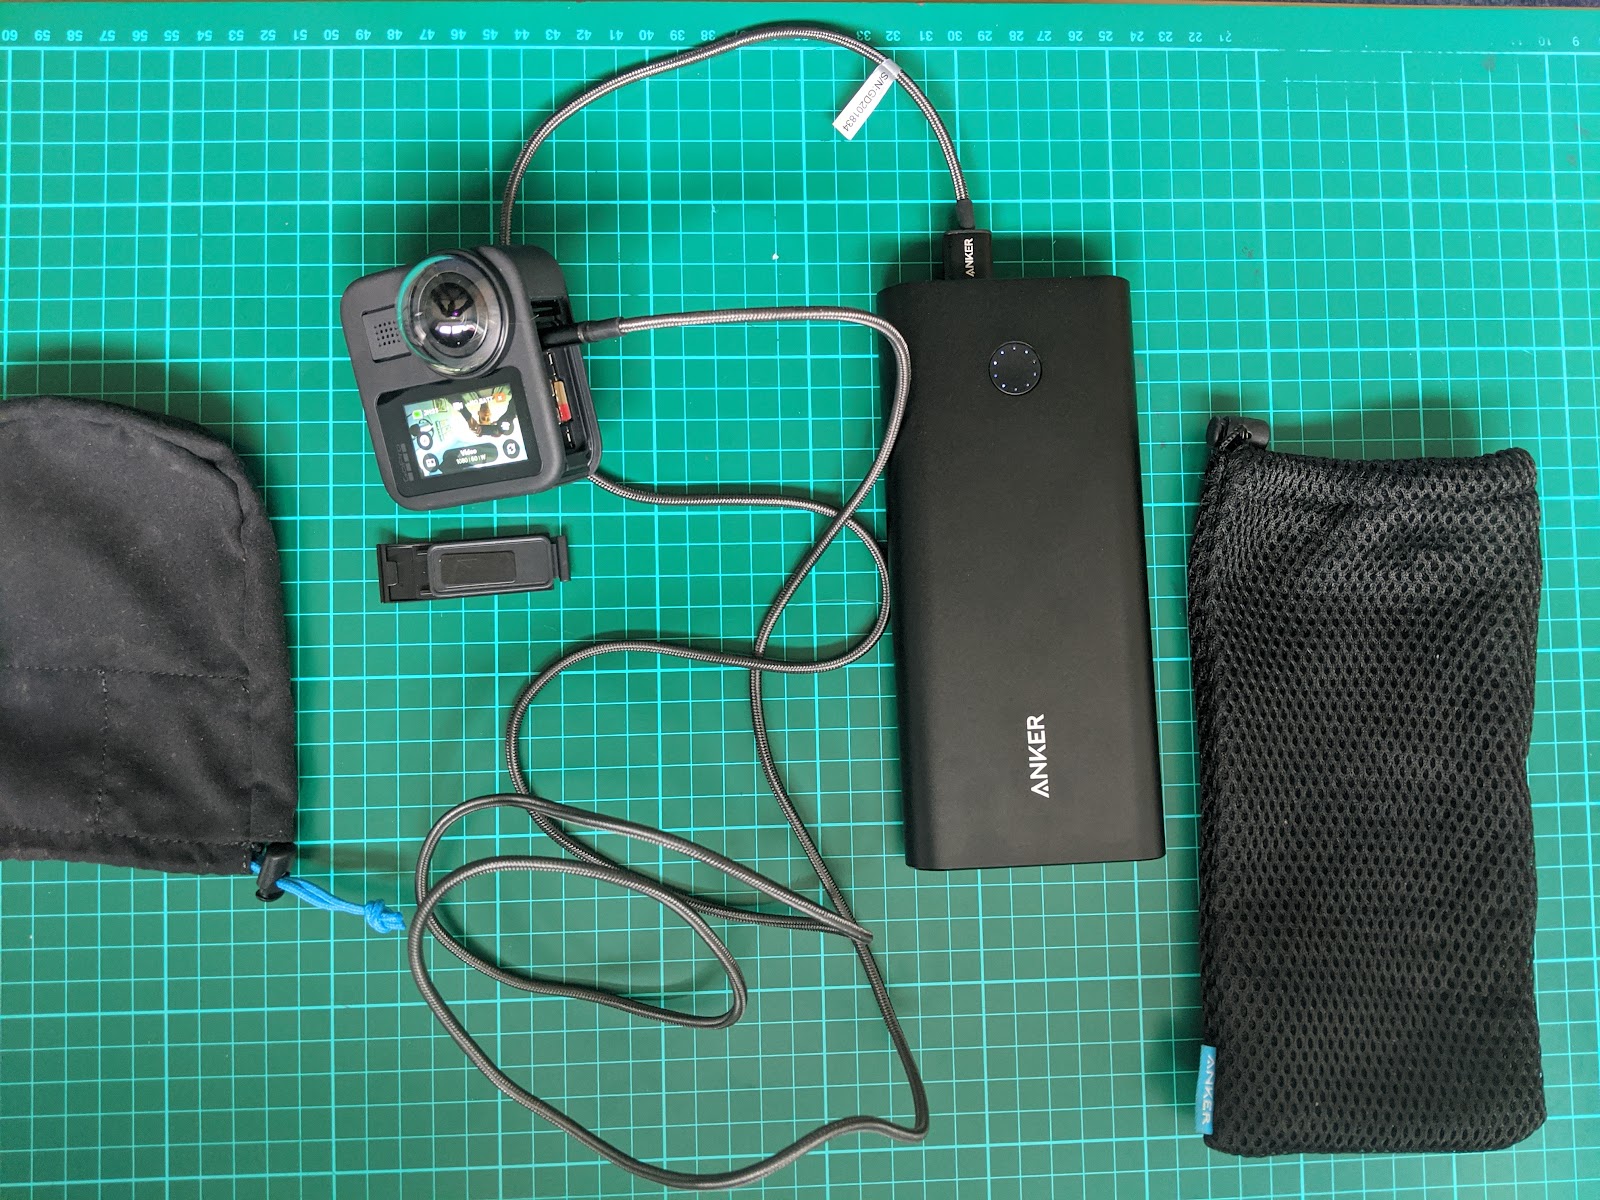
You can use an external power pack with the MAX. I use a 26800Mah portable battery pack (the equivalent of about 17 GoPro 1600MaH MAX batteries) connected to the camera via a USB-C to USB-A cable.
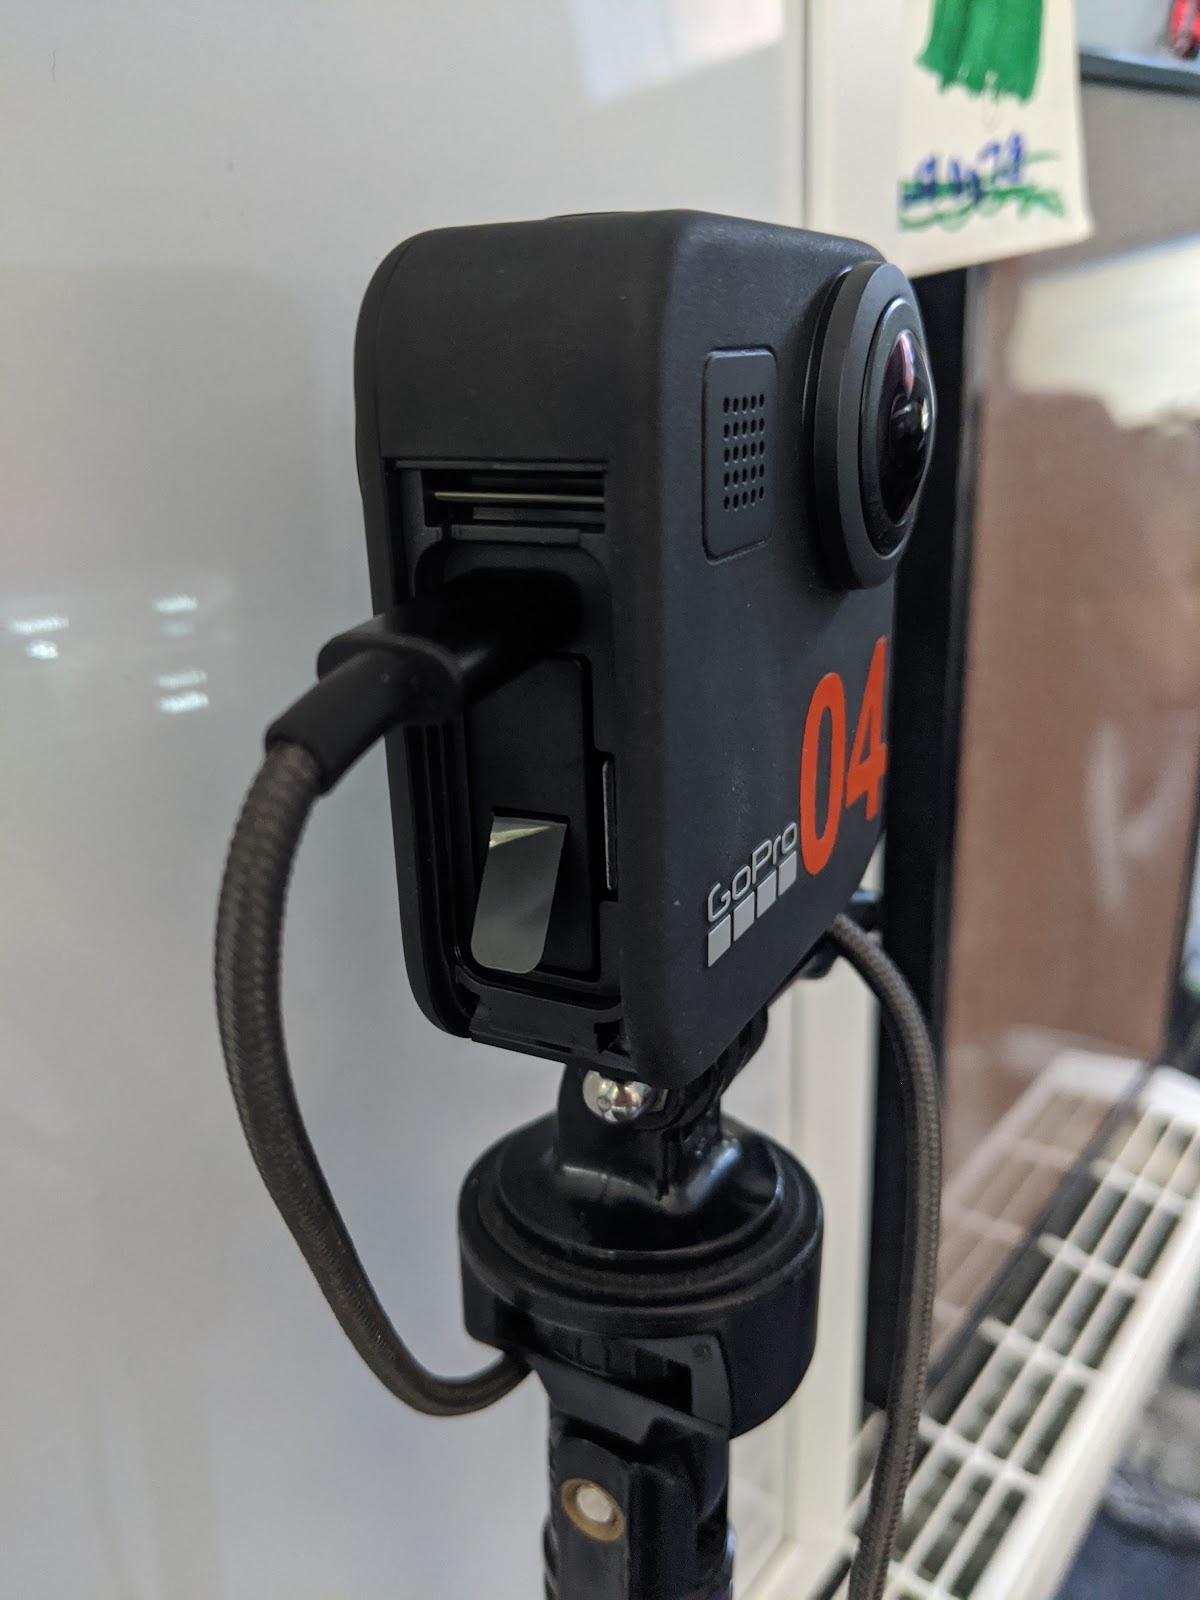
You can remove the door on the side of the camera (it is designed to clip off) and plug the USB-C cable end into the camera, and the USB-A into the battery pack.
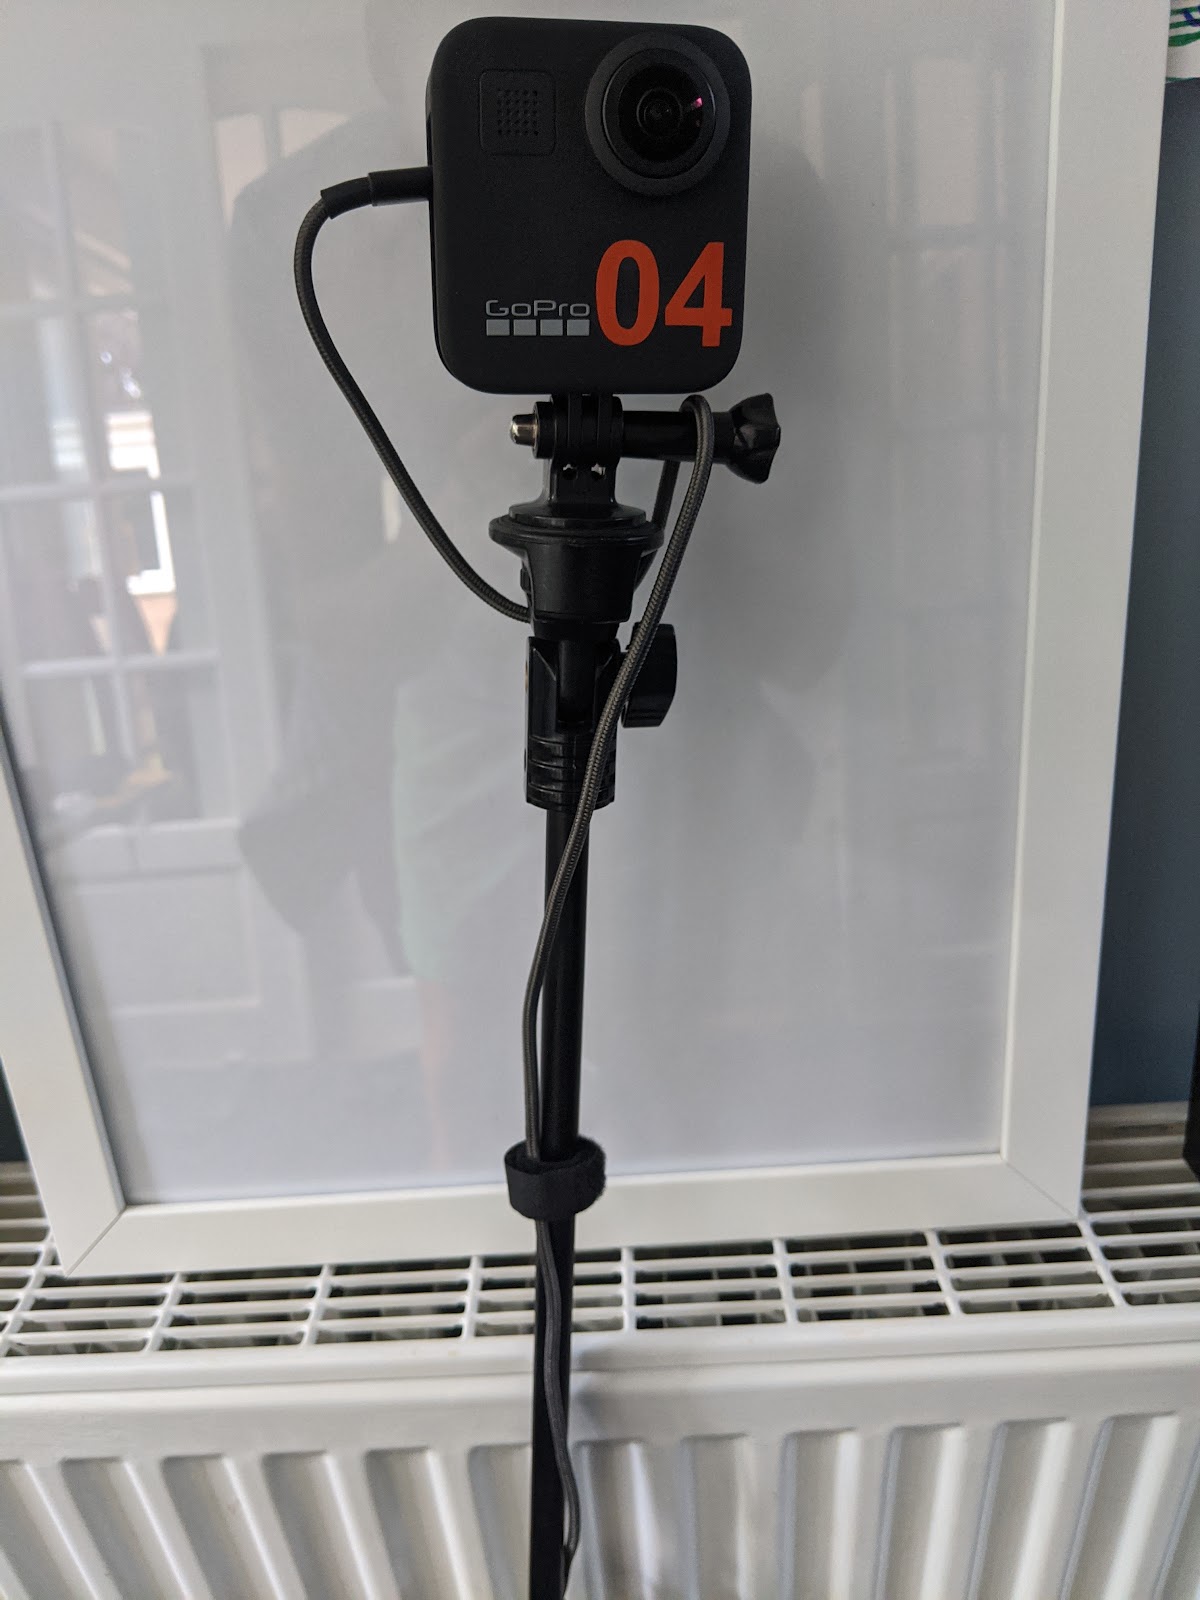
The MAX’s field of view does not usually pick up the cable even if it hangs slightly loose -- even though you might think it will at first (though be sure to test it).
Pack options
Back Pack Mount
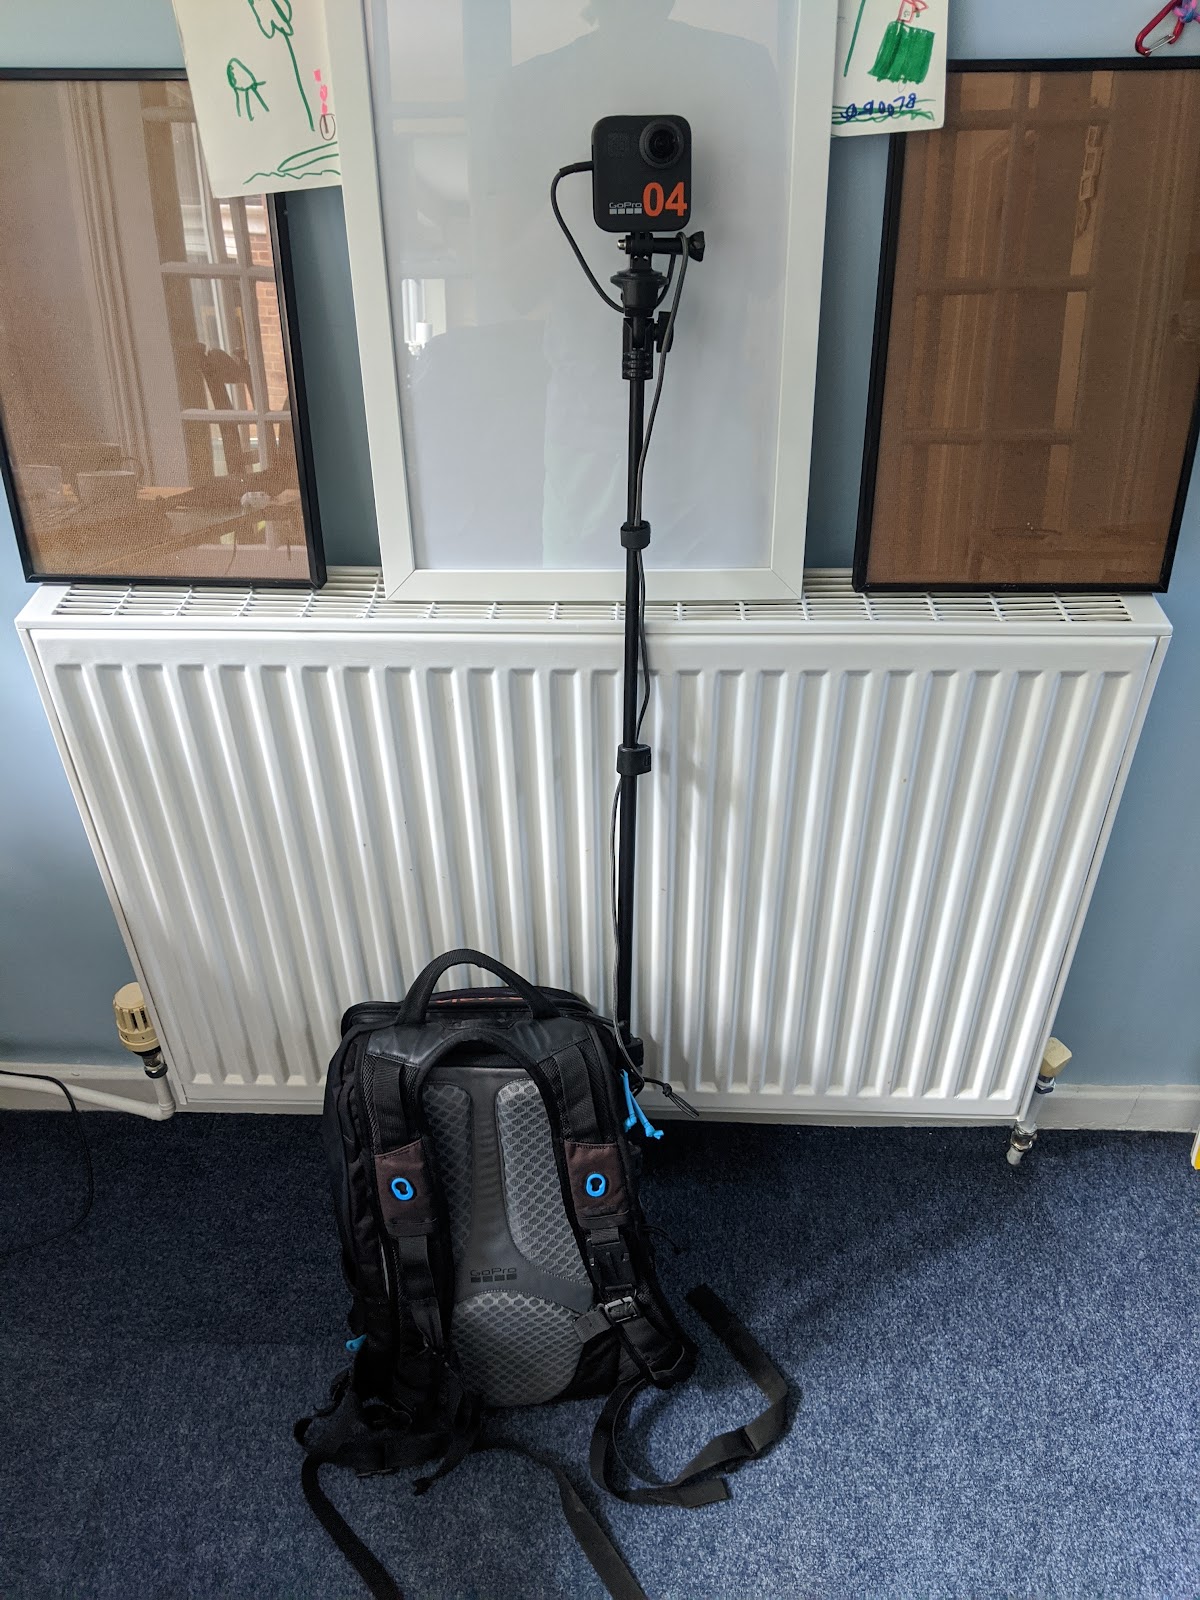
For this I use a GoPro Seeker pack and set it up as follows....
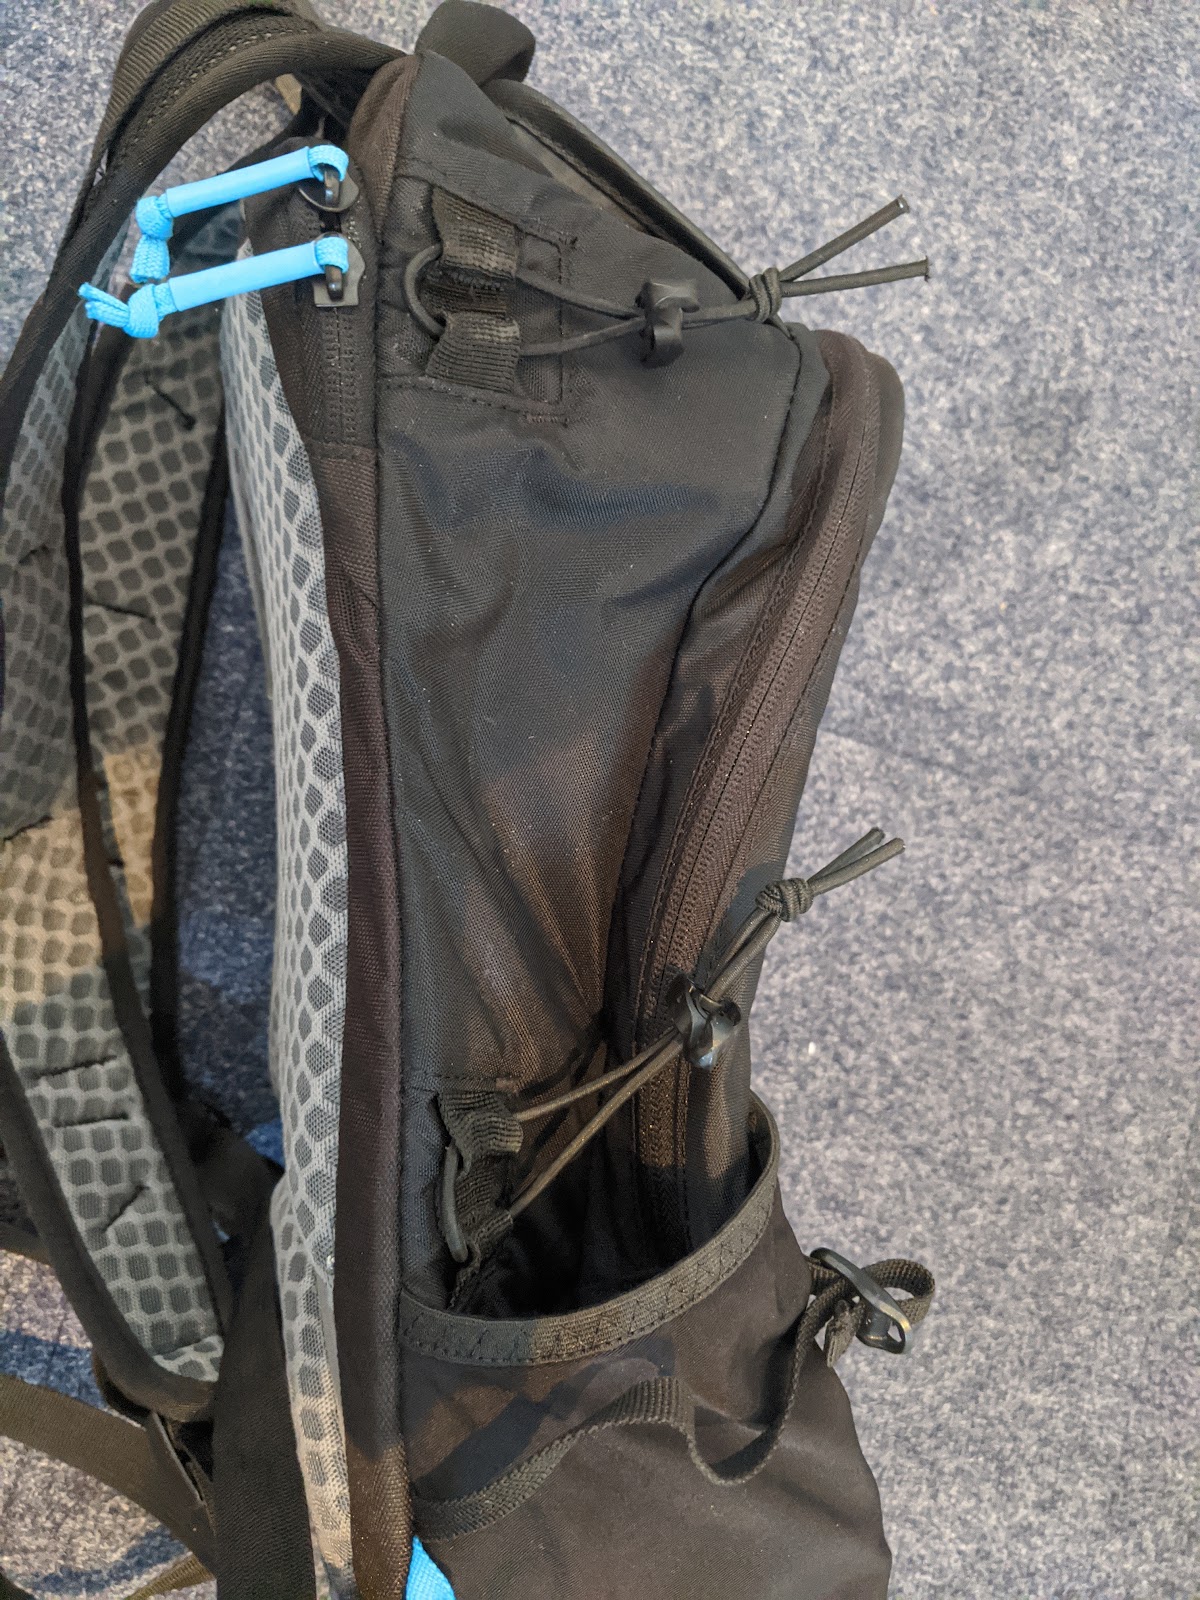
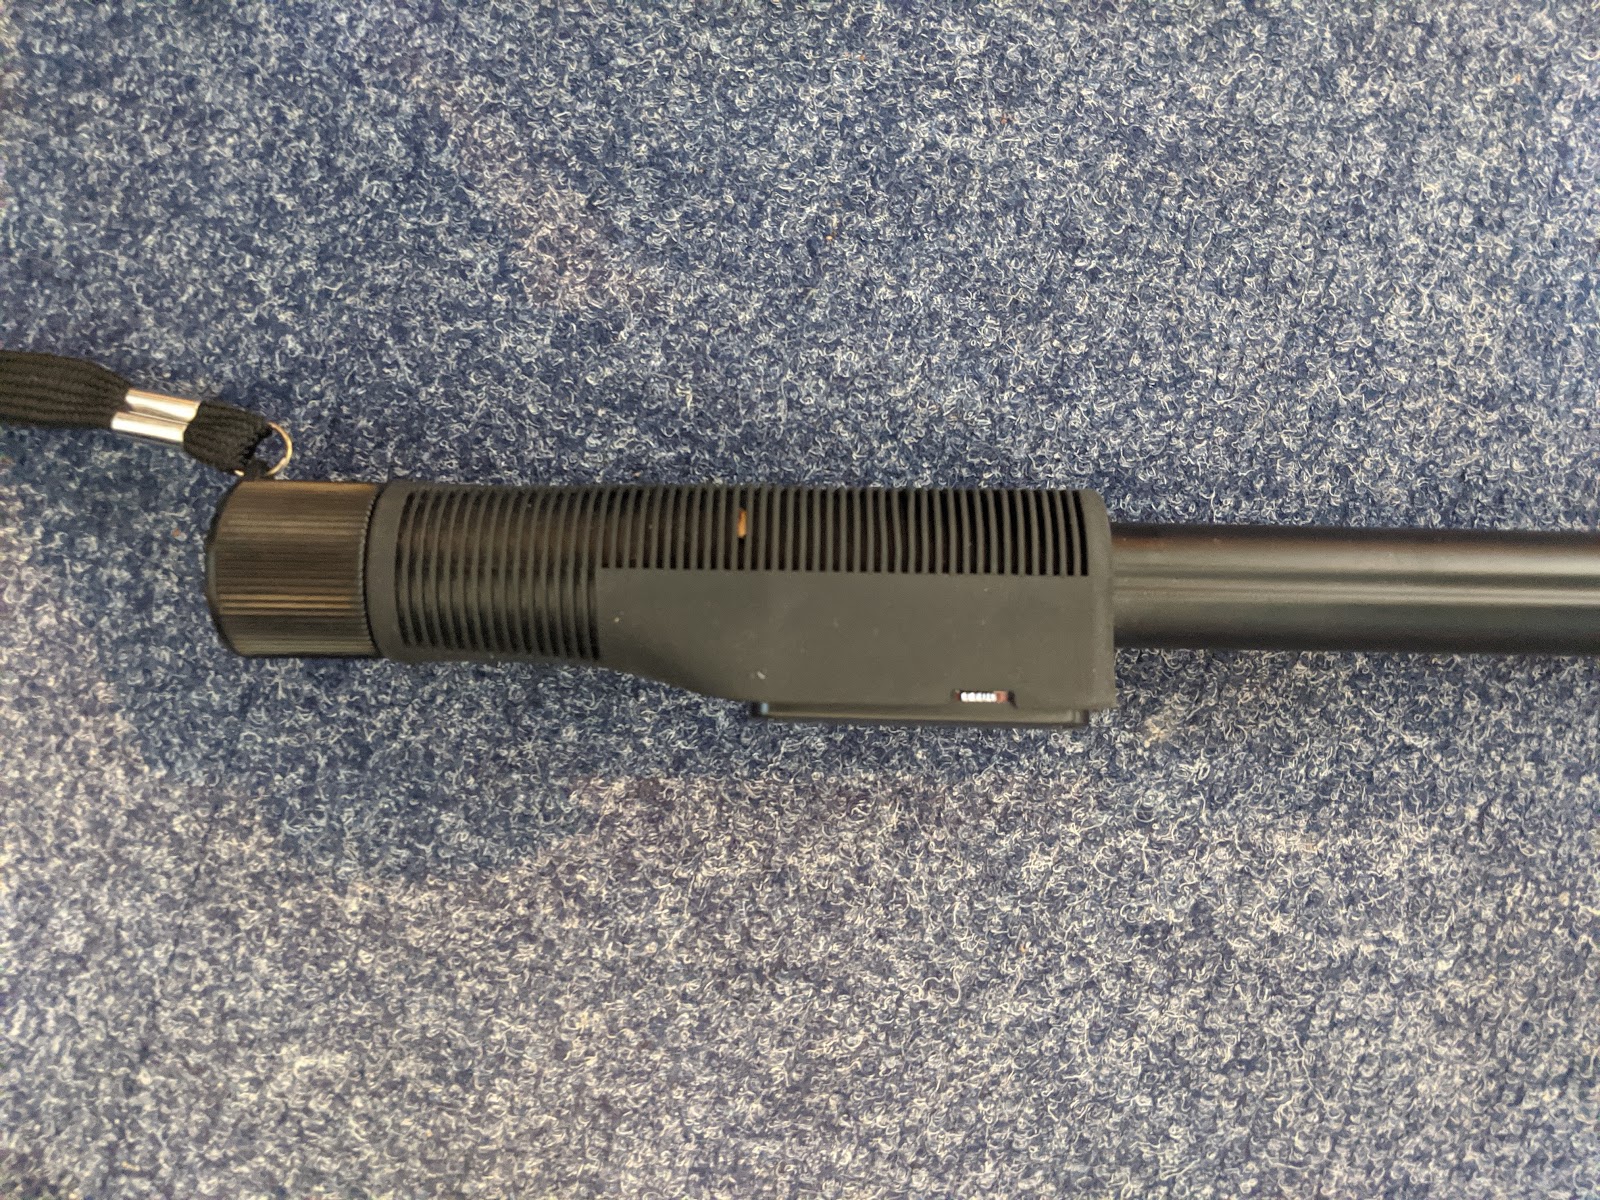
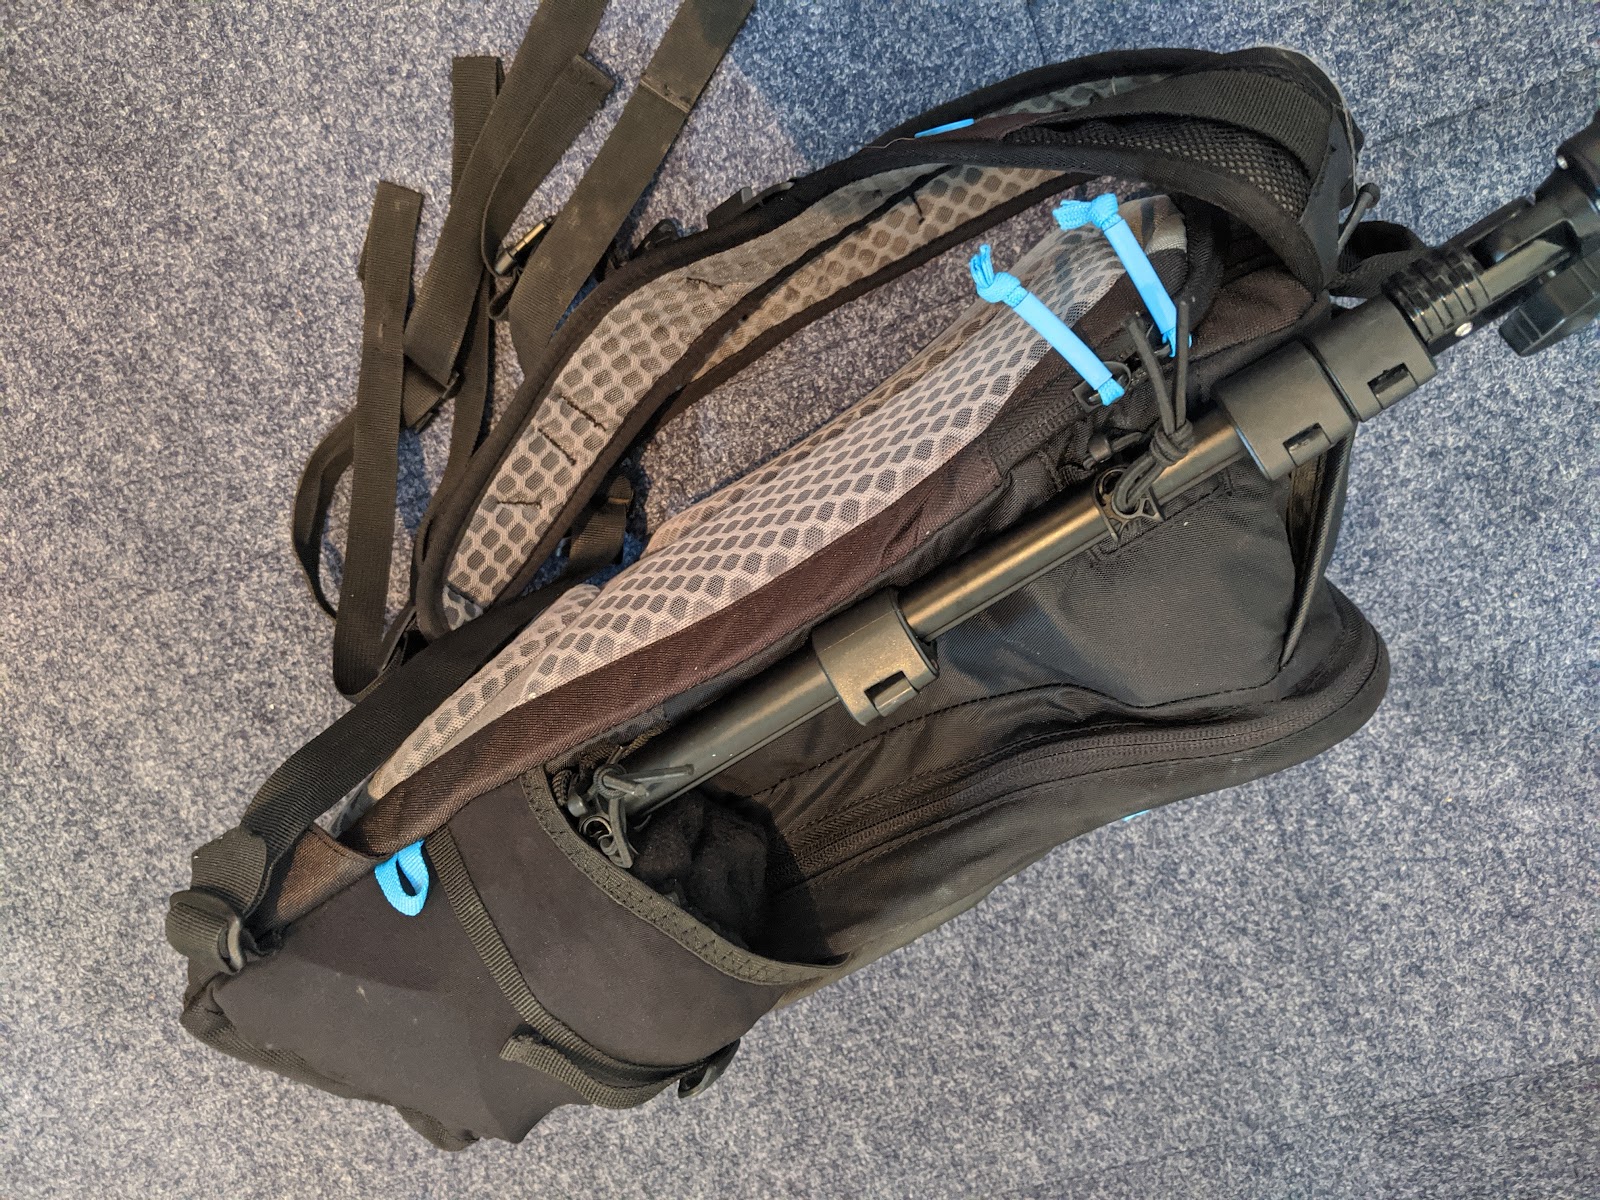
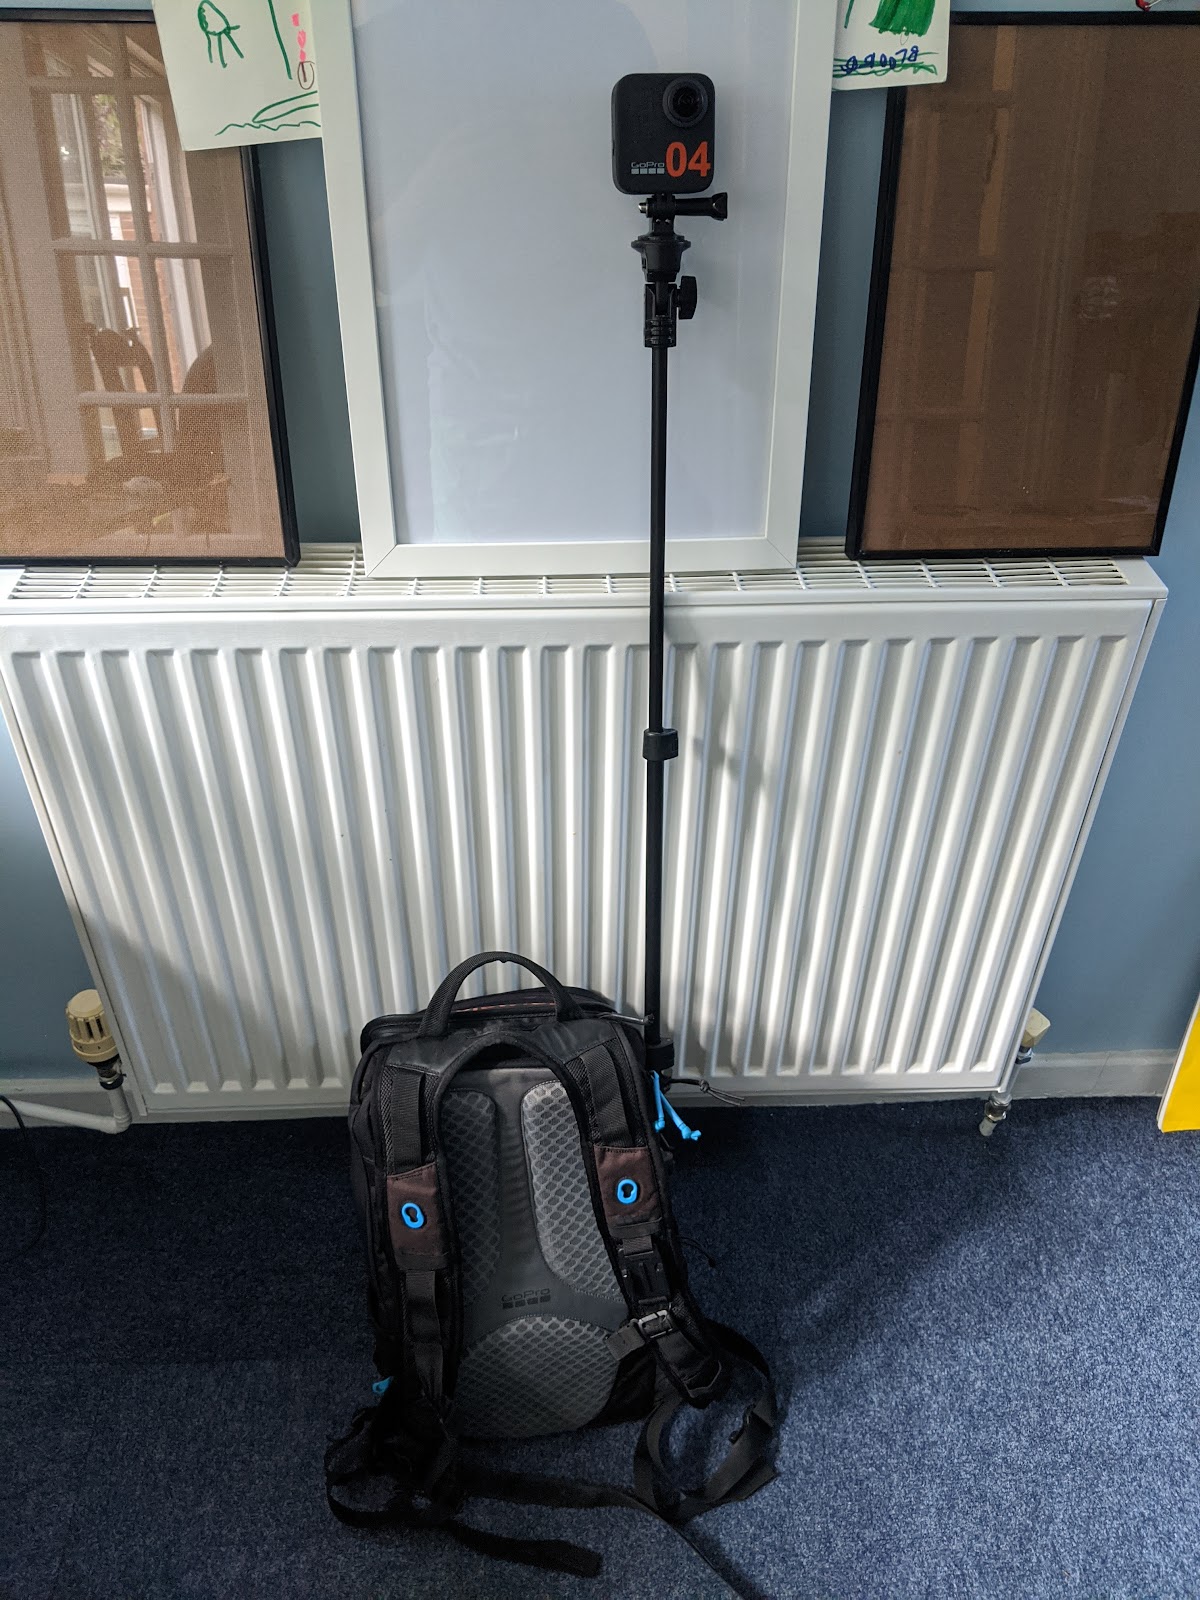
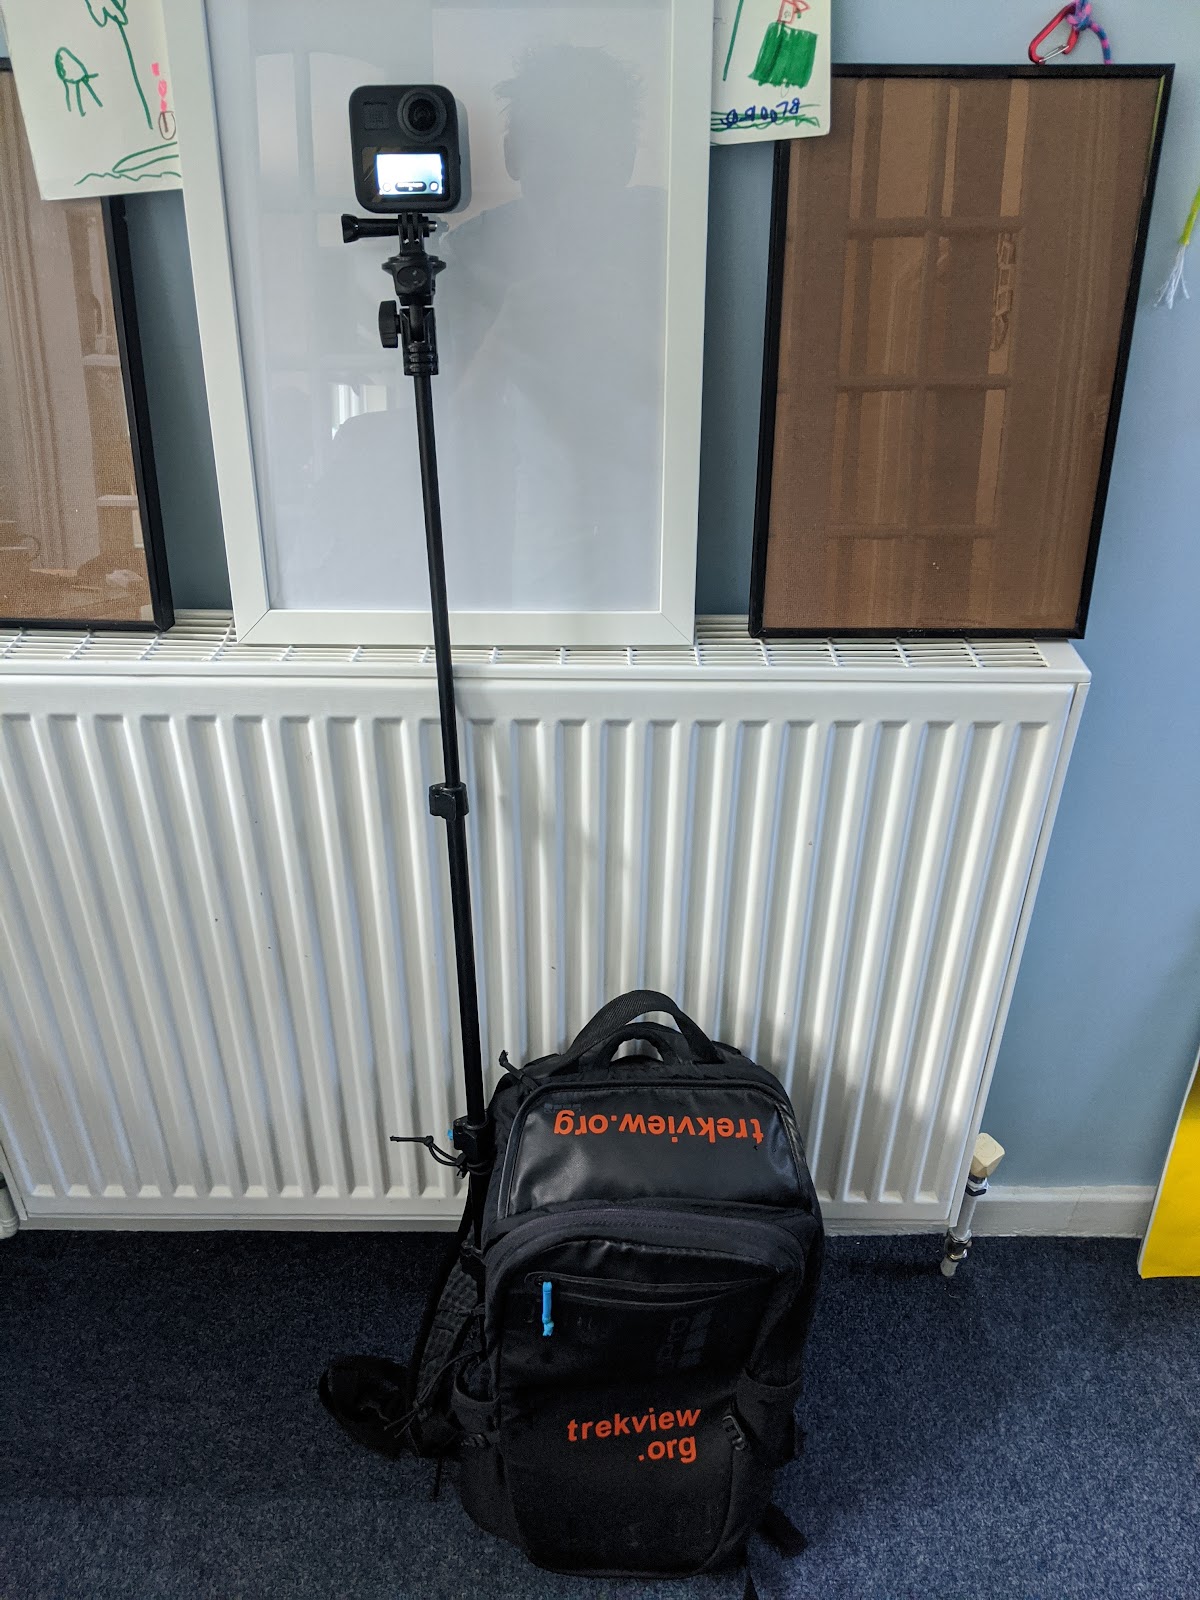
Some tips before shooting...
- Fill the bag: Usually I go out with a packed lunch and some drinks which fill the bag and give it extra rigidness which helps keep the camera in place. If you plan to go out for a short period, and don’t intend on carrying anything in the bag, add an empty lunchbox or some lightweight material to pad the bag out. This will help stabilise the camera and stop it moving around when you are walking.
- Check the Shooting Angle: Try extending the monopod to its full extension. Attach the camera to the monopod, ensuring the pole is as close to vertical (in line with the pole) as possible. It doesn’t need to be perfect, you can always adjust when processing the images). You will notice an adjustable wheel that loosens the mount that attaches the GoPro mount to the monopod. Loosen this slightly so you can rotate the GoPro MAX to line up parallel to the back of the pack. That is, the camera should face straight ahead of the pack.
- Keep the camera door clear: It is a good idea to keep the GoPro mount screw on the side opposite the battery and SD card door. That way you can open and close the door without removing the camera from the monopod.
Helmet Pack Mount
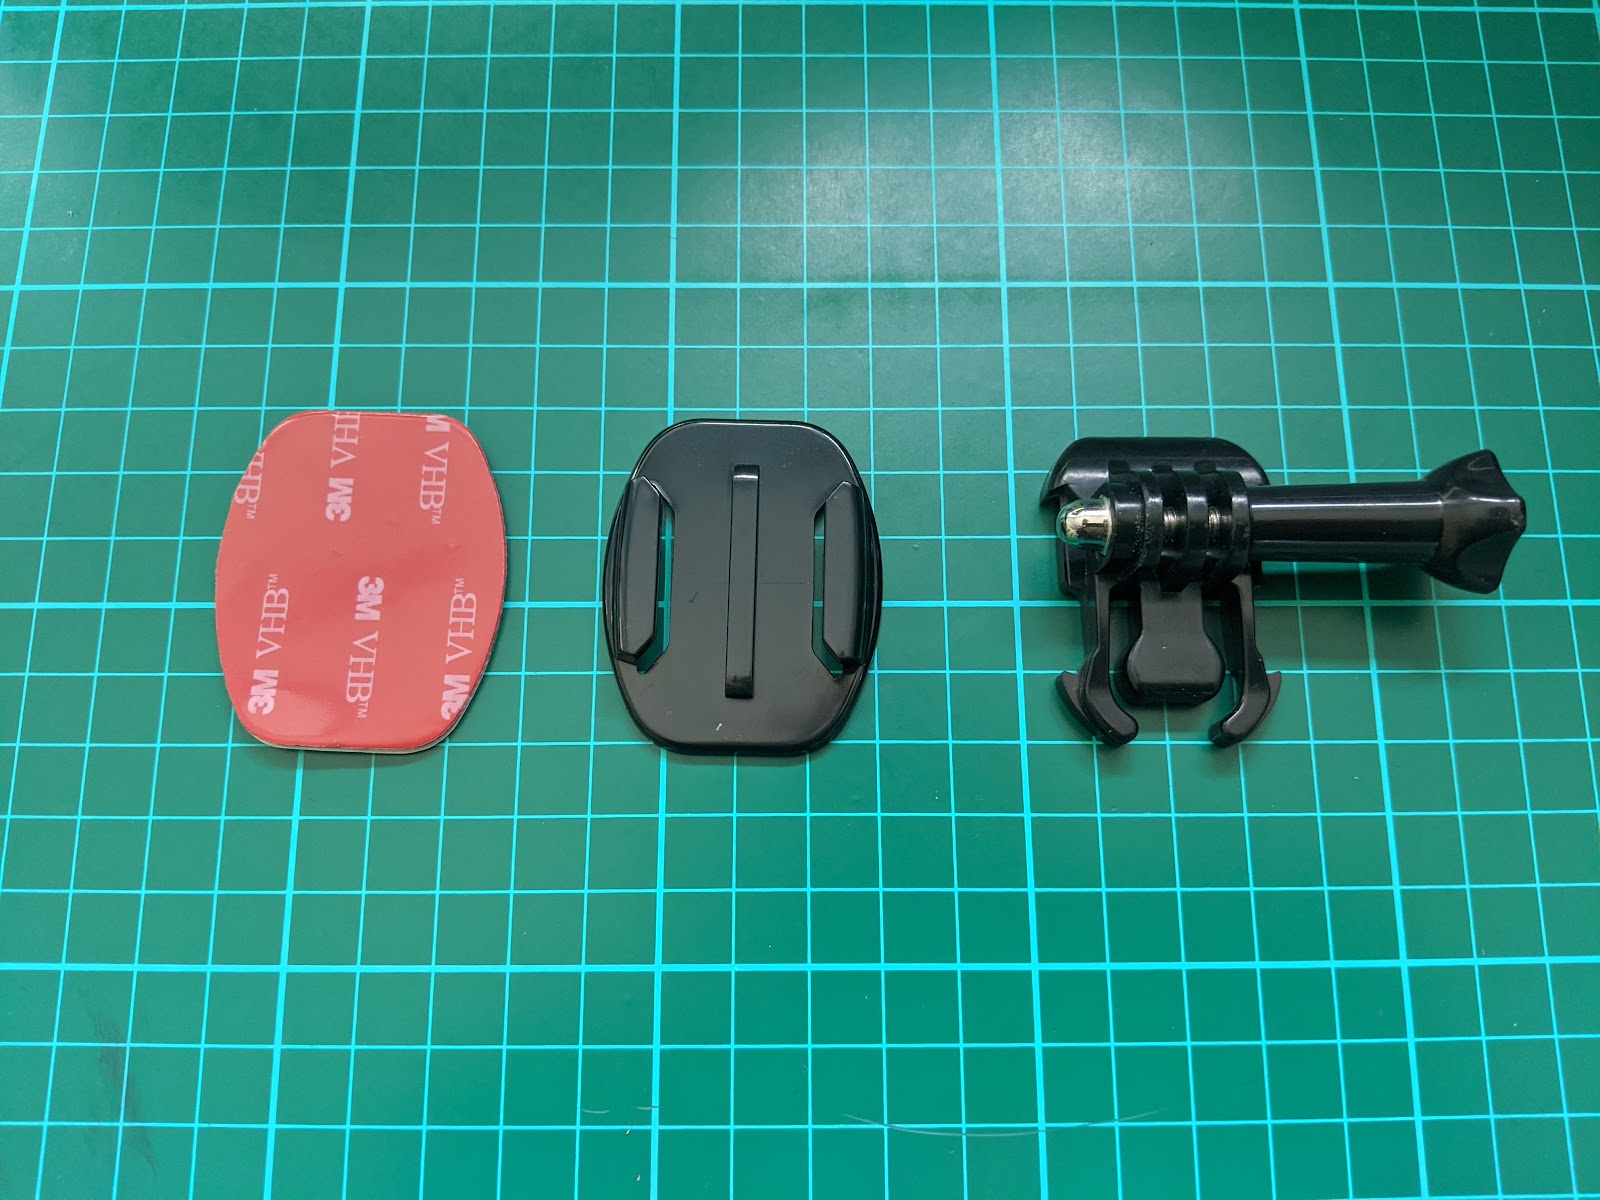
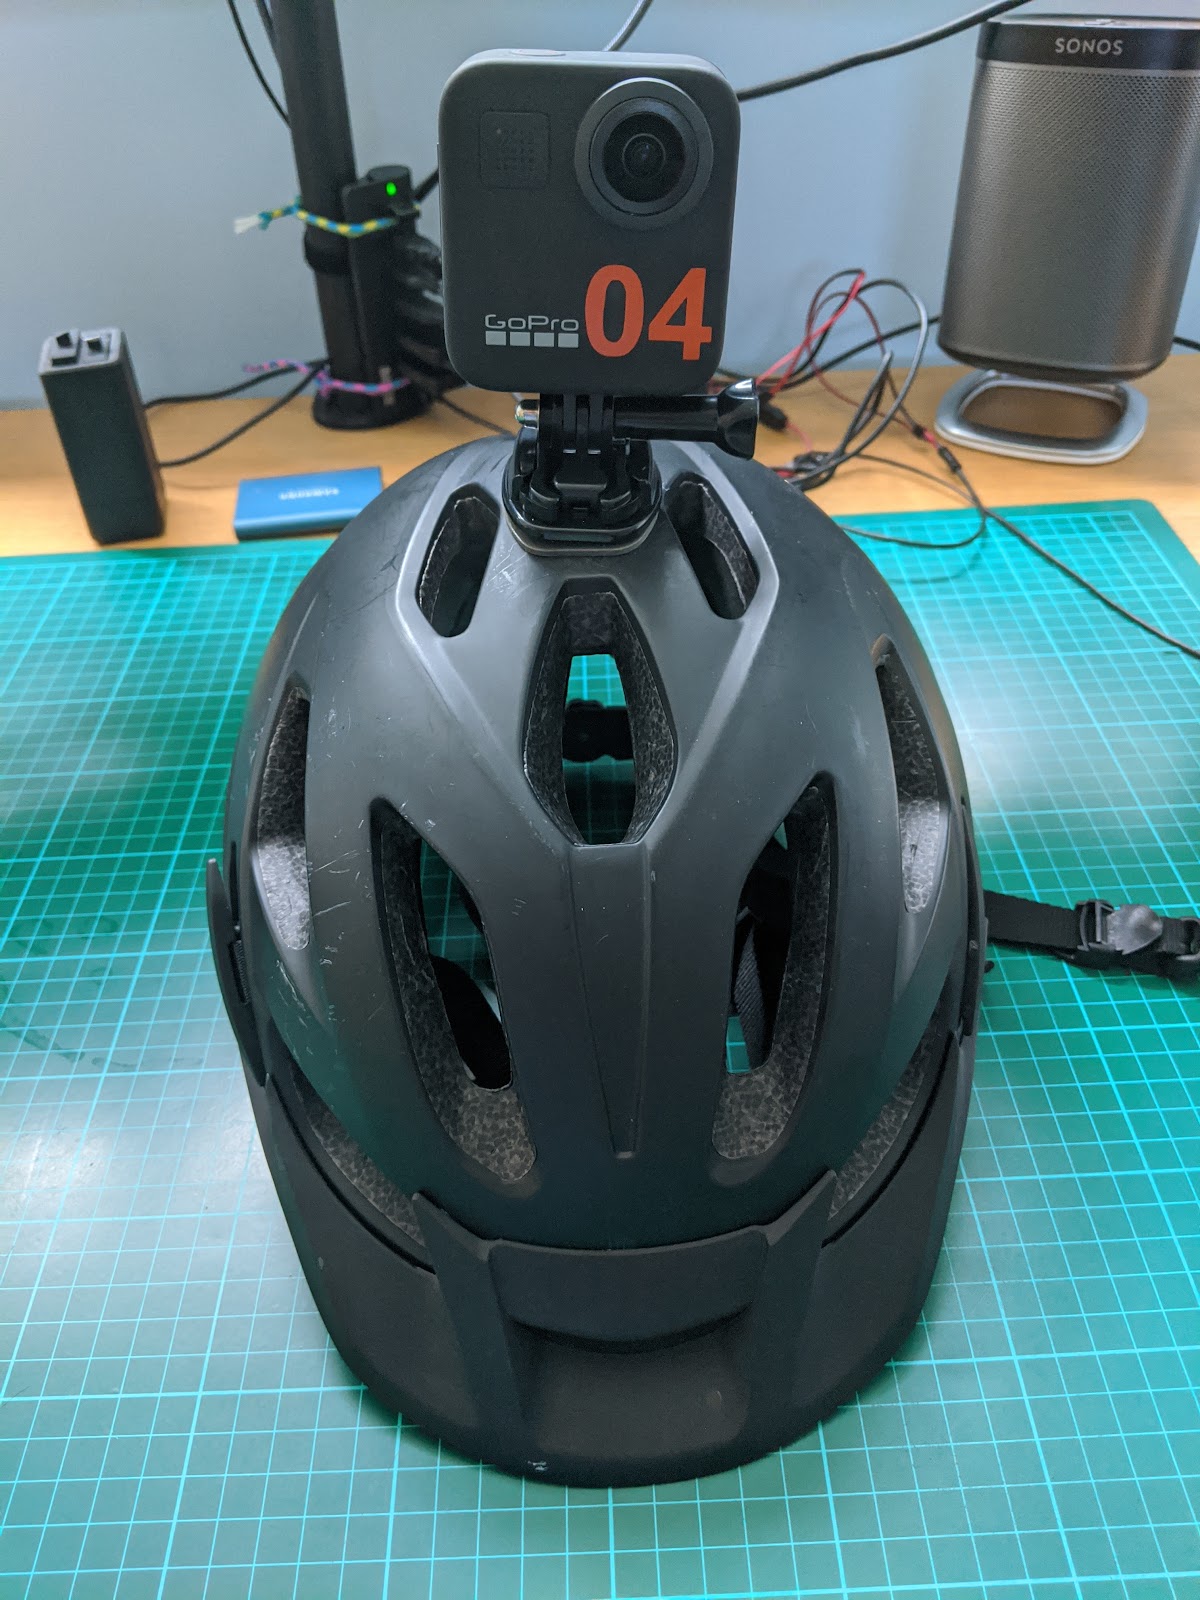
I use a curved GoPro mount attached to the helmet using 3M Adhesive Pad (many on Amazon if needed).
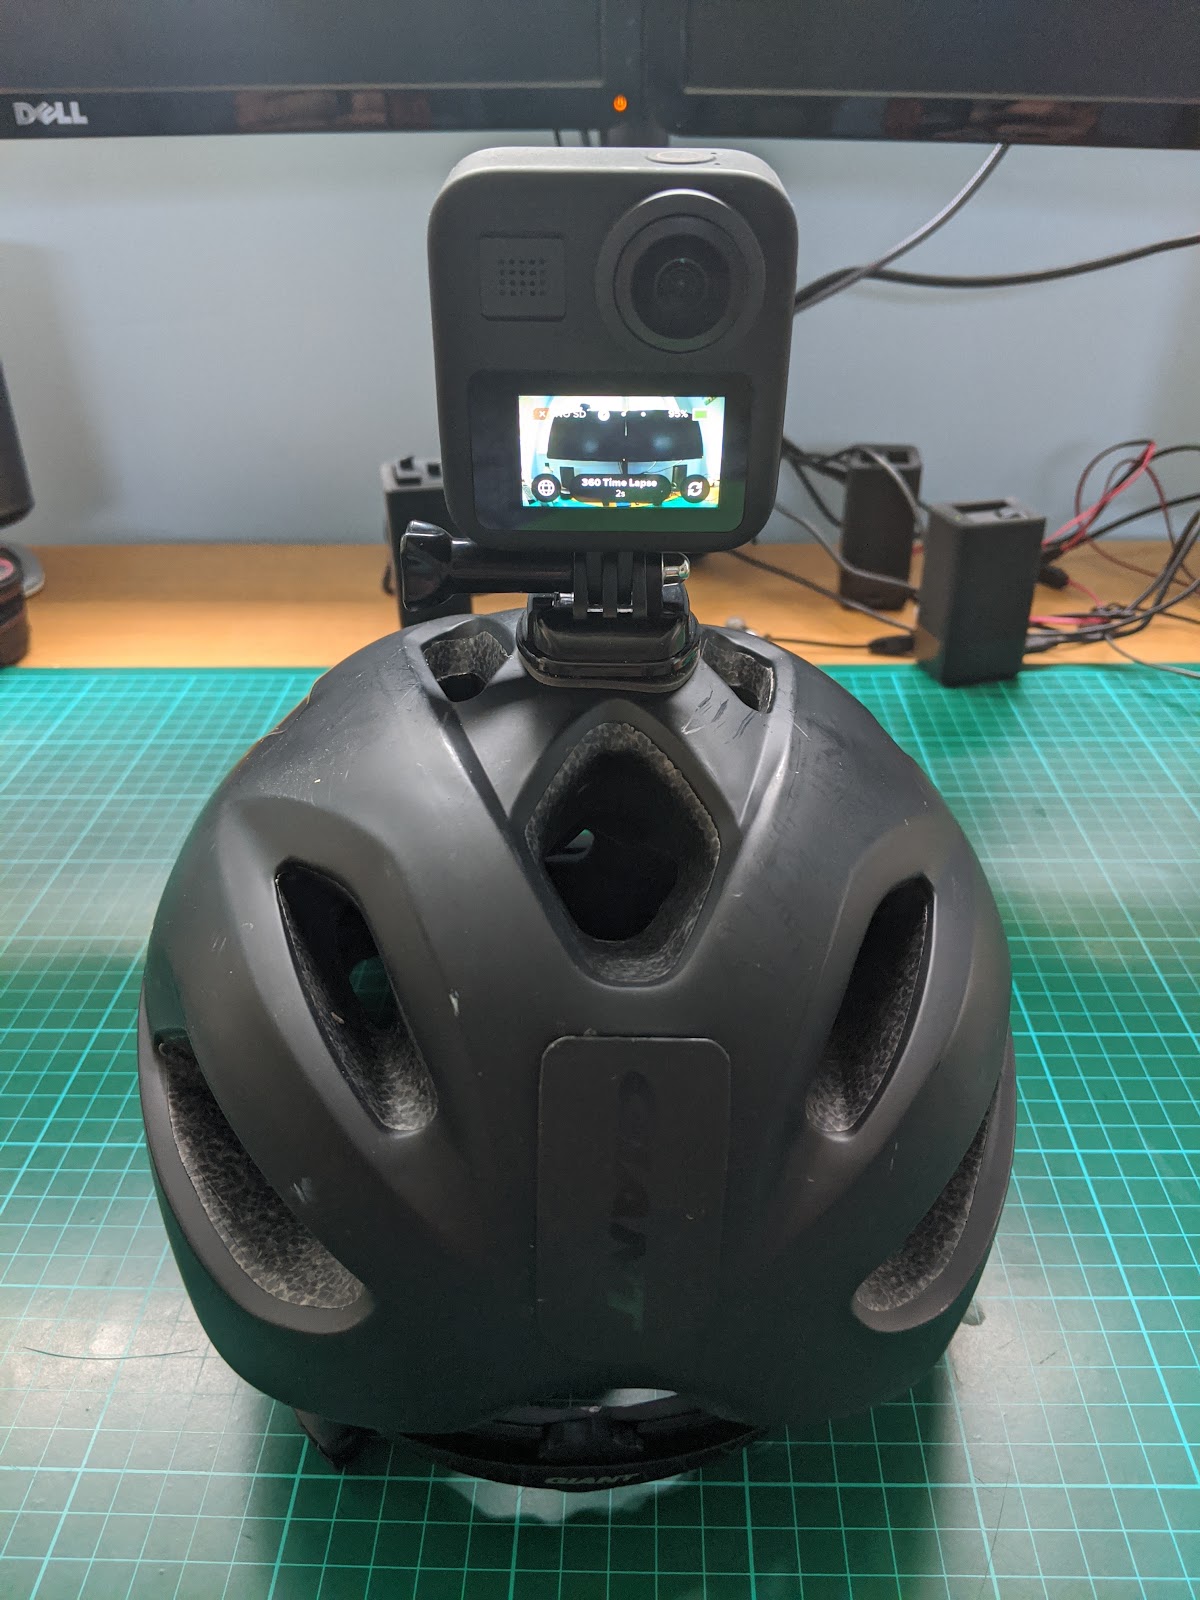
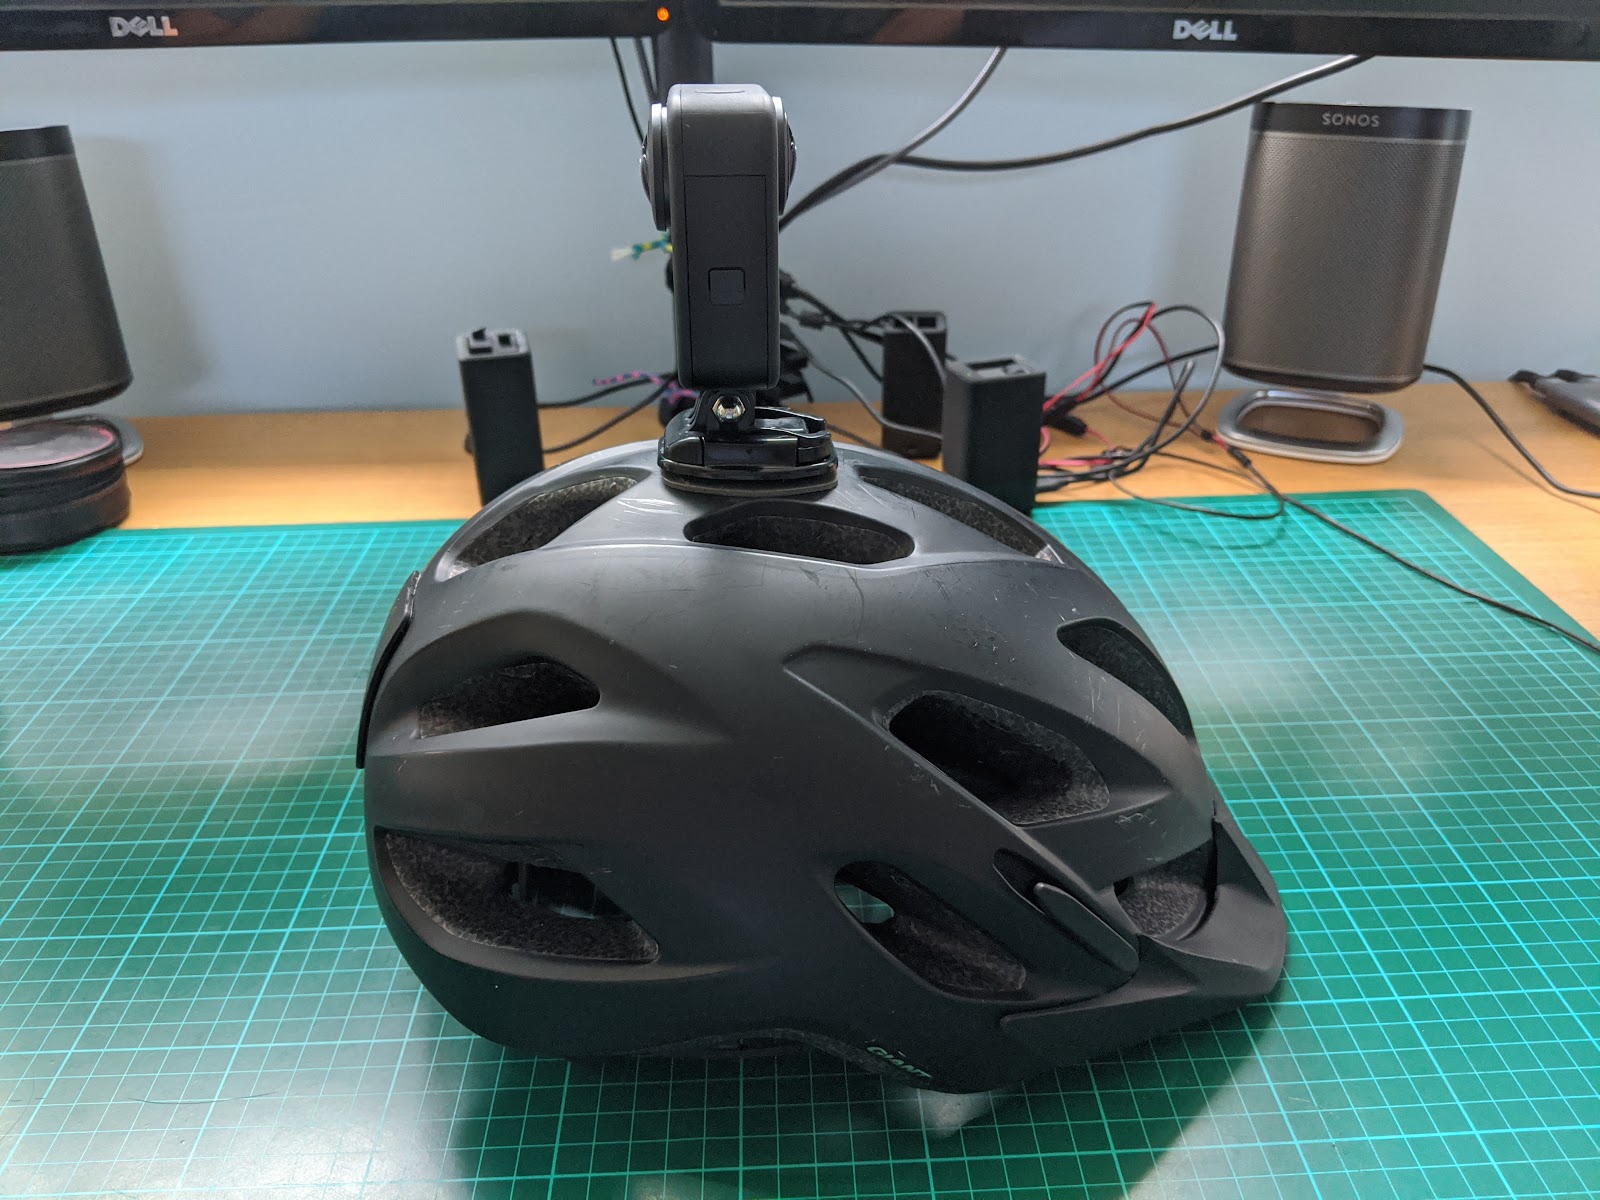
Dive mount
Setting up the Underwater Pack
The Underwater poses unique limitations. Therefore it requires some additional kit for your shoot.
Set up a GPS logger / surface buoy
Firstly, GPS won’t work underwater. Therefore you need to use the standalone GPS tracker to do this (I use the Columbus V-1000 GPS logger).
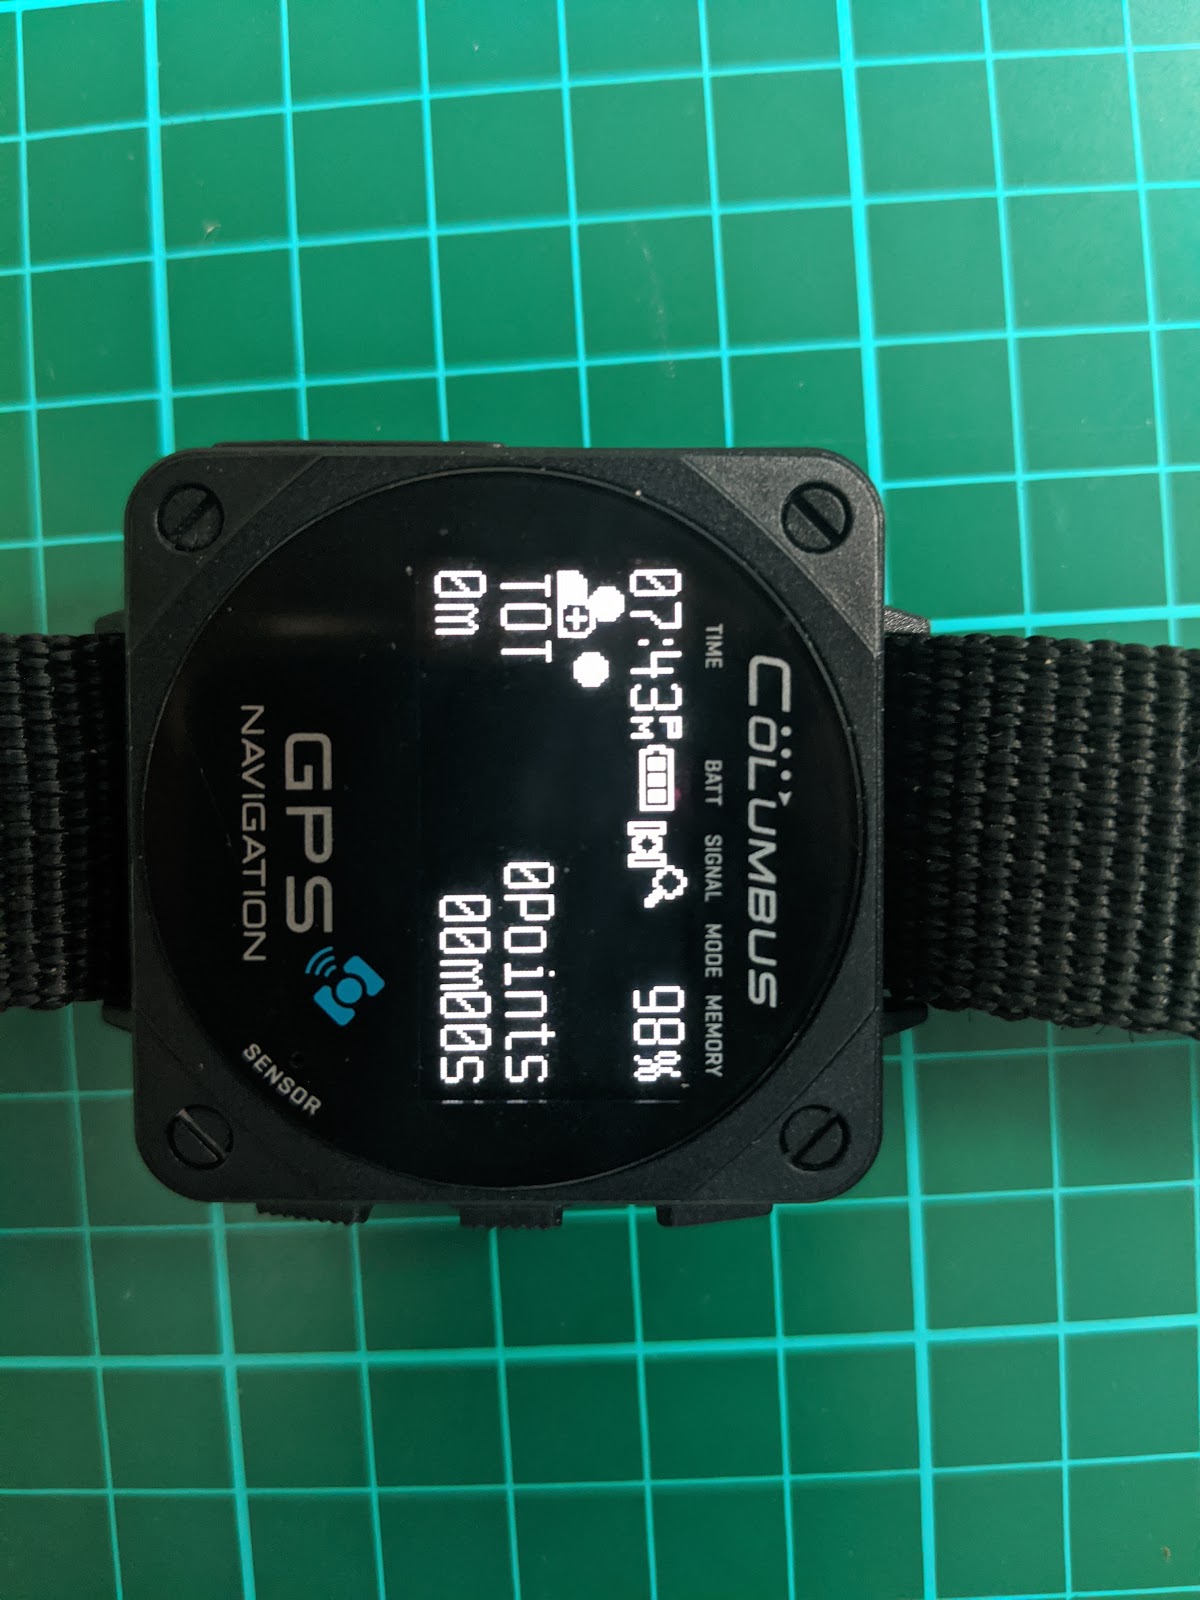
You do have the option, if you don’t want to invest in a GPS logger and are not worried about taking your phone out onto the water, to use it as a GPS logger.
Mobile phones on land generally offer better positional accuracy where mobile signal is available.
Out on the water (away from onshore mobile signal) they generally rely on the same technology as GPS loggers to record location.
There are lots of apps that can perform GPS logging functions (search GPS logger). Ideally what you want is a tracker that will log telemetry (at a minimum; time, latitude, longitude, and altitude) to a CSV file.
I have tested the two below which, from my own usage, seem to perform well and meet the above requirements:
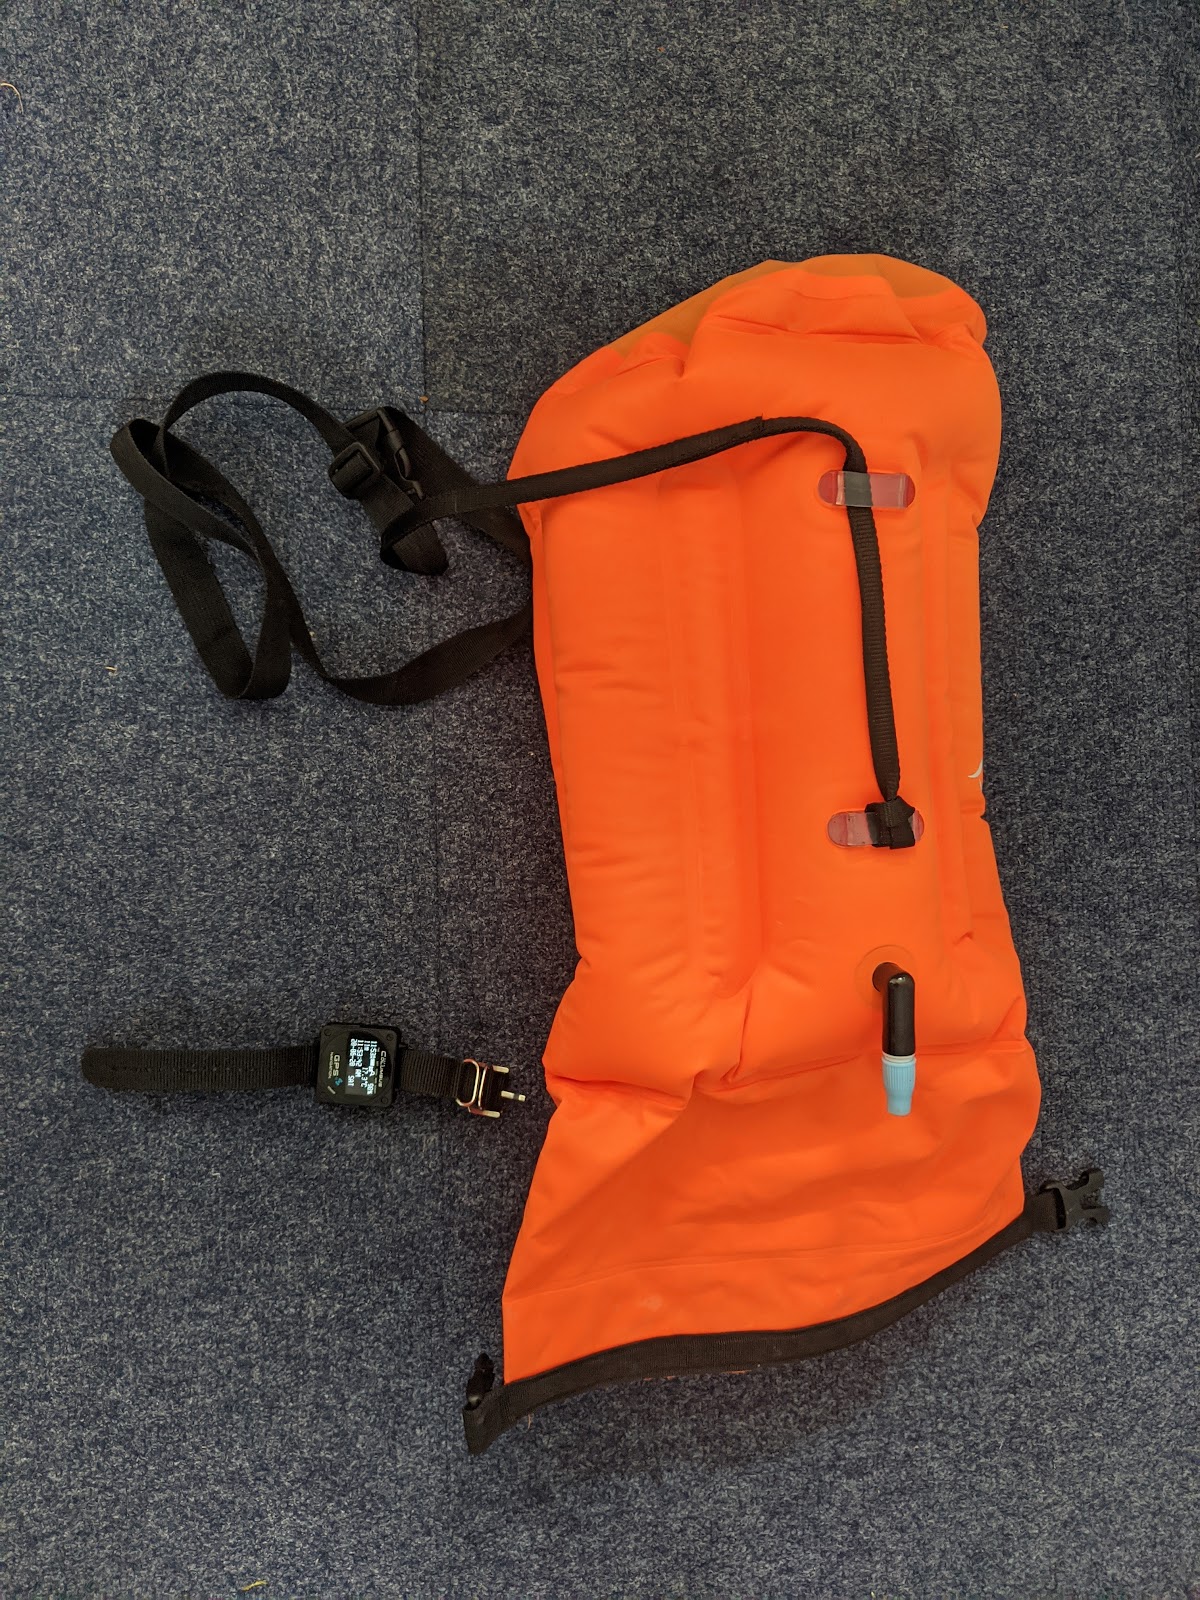
You can attach the GPS device to a surface buoy. Don’t worry about placing the GPS tracker inside the buoy (if possible) – GPS will work through plastic.
When you’re ready to get in the water, tie a dive rope attached to the buoy to your dive belt (it will be less obtrusive this way, versus mounting it to the bubble). Once in the water, the aim is to keep the dive rope between you and the buoy as tight as possible so that the surface buoy records your position in the water as accurately as possible.
One limitation of this approach is that the surface buoy will only record horizontal position, and not depth.
Note for those with dive computers
We have omitted dive computers from this documentation simply because of their cost.
If you do have a dive computer that can record time, position in the water (latitude and longitude) and depth, you can avoid having to use a separate GPS logger and surface buoy.
The only requirements is that the recorded track can be exported from the dive computer onto your computer once out of the water.
Camera case
Due to the refraction of light, some cases MAX cases can be problematic
To counter this, I user the 360bubble case.
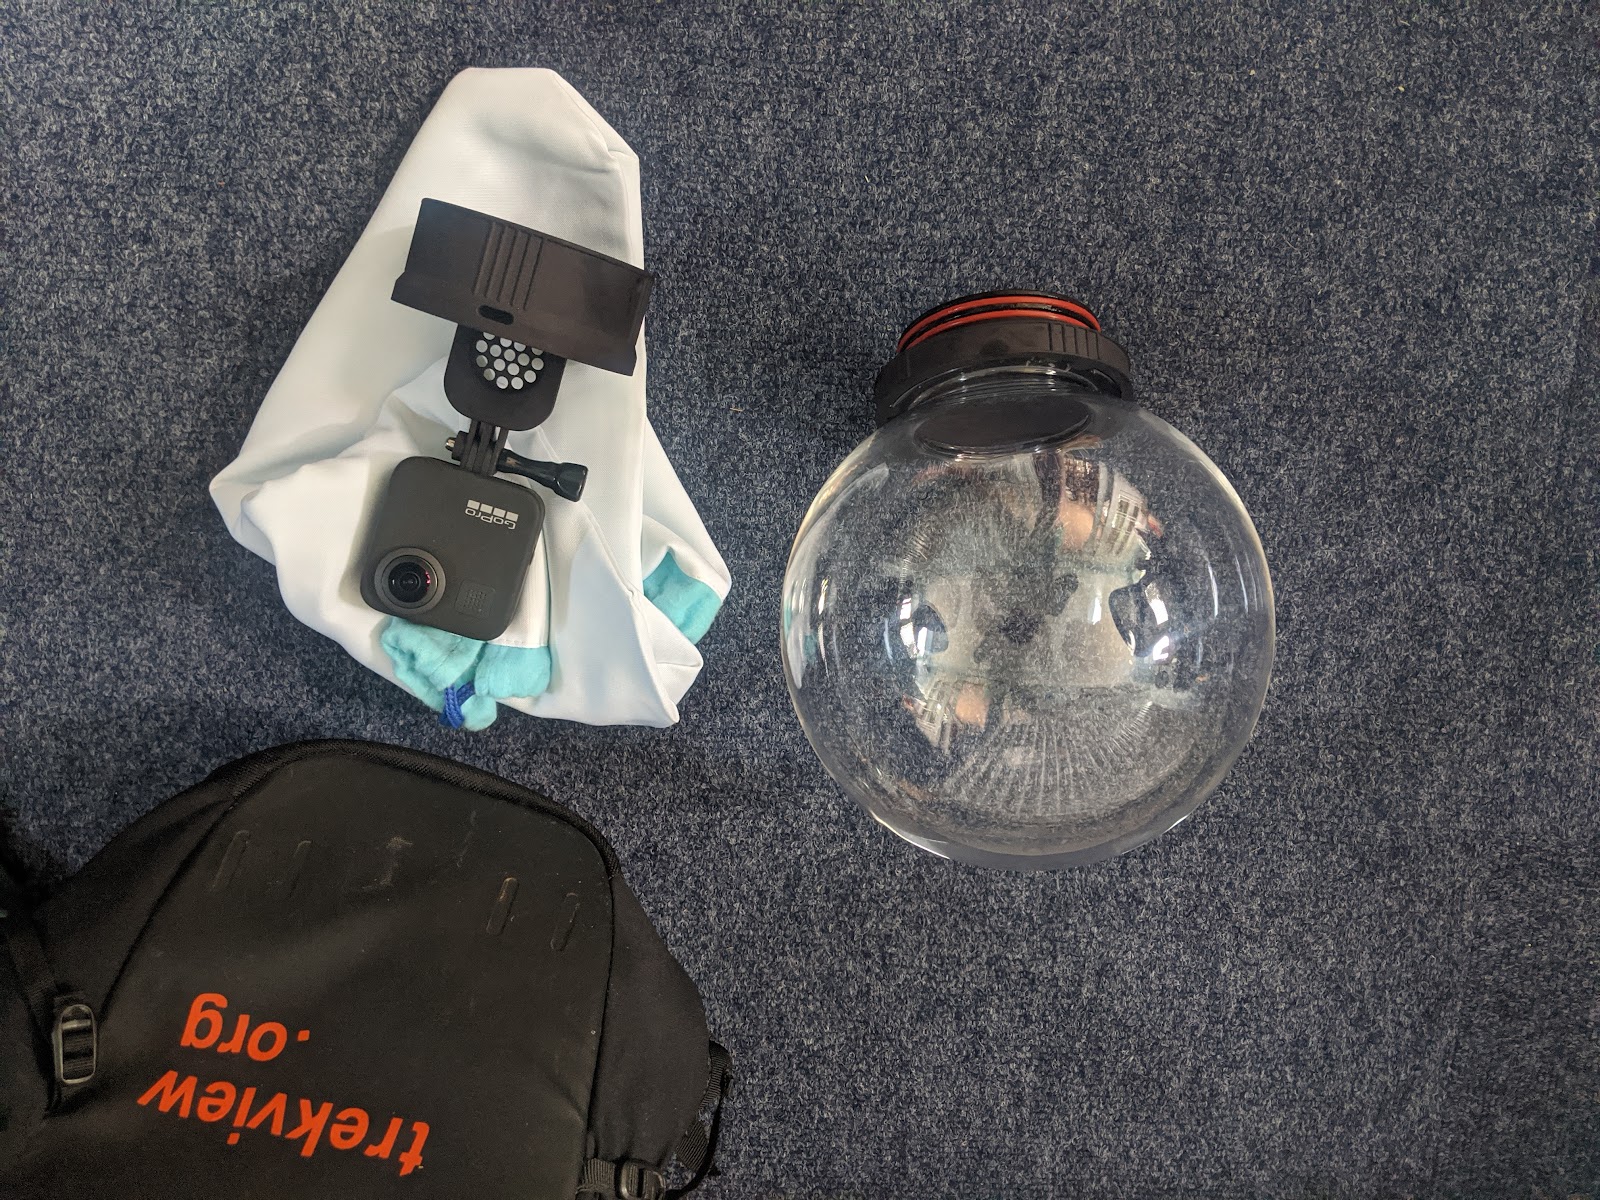
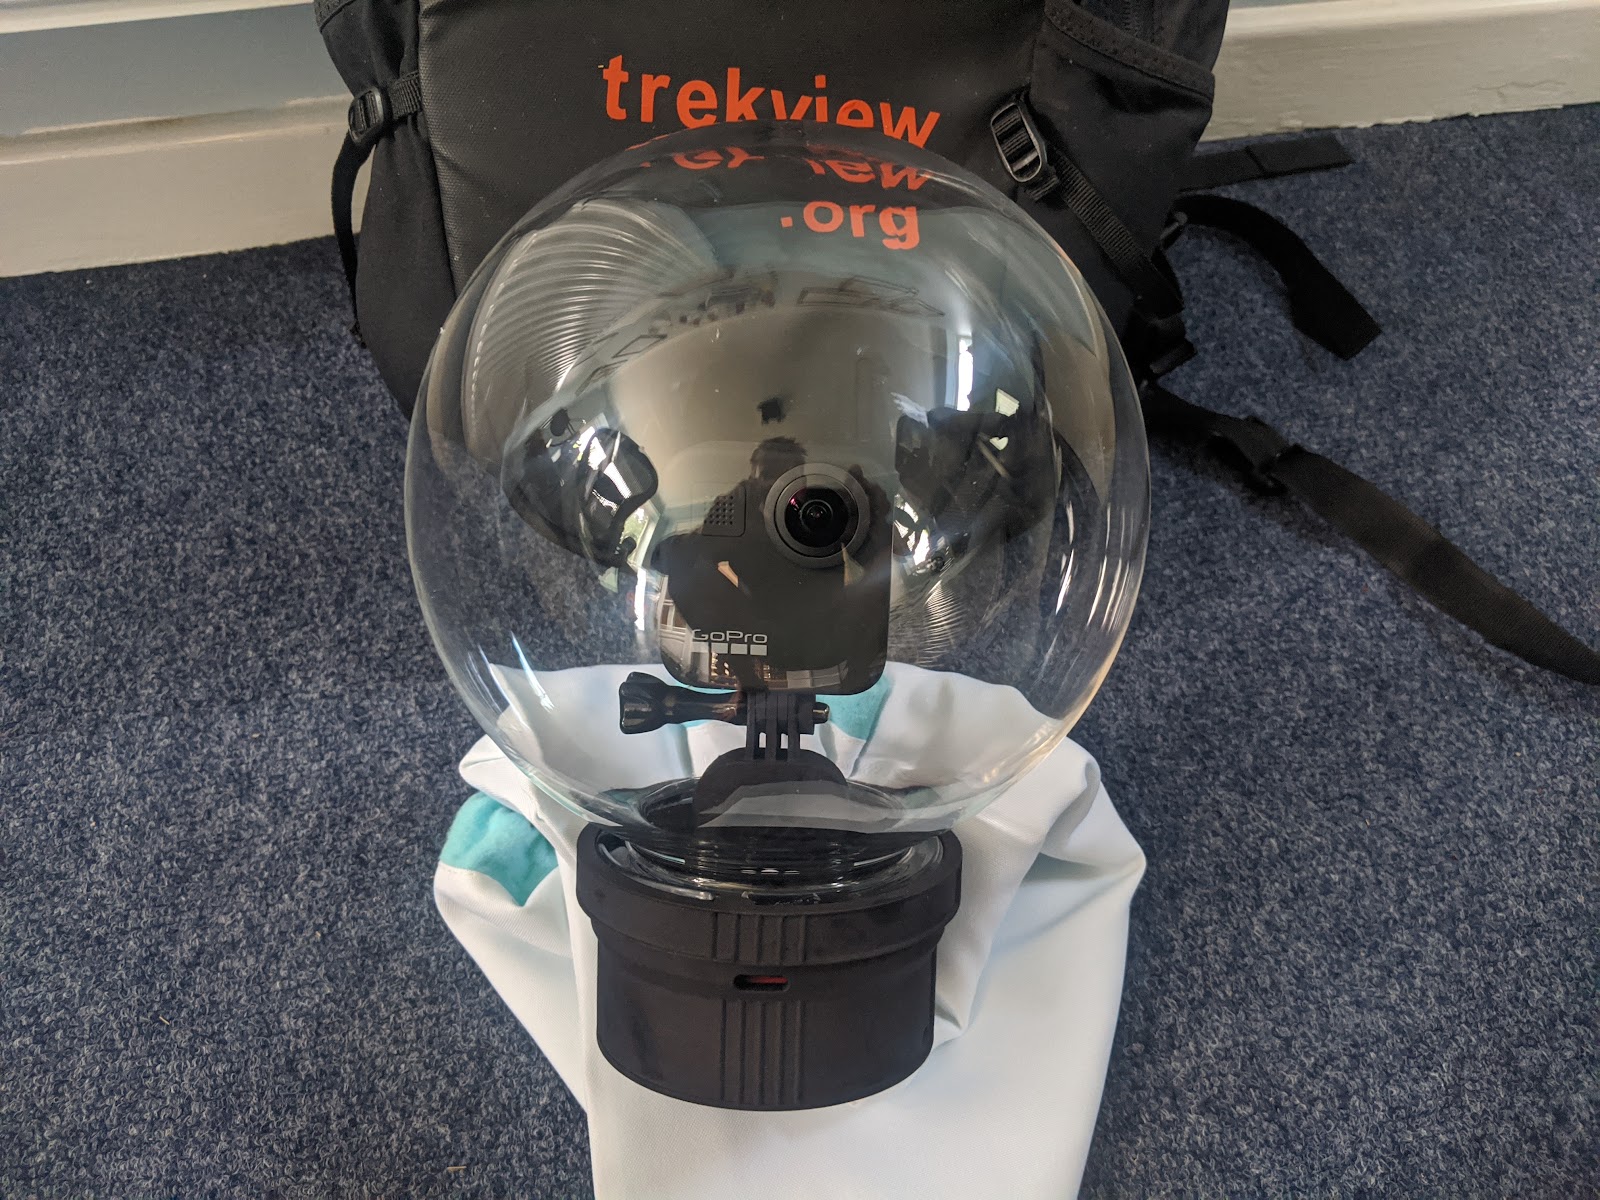
The bubble will need about 4.5 kg of dive weights to be neutrally buoyant in the water at surface level.
A note on snorkelling
Due to the way the weights are mounted to the bottom of the 360bubble and the volume of air inside it, the 360bubble must be used in the upright position (with mount at base). You will quickly realise this when in the water.
This is less important when using for scuba diving when you will be at some depth in the water and can hold the 360bubble above your body. For snorkelling on the surface, this becomes more problematic as you have to hold the 360bubble beneath than your body in the water.
For snorkelling we recommend a more agile case (with minimal air volume, hence lower buoyancy, and no weights needed). The trade-off being; lower perceived image quality, lighting issues, and a noticeably increased size of stitching lines in photos/video.
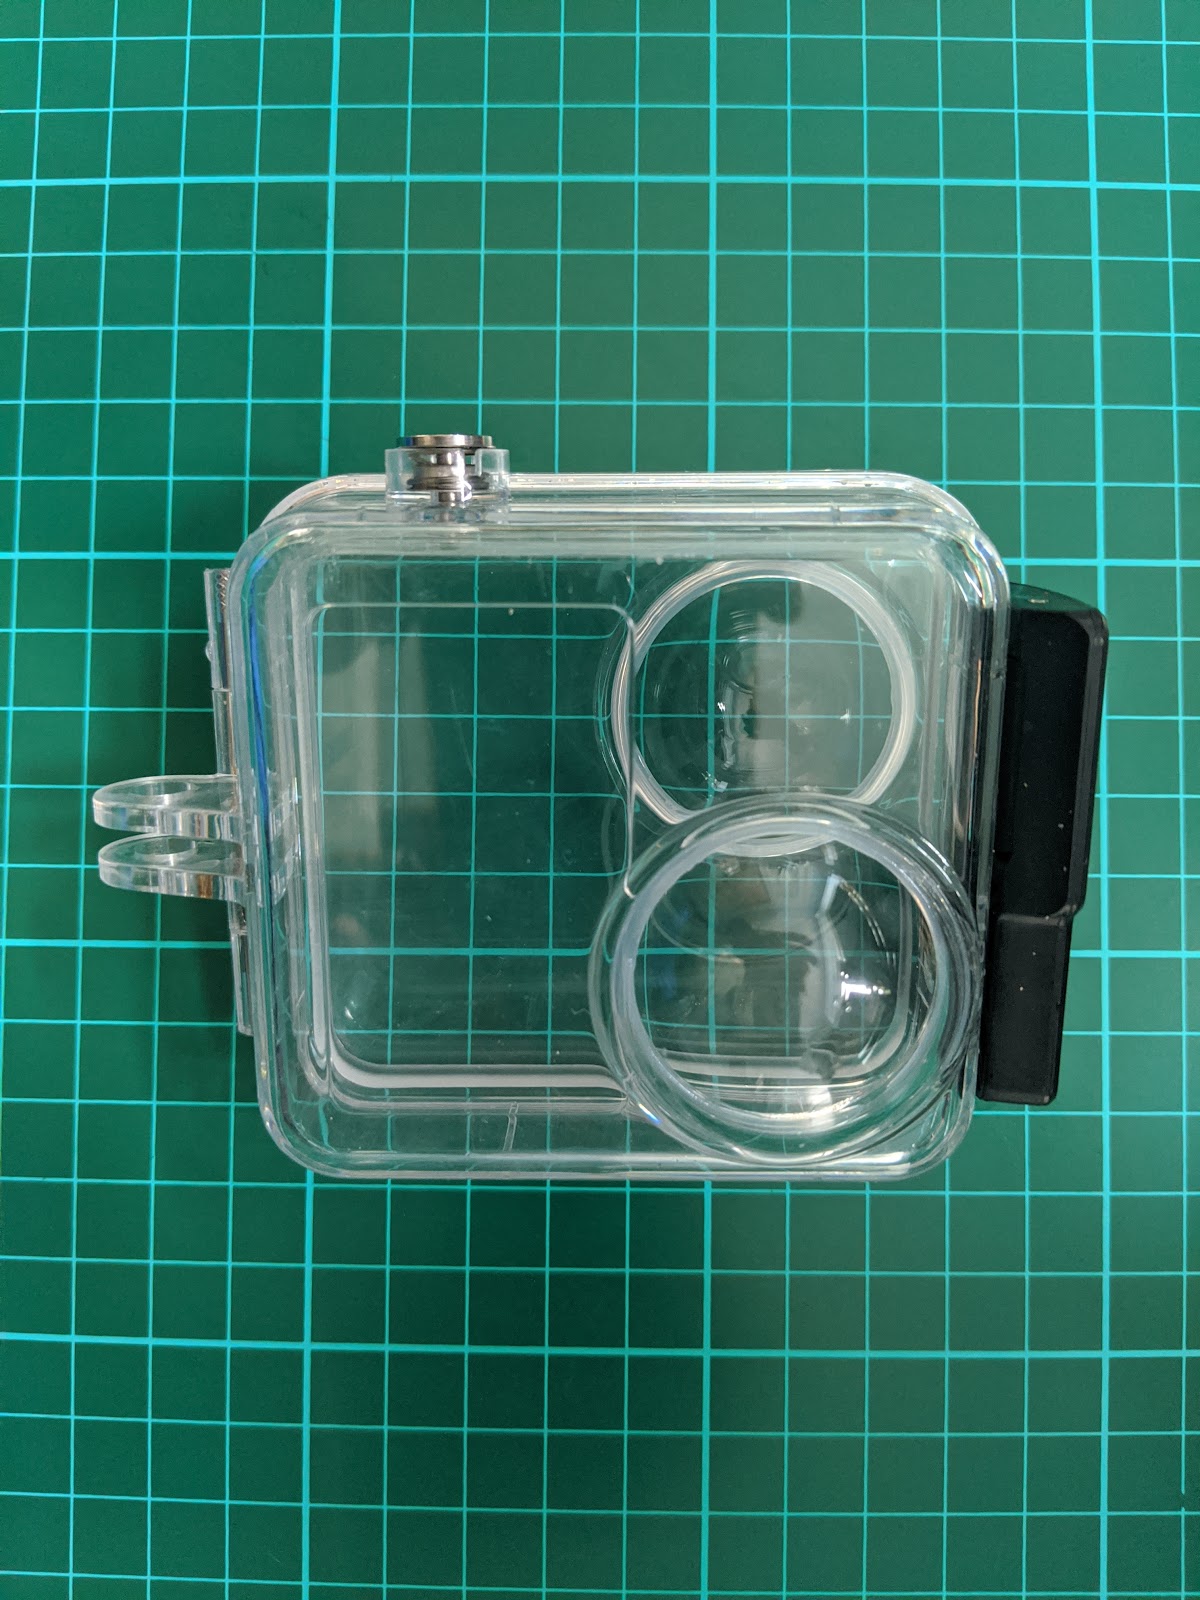
These cases can be picked up on eBay and Amazon fairly cheaply.
