In the first part of this post I will show you how to turn a video into a series of images for more flexible editing options.
In the last year I’ve covered topics about the metadata found in a 360 video, how to extract a GPS track from them, and video compression.
The problem with video files is they’re often difficult to work with as a beginner.
Let’s say you wanted to cut the first 20 seconds of video from your capture whilst standing still. Removing the first 20 seconds is trivial in many programs.
The problem; many software programs will completely strip the GPS telemetry from the video if you do this, others will remove other important metadata from the video, such as [XMP] ProjectionType (used by software to recognise the video as either 360 or 2D).
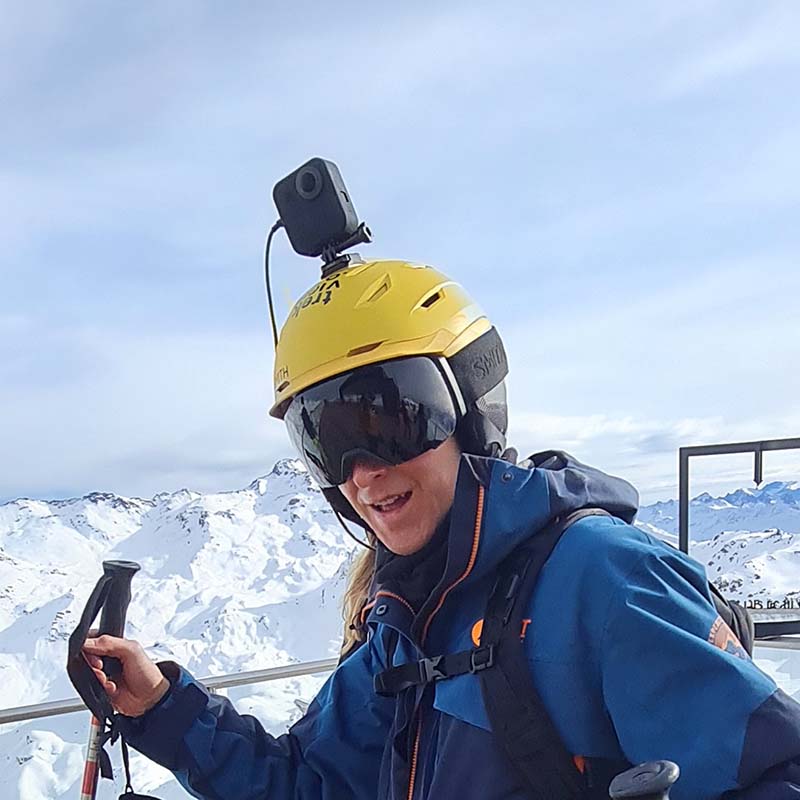
I’m yet to find the perfect 360 video editing tool for mapping. This is one of the reasons we don’t recommend capturing virtual tours in video mode using the Trek Pack.
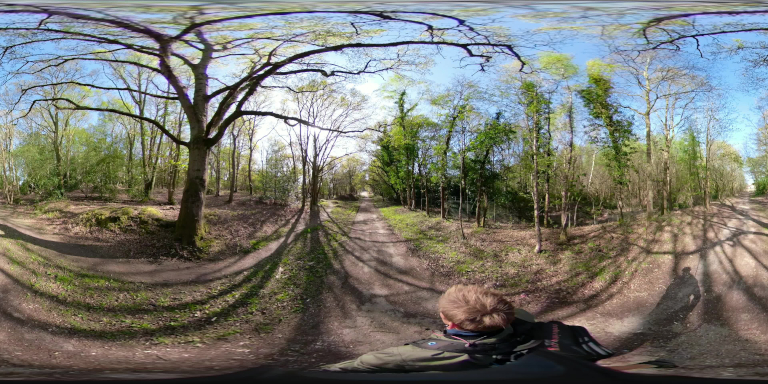
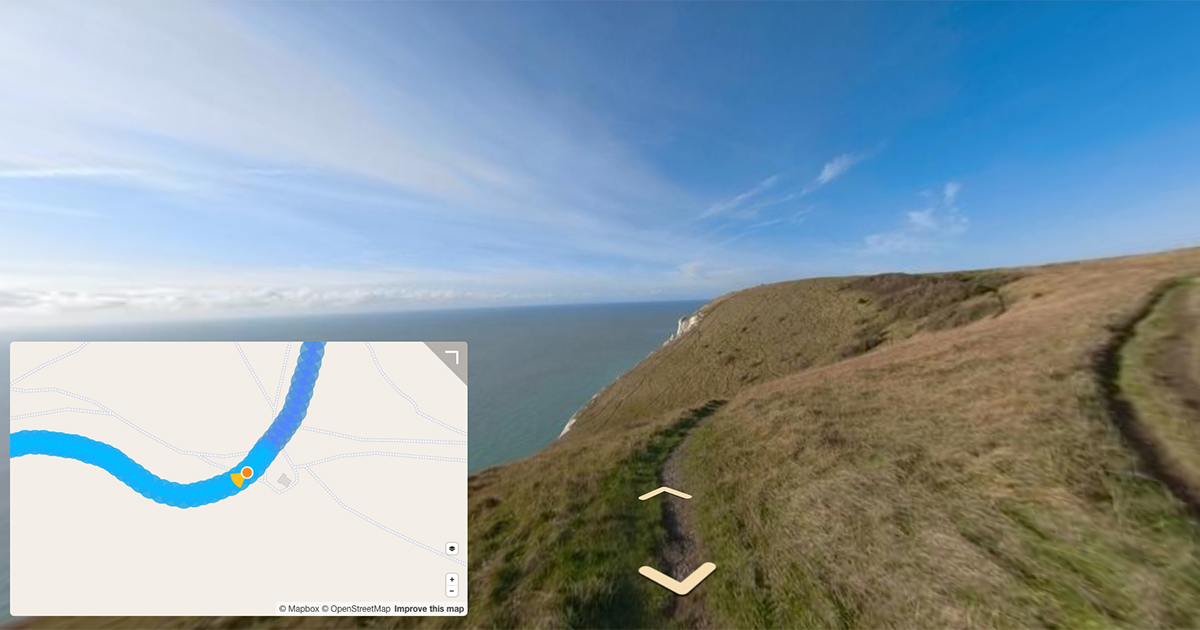
That said, sometimes you might have captured a brilliant video of a trail – perhaps skiing a piste or a downhill MTB trail – where your intention was not to use the images for mapping, but to share with friends on YouTube, however, now realise that video would be great to use on Mapillary or Google Street View.
In such cases it’s possible to convert the video to images (with the help of ffmpeg).
1. Preparation
For this guide I’ll be using ffmpeg, a free and open-source project consisting of a vast software suite of libraries and programs for handling video, audio, and other multimedia files and streams.
The demo video will be an .mp4 video filmed using a GoPro Fusion with GPS enabled shot at 5.2K and the final file encoded using H.264 at 4K at 30 FPS using GoPro Fusion Studio (no Protune). The file size is 86.2MB and runs for 16 seconds.
2. Split video into frames (individual photo files)
Taking the .mp4 file, I can break it down into 1 second frames at desired intervals using ffmpeg.
I’m going to use .jpg for the output into a directory called FRAMES (note for filename, ‘%d’ is replaced by the image number).
CLI input:
$ ffmpeg -i VIDEO_7152.mp4 -r 1 -q:v 2 FRAMES/img%d.jpg
This command includes the following arguments:
- -r: Set frame rate (Hz value, fraction or abbreviation).
- -q:v: Controls the quality of output

In total this gives me 18 .jpg files (img0001.jpg…, img0018.jpg).
If you want a higher (or lower) sampling rate, just change the -r value (e.g. -r 0.5 = 2 frames per second). Don’t forget to check the sampling rate is not greater than the framerate of the video.
A note on video capture and quality
I mentioned at the start this video was show in 4K.
4K (3840 x 2160 or 4096 x 2160) is about 8.5 megapixels.
Looking at the metadata of the video, the reported image size is 3840x1920 or 7.4MP.
[Main]          ImageSize                       : 3840x1920
[Main]          Megapixels                      : 7.4
[Main]          AvgBitrate                      : 45.2 Mbps
The reason why this happens is described in this post.
3. Re-embed metadata
ffmpeg strips frames of metadata when converting from a video file. The metadata includes things like timestamps and GPS, both are crucial pieces of information when mapping.
I’ll show how to re-embed metadata next week…
We're building a Street View alternative for explorers
If you'd like to be the first to receive monthly updates about the project, subscribe to our newsletter...


