Trek Pack v1 Kit Setup
What's in the box, what it looks like...
The Trek Pack v2 is now available (June 2020). Click here for more information.
Kit Setup
The Camera
Basics
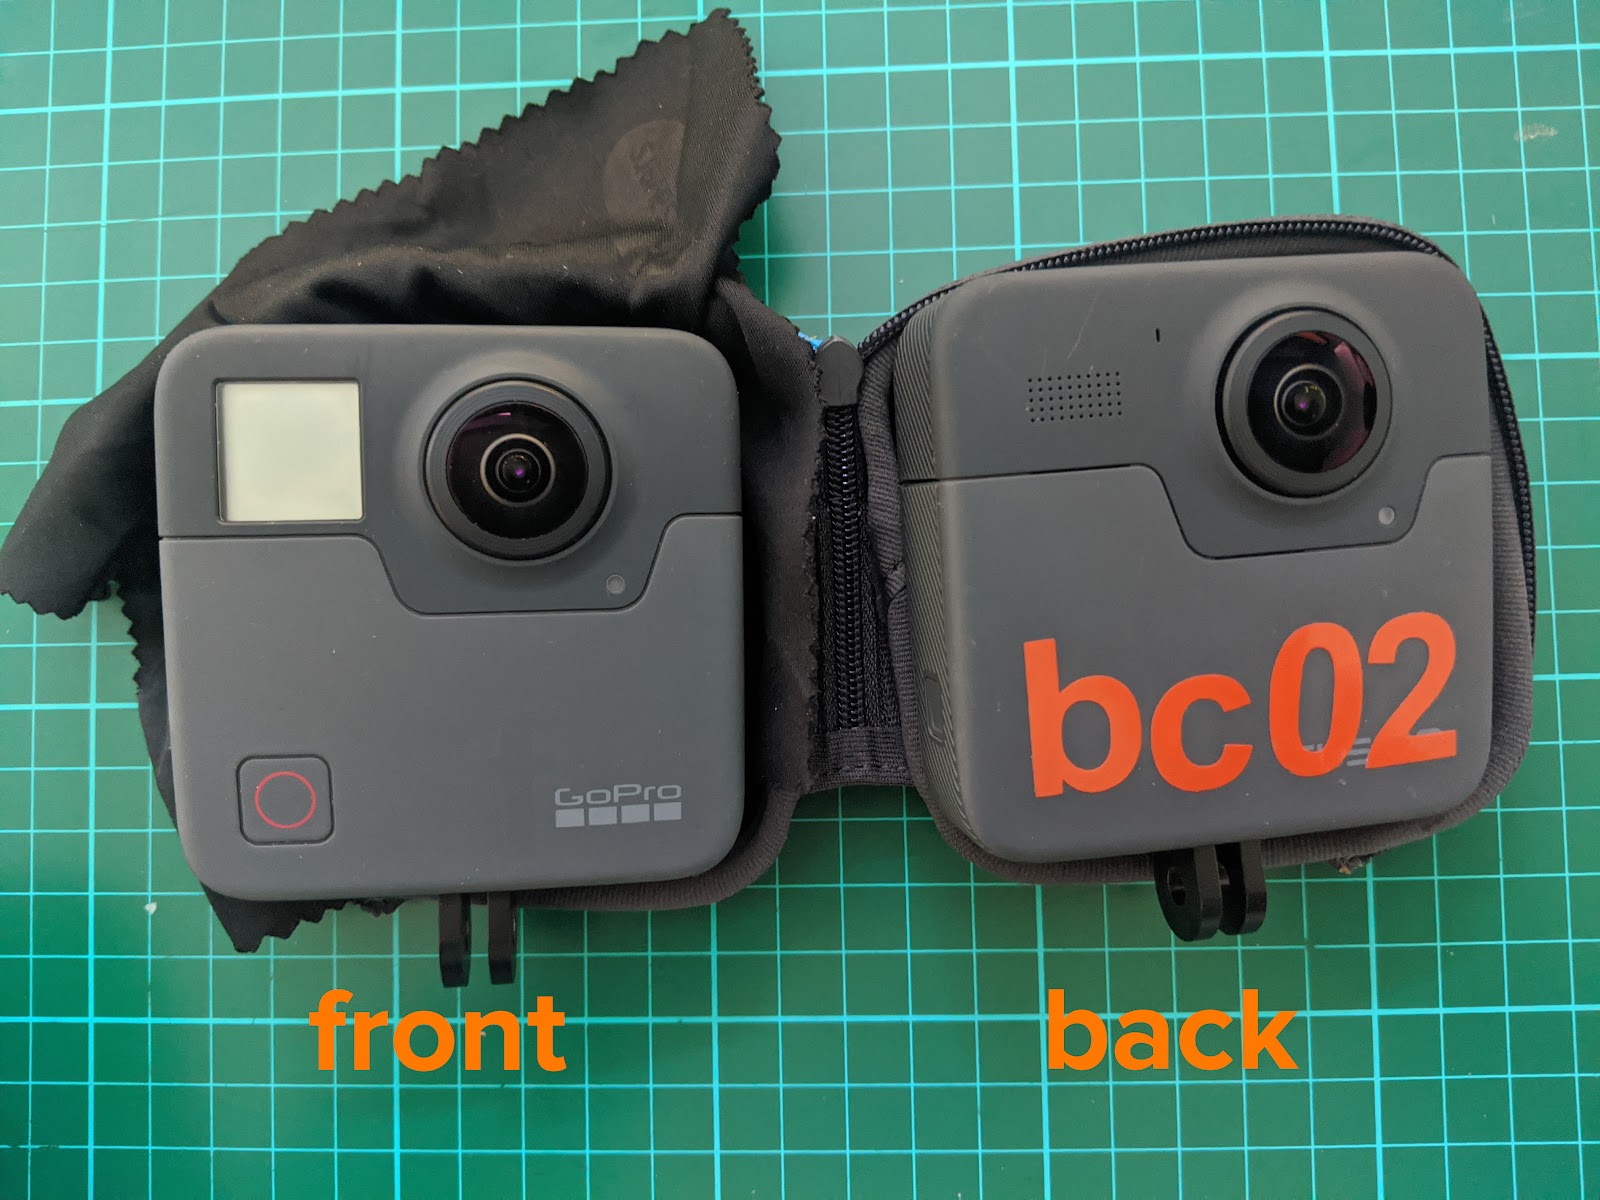
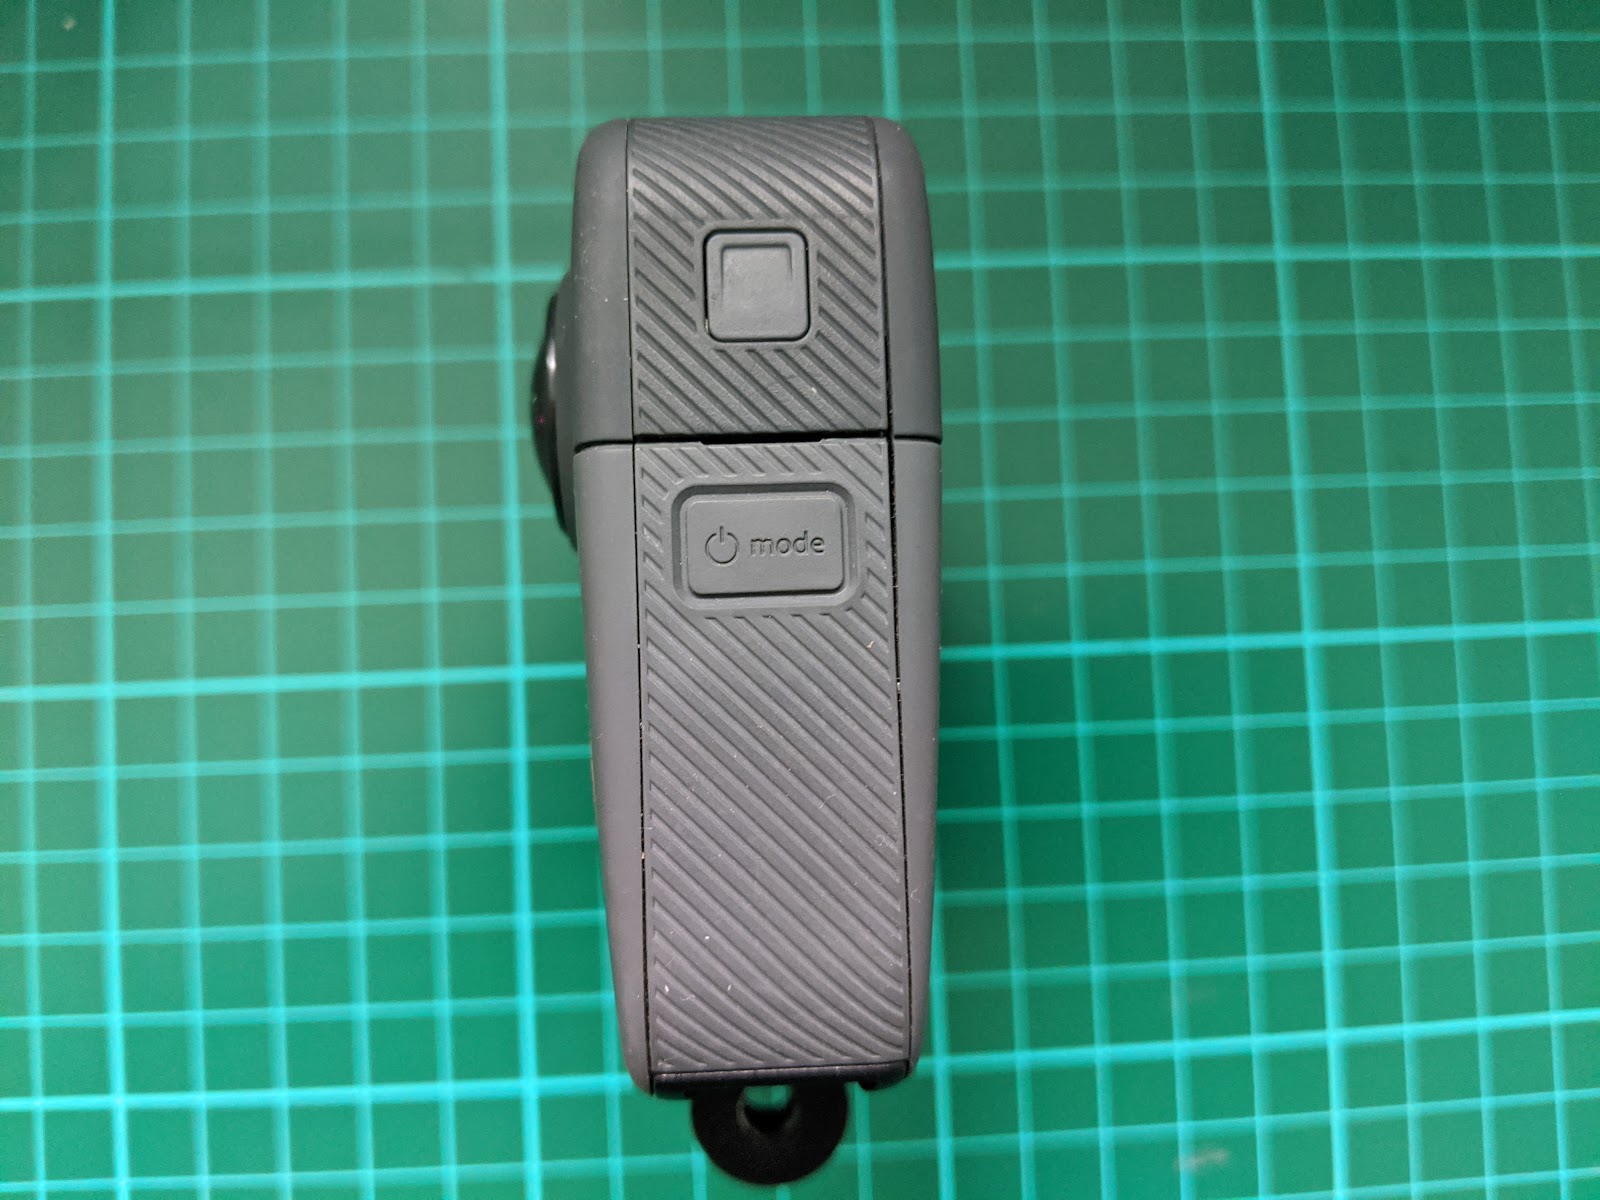
Setting correct time
It is also important that the camera time matches the local time. Go to the settings menu to modify camera time.
The GoPro Fusion will timestamp each photo with two times, 1) the time set on the camera, and 2) the time reported by GPS. It is not a critical problem if the timestamps differ, however, differences in timestamps can cause avoidable issues later on for other pieces of software.
Turning on "Beeps"
You can turn on sound (beep) to indicate key actions on the camera (when a capture is started or stopped, the camera is turned on or off, etc.).
This is a particularly useful setting with the camera mounted on your pack (especially when the battery runs out) -- so you don’t continue trekking, to realise the camera has stopped shooting.
GPS
In order to map your images, they must be geotagged. The GoPro Fusion will automatically add latitude, longitude and altitude data to your images if this setting is enabled (and the camera can lock on to a GPS signal).
By default, this is enabled. You can toggle (and double check this) under the settings under the Settings menu.
Before shooting, check the marker icon is block coloured (not just an outline). This confirms the camera has locked on to a GPS signal.
GPS A word of warning
Sometimes the GoPro Fusion will lock onto a GPS signal immediately after being turned on. In many cases, we have found this is a bug and will cause all the photos to be tagged with the same coordinates.
We have observed this happening when the camera is warm (e.g has been restarted after already shooting).
If your camera locks onto a GPS signal immediately, we recommend you turn off the GPS setting under the Setting menu, select save, and then toggle it on, and select save. We have found this prevents any corruption of GPS tagging.
Protune
You can play around with the ProTune settings -- they’re particularly useful in low light settings.
Usually the default settings will suffice for most environments.
Beware of over stylising photos if you plan to upload the images to online services. For example, the Google Street View policy states:
Stylistic adjustments (such as applied filters) are acceptable, provided that these stylistic changes are minimal and are not appended elements such as borders, text, collaged images, etc.
Limitations
Waterproofing (rain)
Whilst the GoPro Fusion is waterproof, rain poses a problem. It won’t damage the camera, however, even in light rain showers droplets will form on the lens. Not only are these visible in the photos, raindrops also cause issues with the cameras ability to focus correctly leading to blurred photos.
Storage
The 128GB memory card should hold around 50,000 photos / 5 hours of video. You shouldn’t need to worry about space running out if you’re shooting photos alone (the battery will be more of an issue).
If you are using a smaller memory card, beware, it can quickly fill up in video mode.
A word of warning; just deleting photos from the SD cards will not delete them entirely. The SD cards have a hidden .trashes folder which stores a copy of the deleted photos (useful for recovery).
To permanently delete the .trashes folder and free up the space, you can insert the SD cards into your computer (using the USB adaptor supplied) and selecting “Empty trash” on your computer (the same “Empty trash” function you would use to delete files locally).
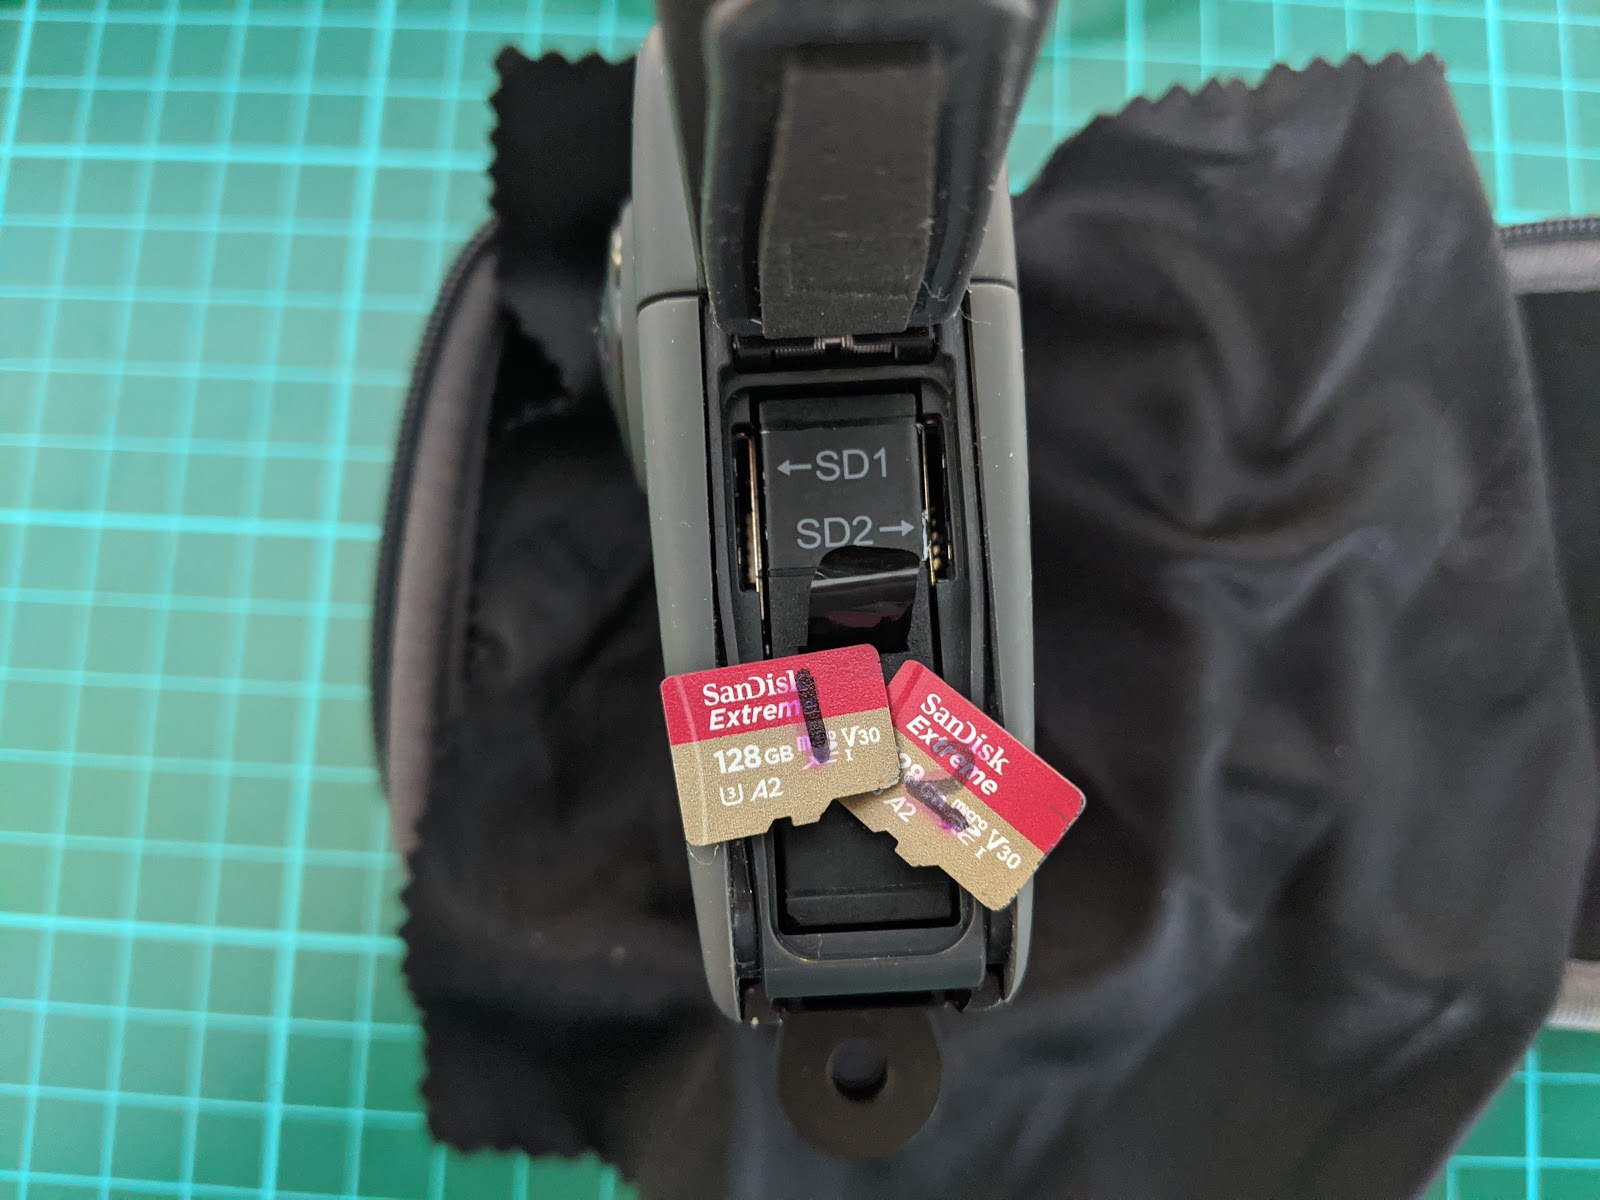
Protip; The cards are formatted to each slot, and must always be replaced in the corresponding slot otherwise the camera will show an error when turned on. It's therefore worth marking the SD Cards with 1 and 2, so you can easily identify them.
The Pack
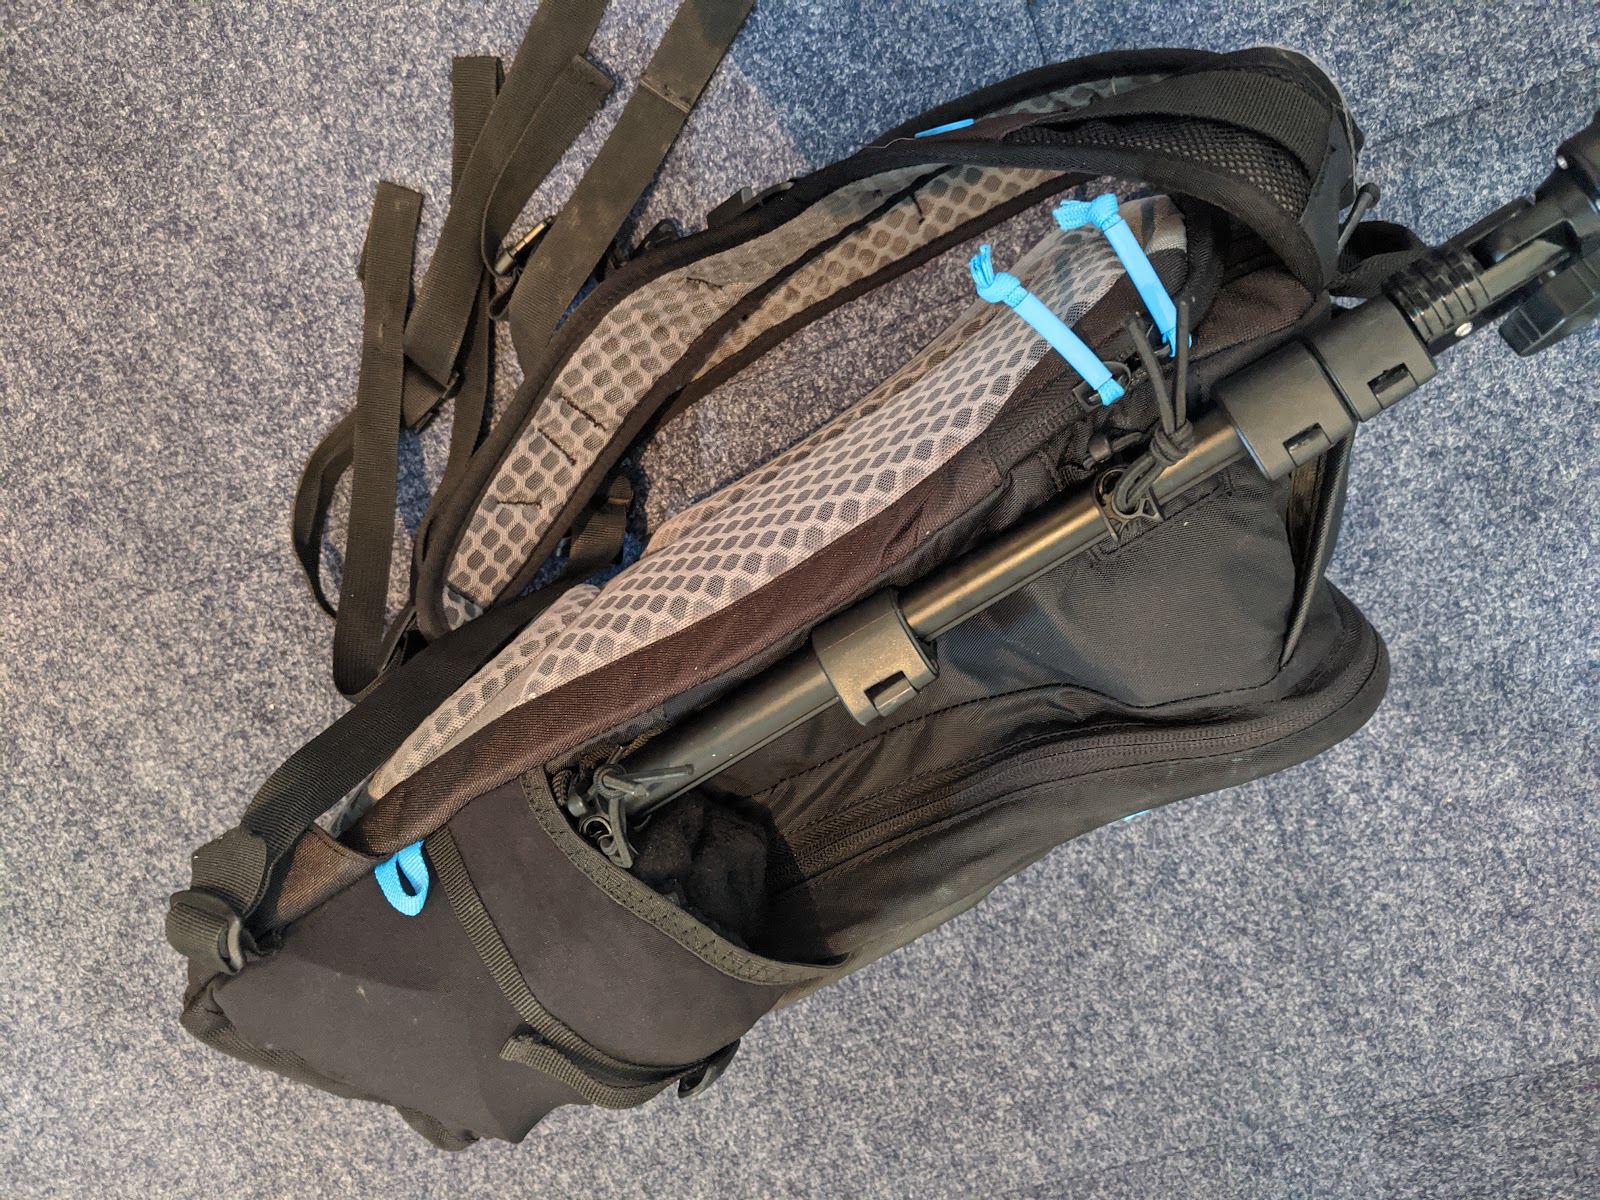
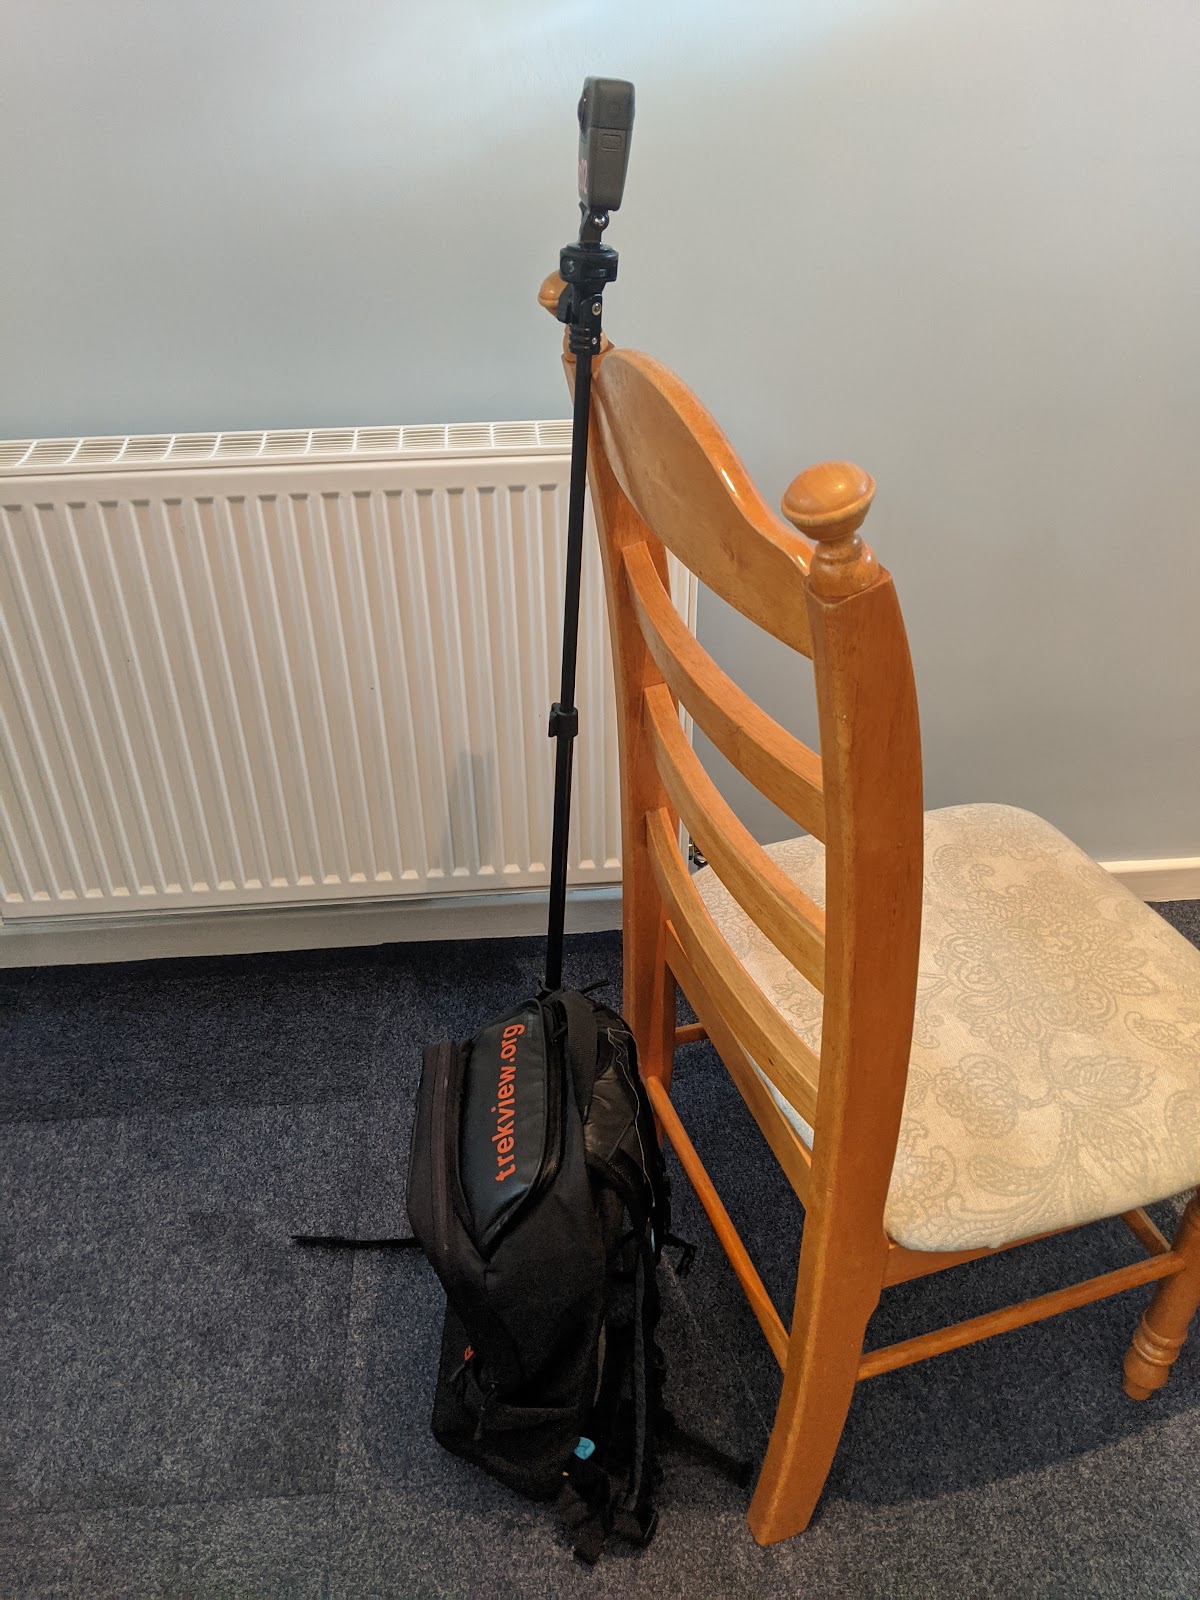
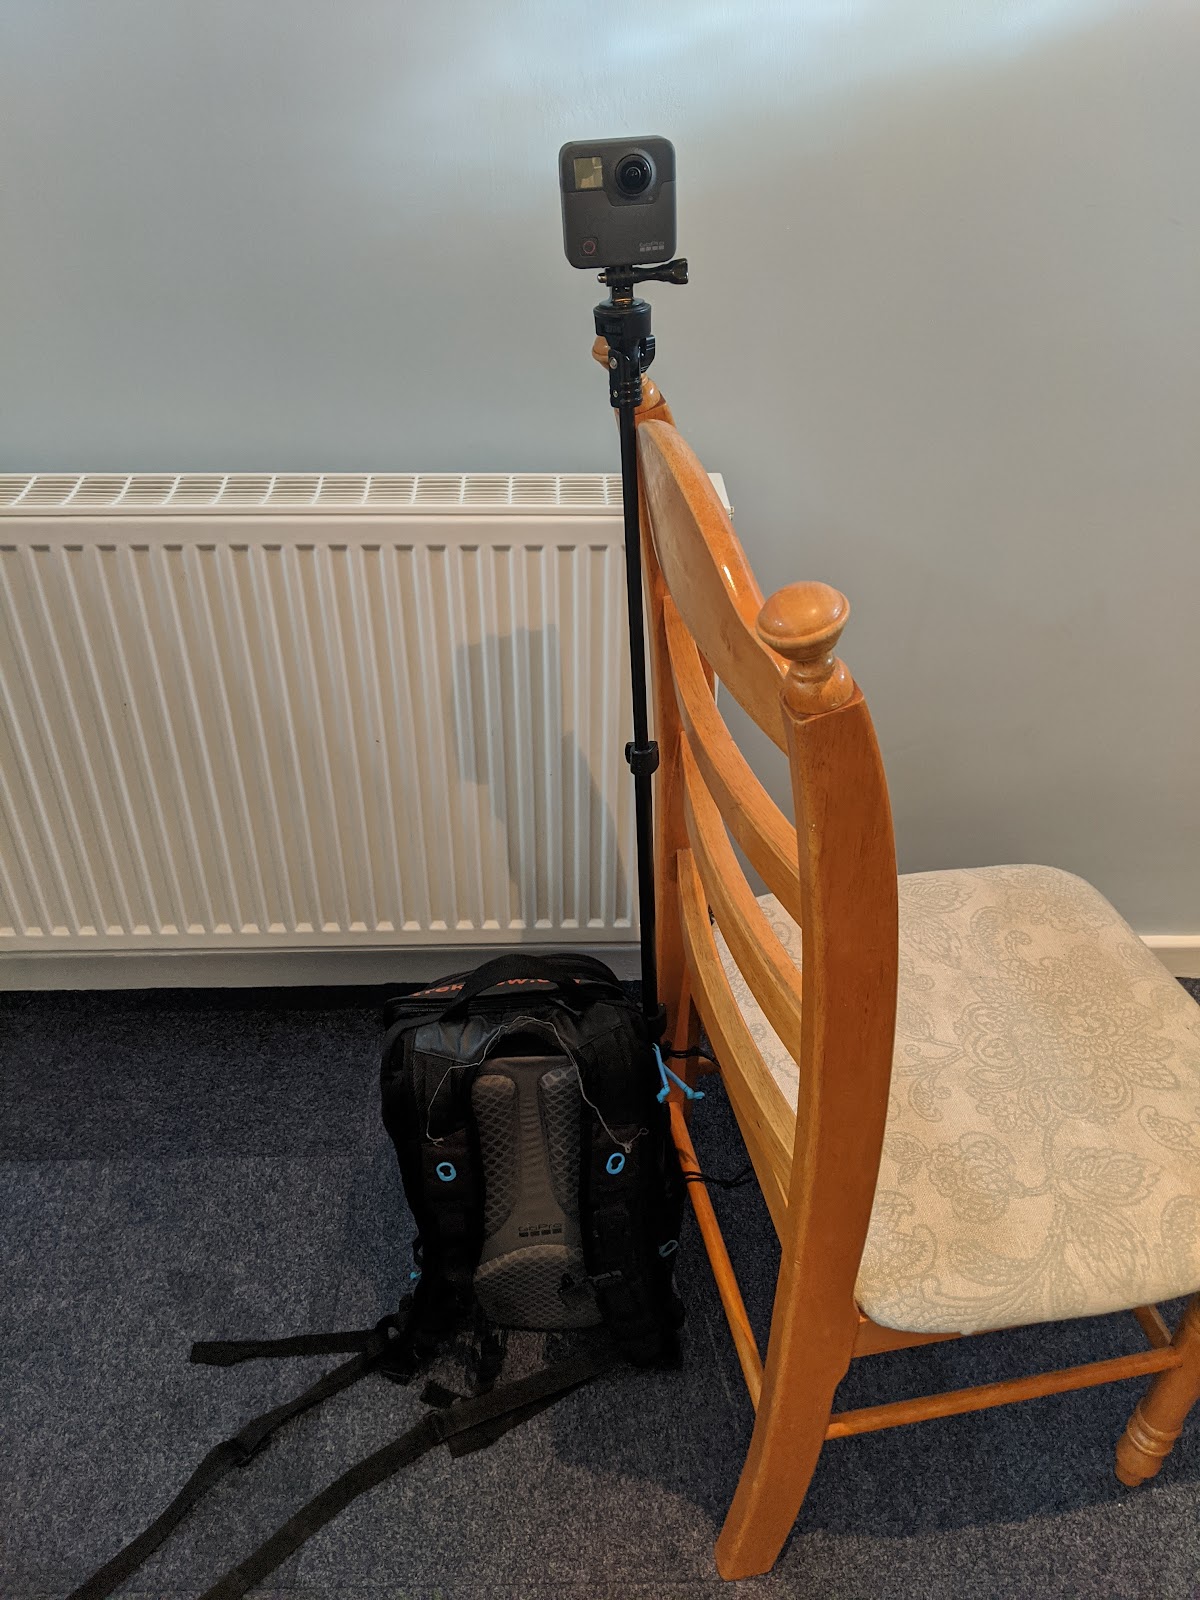
For this I use a GoPro Seeker pack and set it up as follows....
Modes
The GoPro Fusion supports both video and timelapse image photography in 360 mode.
We recommend shooting in timelapse mode to create virtual tours.
However each shoot is different. When planning a shoot, there are a few considerations to keep in mind when choosing a mode.
Considerations when selecting a mode
GoPro Fusion Studio is intensive
You need to use Fusion Studio to process both mp4's the camera shoots, into a single equirectangular file.
The mode content Fusion Studio has to process, the more processing power is required by your computer.
Even on a fairly well built machine 16GB RAM / Intel i7 it can be very slow.
Therefore, if shooting very long content its often better to choose timelapse mode otherwise you might struggle with processing time / errors with Fusion Studio when processing lots of long videos.
Video mode requires a lot more power
Based on my own experience, I find that I can shoot video for about a total of 60 minutes using one GoPro Fusion battery (in short intervals, see overheating issue).
This can mean potentially having to spend over £50 on spare batteries to get 2 hours of filming time (inc. the battery supplied with the camera). You'll also have to carry them.
As a rough guide, set to a 5 second interval on a mild day (16°C), a fully charged battery can support up to 4 hours of shooting (2 second interval offers about 3 hours). Both batteries provided will therefore keep you shooting for a whole day.
The Fusion tends to overheat in video mode
Though the stock GoPro Fusion Lithium Ion batteries present a larger problem than recording time, heat. The more photos being taken, the more processing power the camera requires, the hotter the battery becomes.
To prevent damage, the GoPro Fusion will automatically turn off if it begins to overheat. In video mode, even on milder days (20C), the battery has a tendency to overheat after 20 minutes. Put it in direct sunlight, the problem gets worse, almost to the point where the camera becomes unusable.
Timelapse photos are higher resolution than videos
360 photos on the Fusion are 18mp (5760x2880).
The Fusion has two video modes, 4k (3840x1920 processed mp4 video) and 3k (3072x1536 processed mp4 video). Note, the GoPro Fusion advertised 4k, but this is not possible using mp4 codecs (only ProRes).
Post processing options are the same, whatever mode
GoPro Fusion Studio offers the same post-processing features for video and timelapse images.
Videos can produce large file sizes (but are equivalent timelapses)
8 minutes of Fusion 360 video is roughly 5 GB in filesize (2.5GB front/2.5GB back). An individual 360 photo frame shot in timelapse is about 20MB.
Shooting in timelapse mode at the highest rate (0.5 FPS) produces 120 frames per minute. That's 960 frames per 8 minutes, which works out larger than 5GB.
Keep in mind, you will also need to process the mp4 file, which will result in a 2x increase in storage required (if you want to keep a copy of the original .mp4s, which I'd recommend for future reprocessing).
The other big difference is getting access to files in the future. If you store files on other machines/cloud services, it's generally easier to download one or two images when needed. Grabbing a whole movie can take a long time on slower connections.
Video mode has a far superior frame rate
Videos can be recorded at a much higher frame rate. In video mode you can record up to 30 FPS @ 5.2k. In timelapse mode, the camera will only capture up to a rate of one photo every 0.5 seconds (2 FPS).
Travelling at 10 km/h (2.75 m/s) in 0.5 second timelapse mode will produce one photo about every 1.5 meters. Ideally you're looking for a distance of less than 5 meters between photos at an absolute maximum.
Generally this frame rate is fast enough for most human powered methods of transport (to capture 1 photo every 5 meter), which is why we tend to shoot in timelapse photo mode over video given the other considerations (especially power consumption).
