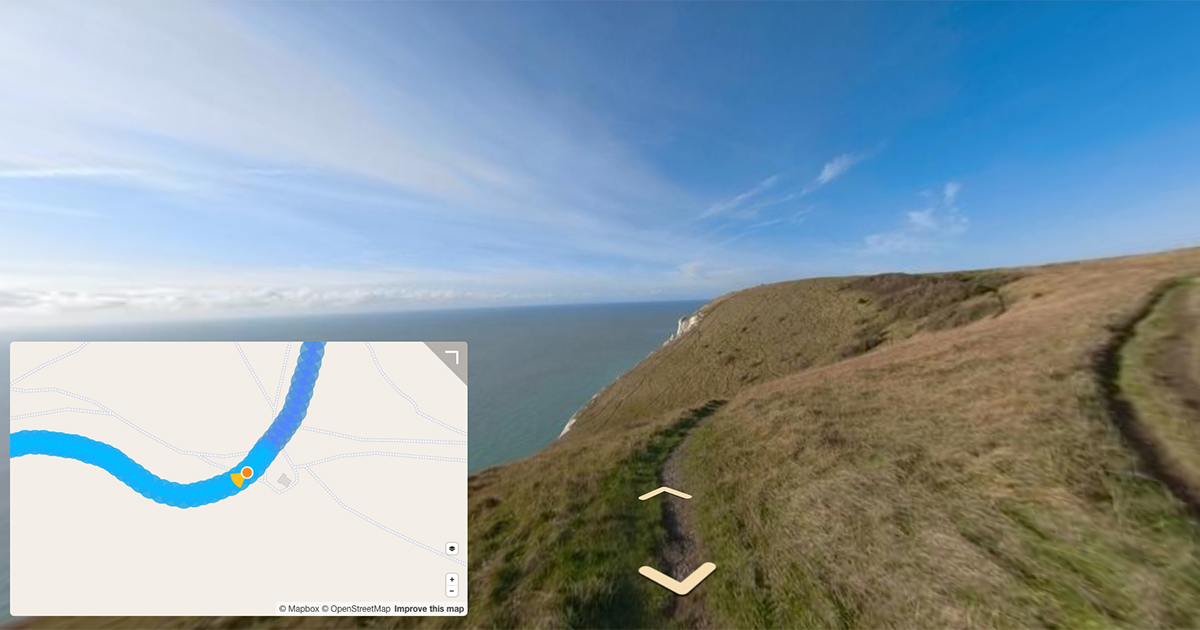
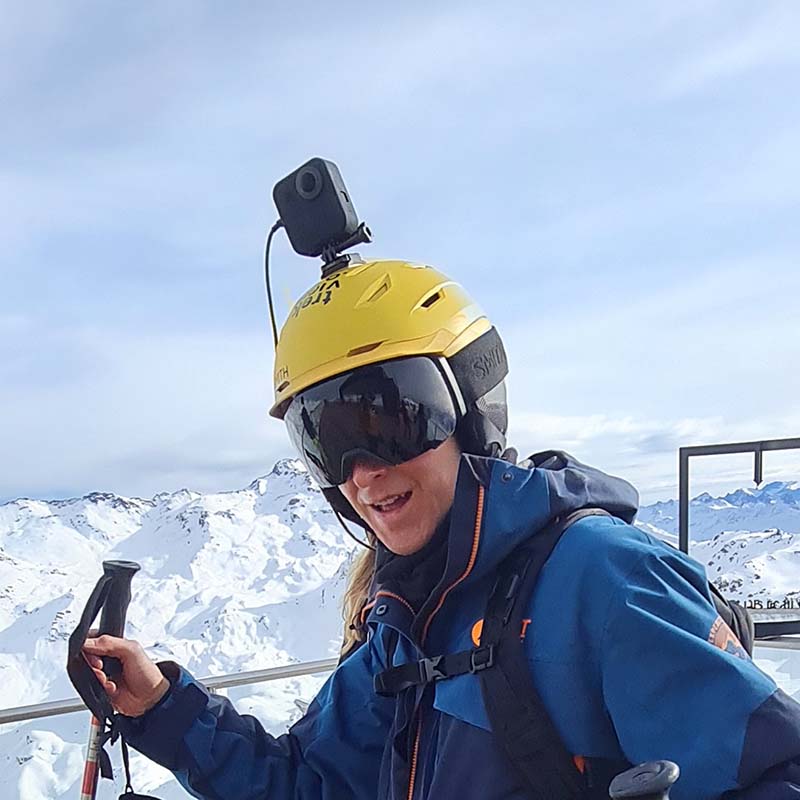
Ensure your 360 photos are loaded in 360 viewers facing the same direction as they were shot.
I’ve talked previously on a simplistic way to calculate the heading from a series of photos.
In short, you plot the two image co-ordinates and find the angle relative to North (heading) between the two.
Recently I was posed a challenge; determine the heading of the frames extracted from a GoPro MAX 360 video that was processed in GoPro Studio with World Lock enabled (so that the yaw of the image could be correctly adjusted to match true heading).
For those unfamiliar, World Lock will fix the orientation toward a fixed compass direction (the initial orientation of the video), regardless of where the camera is pointed.
Here’s a nice demonstration of me cycling in a circle with World Lock disabled;
And enabled;
Once frames are extracted from the video (and GPS lat/lon embedded into the photos) you can then use the same method employed in the post linked previously to calculate heading between photo points.
However for videos shot in World Lock you only need to calculate the heading from photo 1 to photo 2. Why? If you remember back, World Lock fixes the heading of the video to the initial heading at video start time. As a result, this means all the preceeding photo headings will be the same as the first heading calculated.
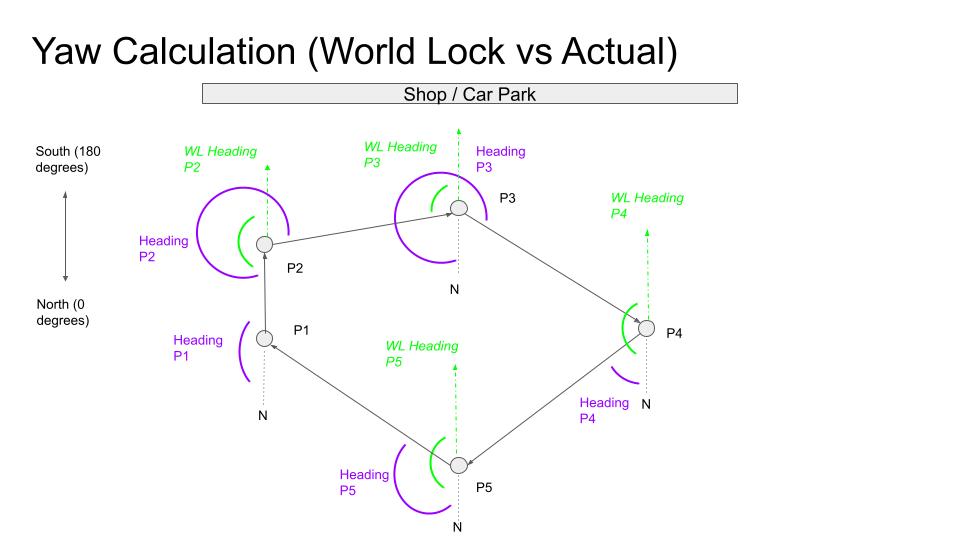
I’ve tried visualising the World Lock heading versus true magnetic heading at different points of the circle:
As noted in the previous post, the accuracy of this approach depends on;
- The spacing between photos which should carefully consider,
- The amount of direction change that occurs between first two frames
For example, in the last diagram above I am calculating the World Lock heading from P1 to P2 and assigning to all subsequent photos. Though if the frame rate of extraction was lower (fewer photos extracted), the photos would be more spaced out, and thus the World Lock heading might be calculated from P1 to P3, which would produce a very different heading result.
The example video is an extreme example. In our work most sequences are captured walking or cycling trails where the direction change is minimal at the start of a video.
Though you should remember; if you’re turning quickly you’ll need to increase the rate of frame extraction (at least for the first few frames) to ensure the initial heading calculation that will be assigned as the World Lock heading is as accurate as possible.
Let’s work through an example to demonstrate the concept more clearly. Using Trail Maker I extracted frames from the World Lock video at a frame rate of 2 FPS (with a minimum spacing of 1 meter).
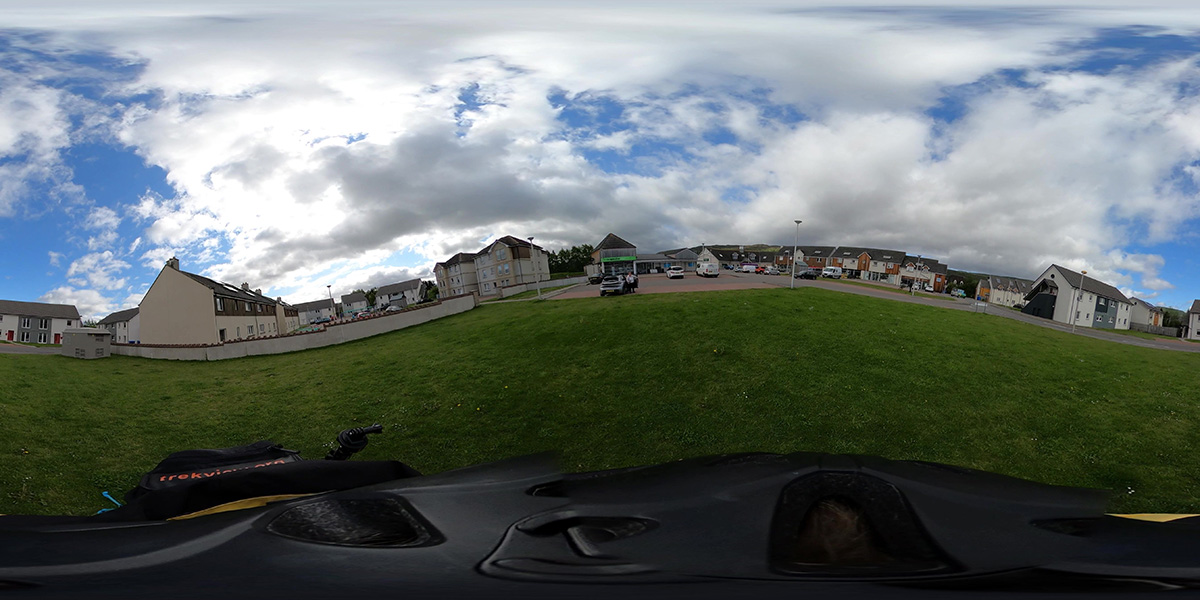
Here are a few example frames from the World Lock video.
Photo 1 (GS010013-worldlock_000001.jpg):
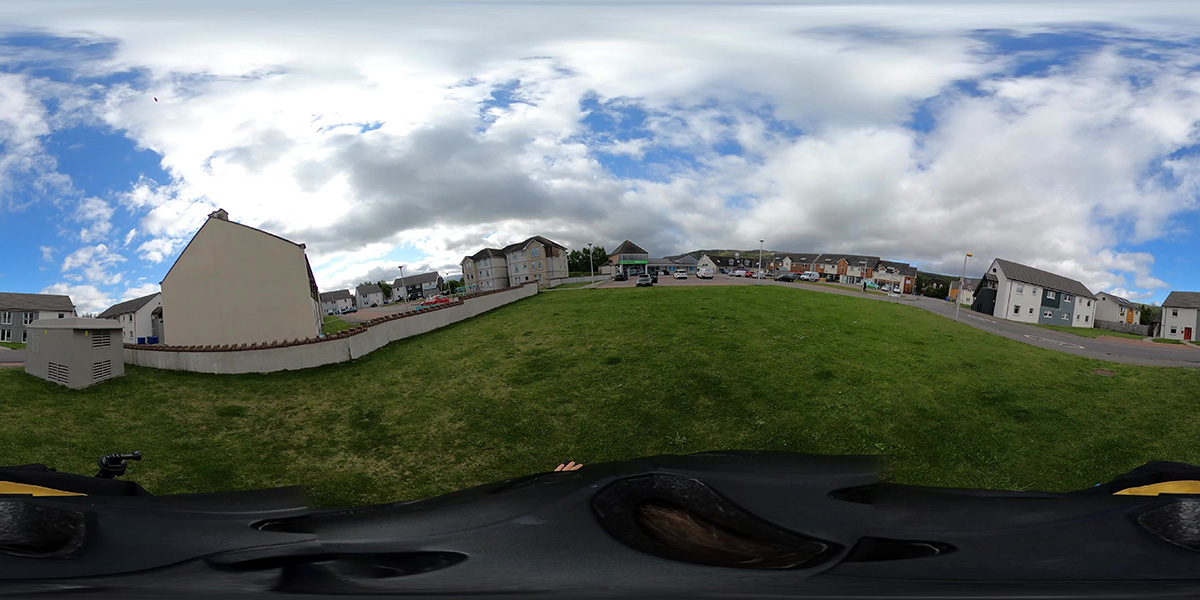
Photo 2 (GS010013-worldlock_000006.jpg):
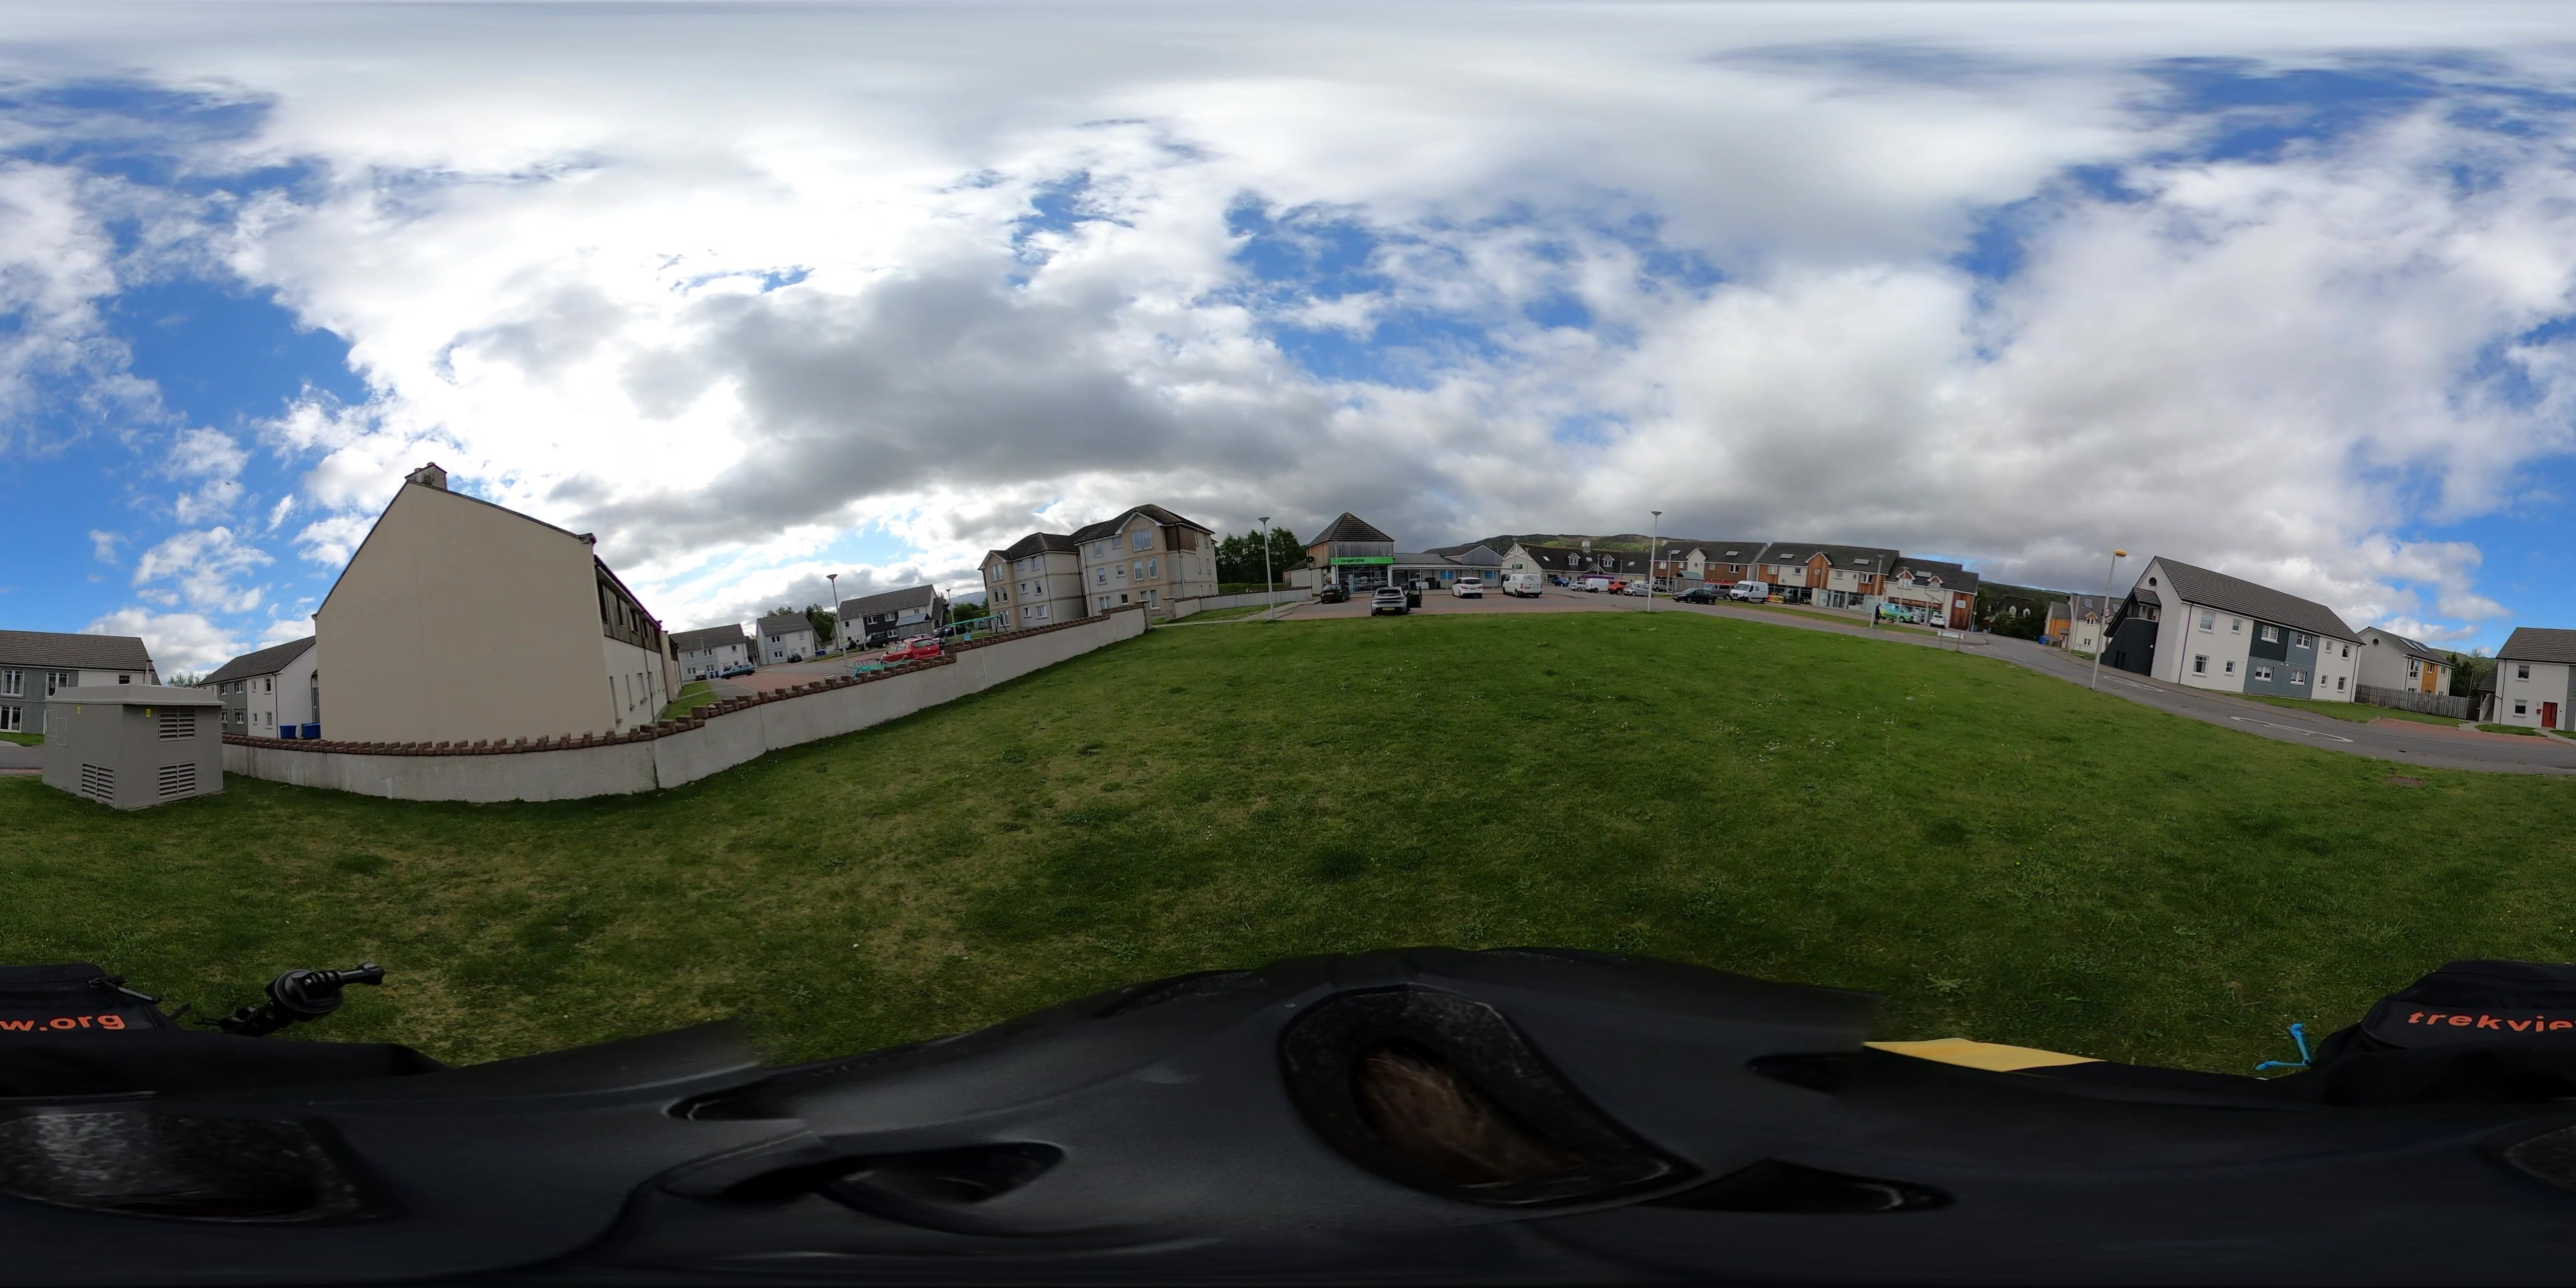
Photo 3 (GS010013-worldlock_000008.jpg):
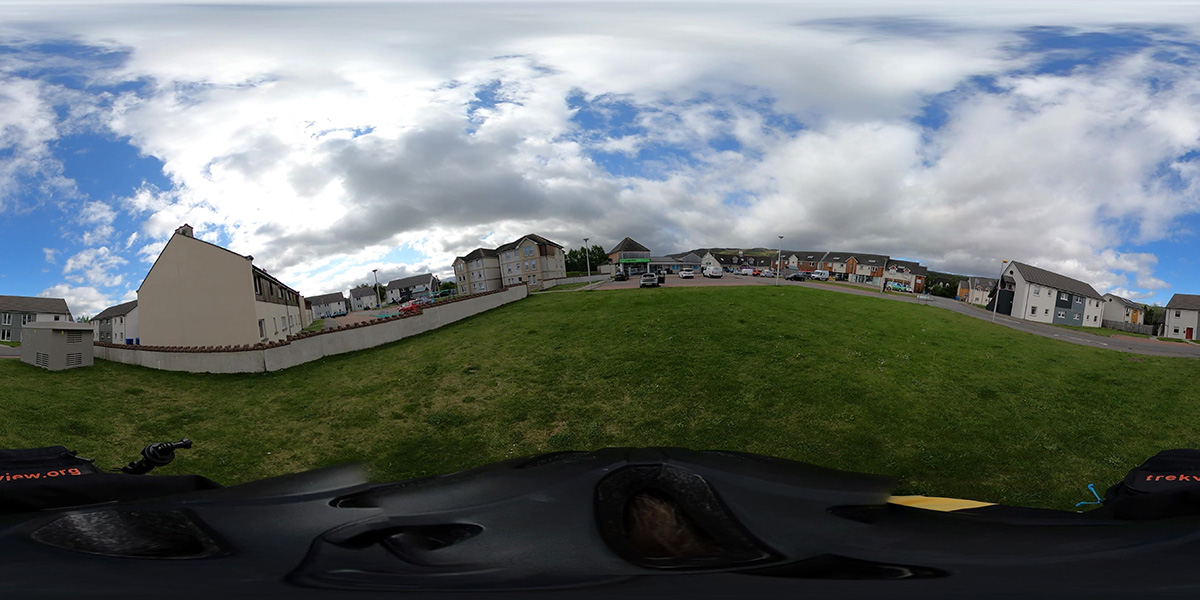
Photo 15 (GS010013-worldlock_000029.jpg):
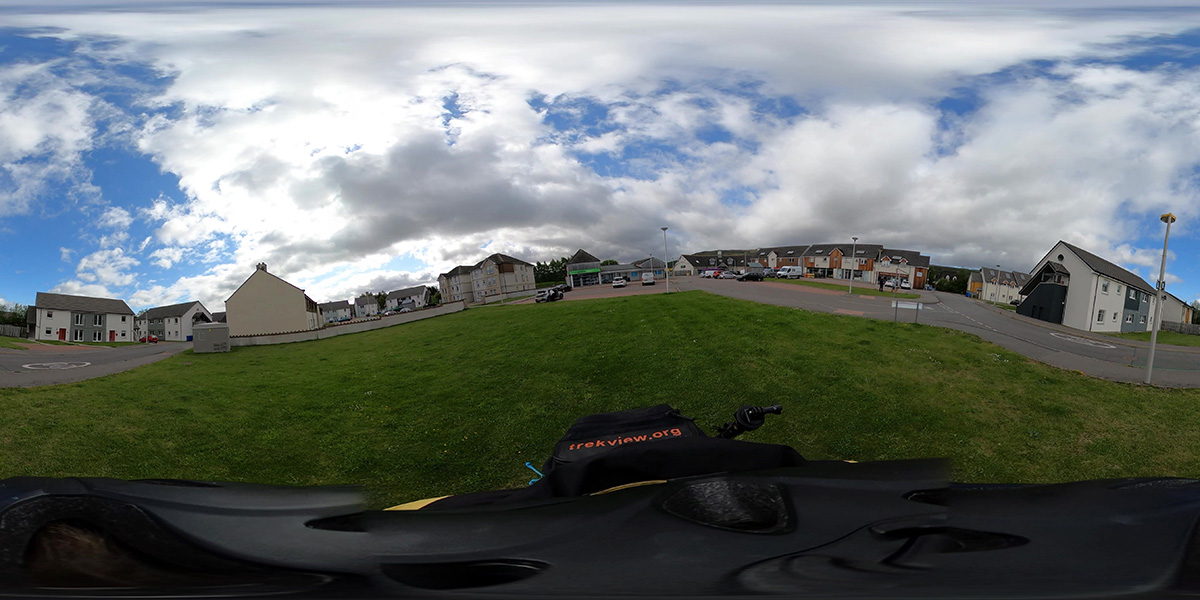
For reference, here is a rough map of the circle I was cycling:
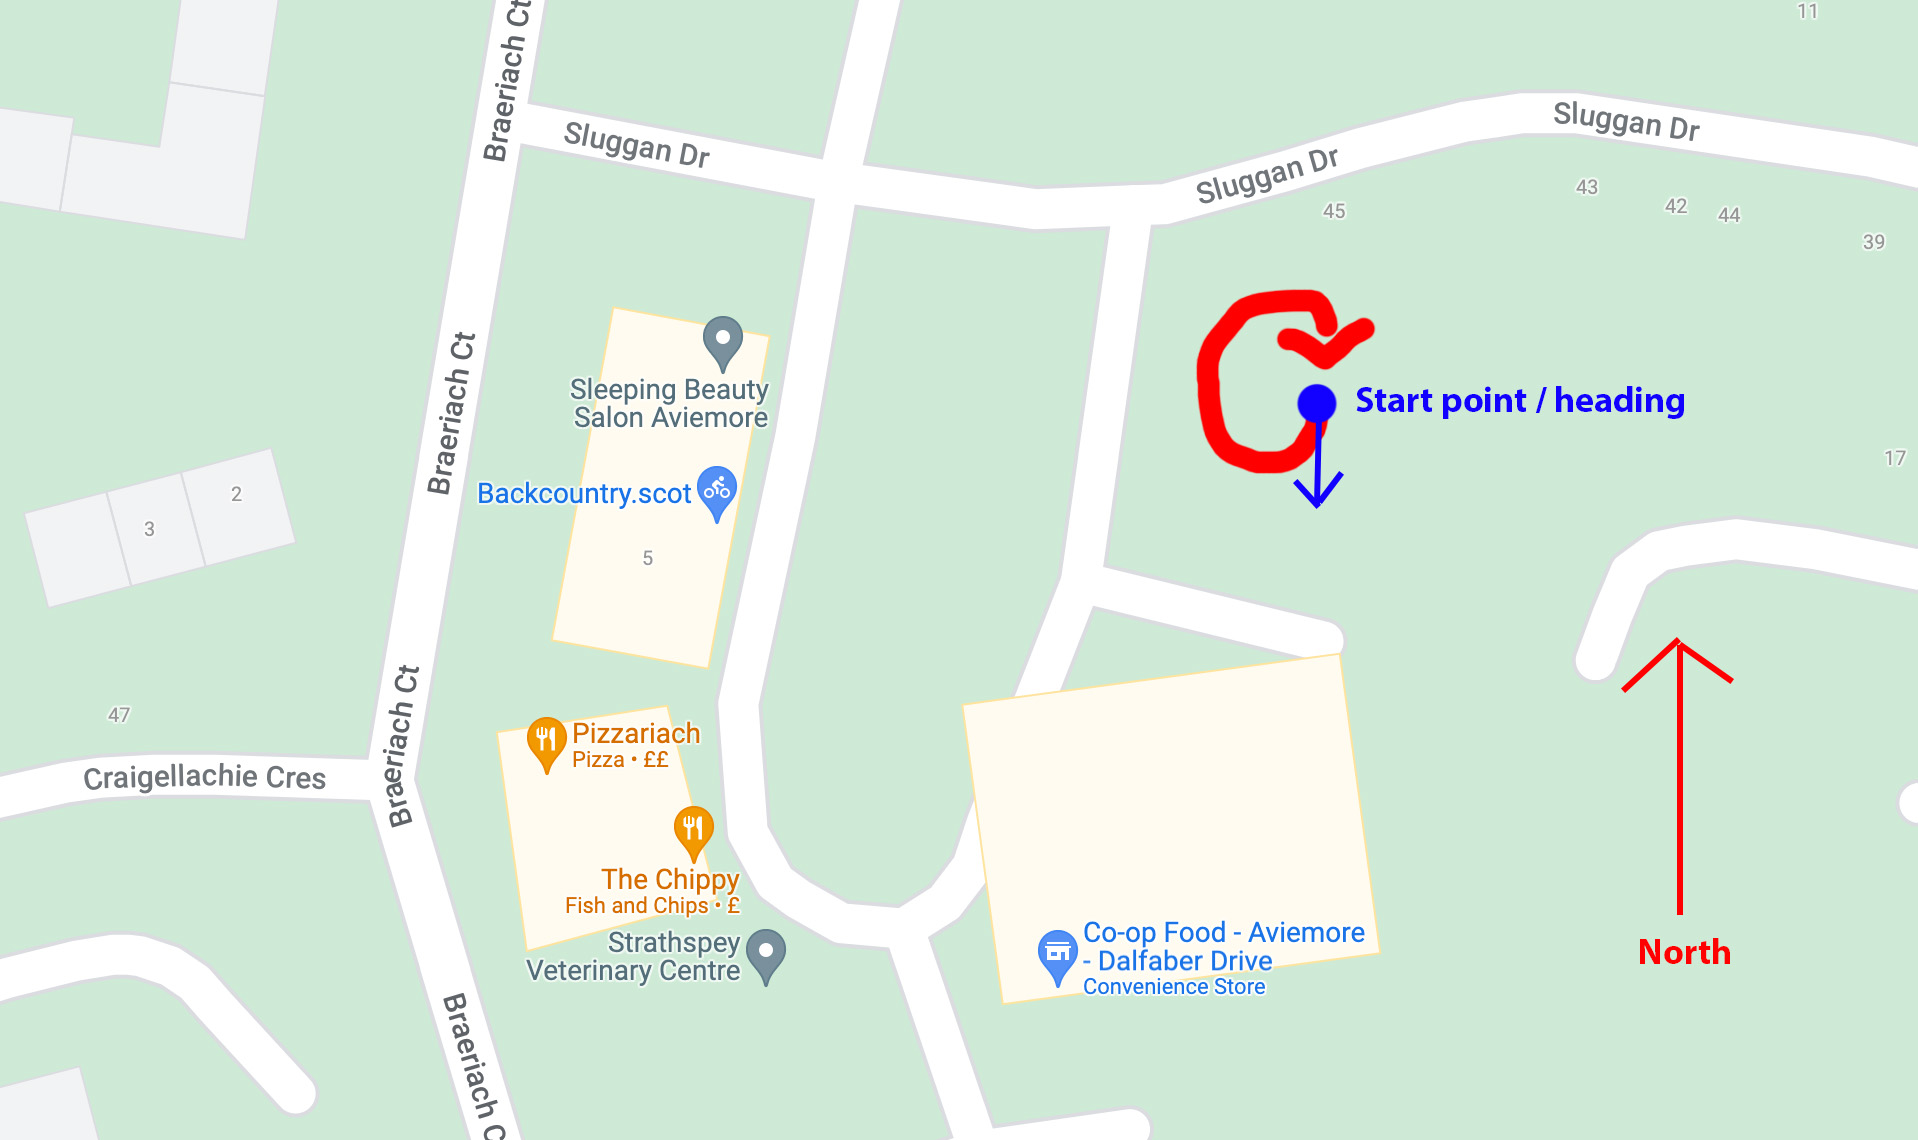
Of the extracted photos, the first three photos have the following co-ordinates (and calculated heading values):
- Photo 1 (GS010013-worldlock_000001.jpg):
- latitude:
57.20148888888889 - longitude:
-3.823408333333333 - calculated true heading to P2:
172.28782816497142 - calculated World Lock heading:
172.28782816497142
- latitude:
- Photo 2 (GS010013-worldlock_000006.jpg):
- latitude:
57.20147777777778 - longitude:
-3.8234055555555555 - calculated true heading to P3:
187.71217412138196 - inherited World Lock heading:
172.28782816497142
- latitude:
- Photo 3 (GS010013-worldlock_000008.jpg):
- latitude:
57.20146666666667 - longitude:
-3.823408333333333 - calculated true heading to P4:
195.1546070905058 - inherited World Lock heading:
172.28782816497142
- latitude:
- …
- Photo 15 (GS010013-worldlock_000029.jpg):
- latitude:
57.201480555555555 - longitude:
-3.8235916666666663 - calculated true heading to P16:
18.004771277776797 - inherited World Lock heading:
172.28782816497142
- latitude:
Once the true headings (and World lock headings) have been calculated for each frame it is then possible adjust yaw.
By adjusting the yaw, the initial view of the 360 photo will adjusted to face the same direction as the front lens of the camera (versus the initial heading of the camera that World Lock creates, as shown in the example frames).
As the frames are equirectangular, the yaw adjustment is very easy to make:
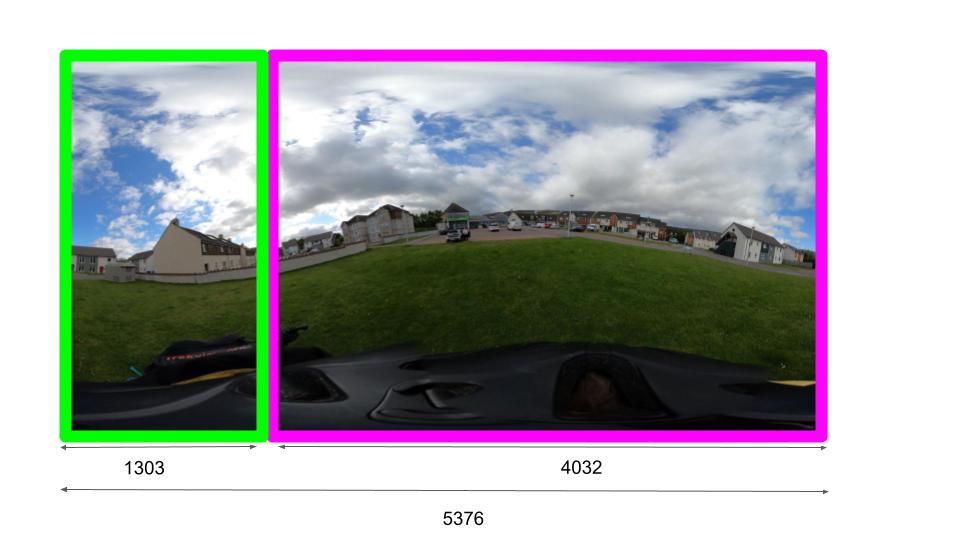
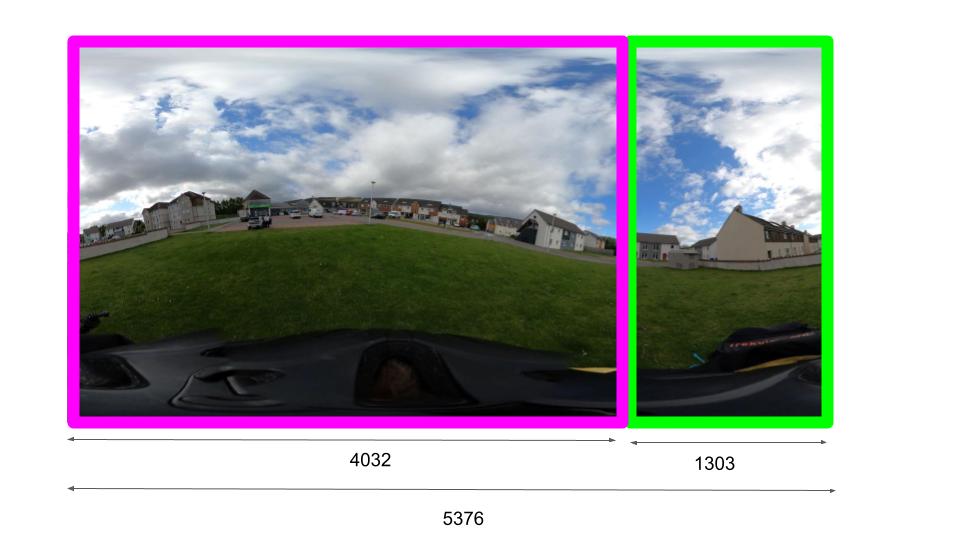
- calculate the yaw adjustment needed using the calculation
true heading-World Lock heading - get the width of the frame and divide by 360 (to account for how many pixels account for one degree)
- multiply the result of the step 1 by step 2 to get the width of the part of the image that needs to be adjusted
- shift the image width calculated in step 3 left (positive value calculated) or right (negative value calculated).
I’ll start with a clear example using photo 7 (GS010013-worldlock_000015.jpg):
259.54049110343567(true heading) -172.28782816497142(World Lock heading) =87.25266293855376(frame width) /360=14.933333333387.2526629385*14.9333333333=1302.97309988(1303 pixels)- Cut 1303 from left edge (because yaw adjustment value is positive)
- Move remaining 4032 pixels (
5376-1303) left - Paste cut pixels 4033 pixels horizontally
Parts 4 to 6 are better understood visually, below.
World Lock Yaw Adjustment before:
World Lock Yaw Adjustment after:
These steps can be easily automated using ImageMagick. Here is an example, again for photo 7 (GS010013-worldlock_000015.jpg);
Crop the left pixel area:
convert GS010013-worldlock_000015.jpg -crop 1303x2688+0+0 GS010013-worldlock_000015-left-crop.jpg
Crop the right pixel area:
convert GS010013-worldlock_000015.jpg -crop 4032x2688+1303+0 GS010013-worldlock_000015-right-crop.jpg
Now merge the cropped images into the correct place:
convert +append GS010013-worldlock_000015-right-crop.jpg GS010013-worldlock_000015-left-crop.jpg GS010013-worldlock_000015-adjusted.jpg
Note, +append will place the first image specified in the command on the left, and then append the next one specified next to it (on the right side) horizontally.
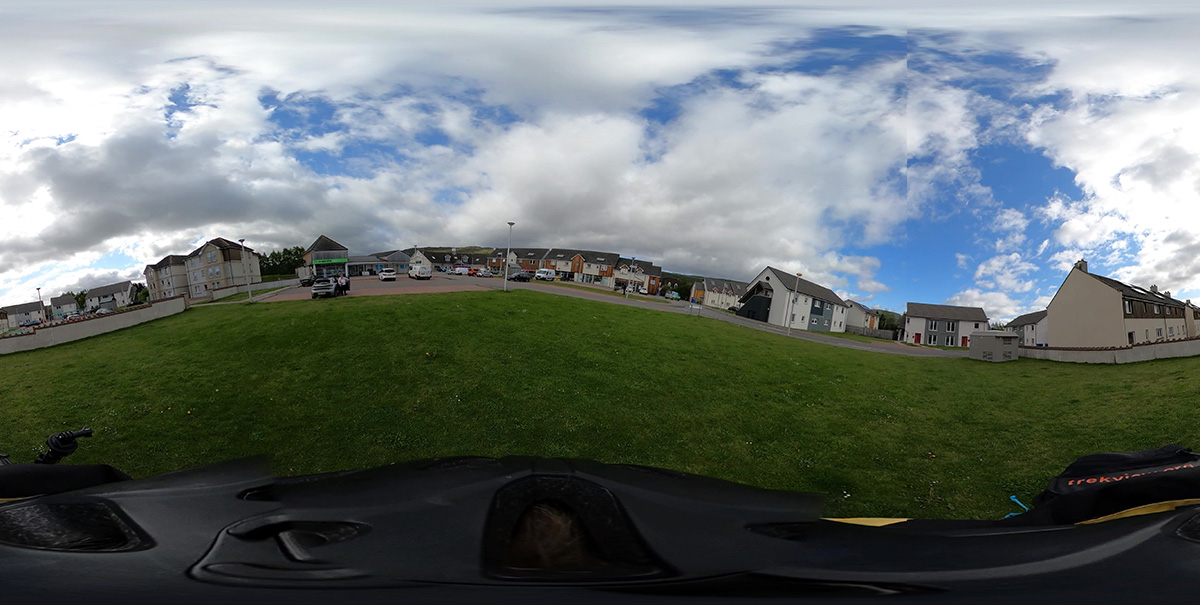
Here is what the output looks like (GS010013-worldlock_000015-adjusted.jpg):
Adjusting yaw for videos
Adjusting yaw for individual frames can be done efficiently with ImageMagick.
However for videos (which are the output of World Lock processing in GoPro Player), there is an easier and more accurate way to perform the yaw adjustment dynamically.
I’ll show you exactly how to do that next week.
We're building a Street View alternative for explorers
If you'd like to be the first to receive monthly updates about the project, subscribe to our newsletter...
