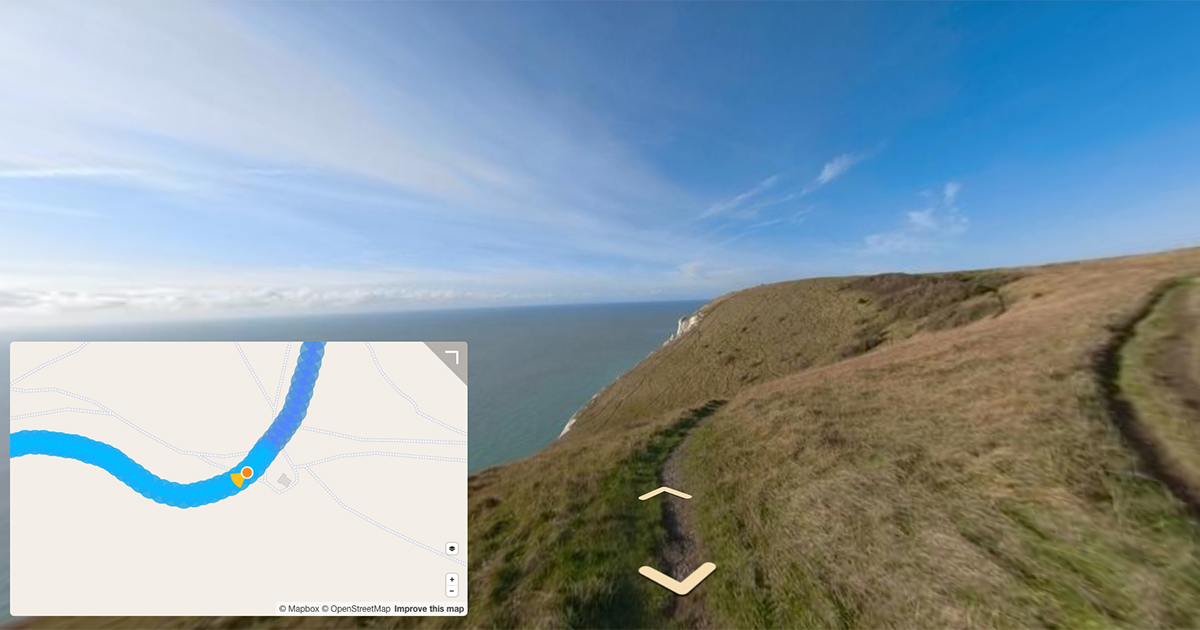
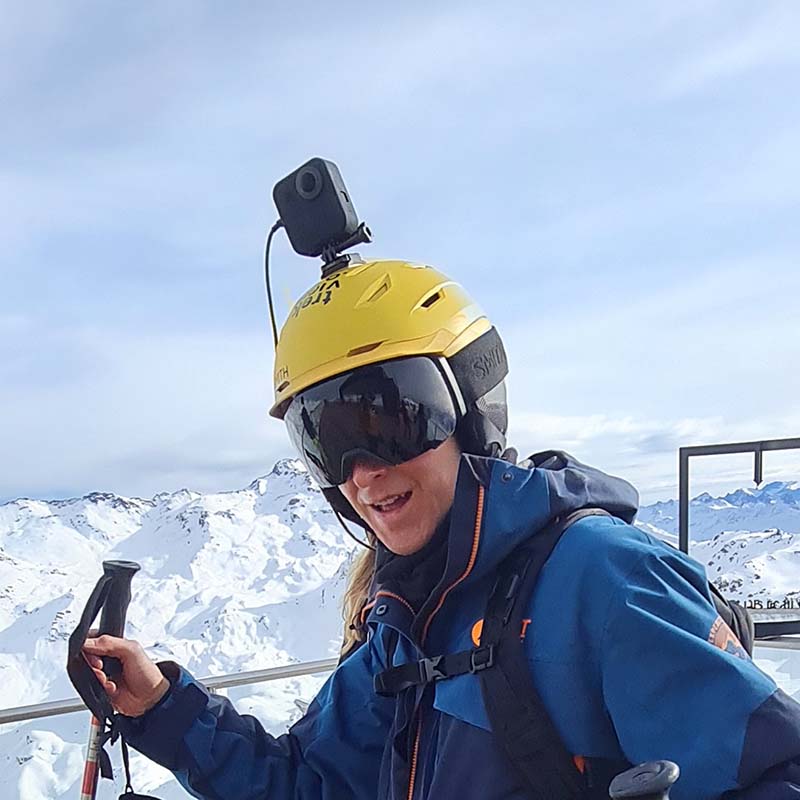
urn your 360-degree photos into eye-catching miniature planets.
The technical name for this technique is “stereographic projection”, but I like little planets.
Have you seen our new Instagram account (@trekviewed)?
It’s full of little planets of locations our trekkers have captured.
A number of people have messaged us asking how they can create their own little planets. So without further ado…
Step 0: Download GIMP 2.10 (other programs are available)
You can make little planets in most graphical programs, including Adobe Photoshop.
In this example I’ll us GIMP because it’s completely free and easy to use.
Step 1: Apply the little planet setting
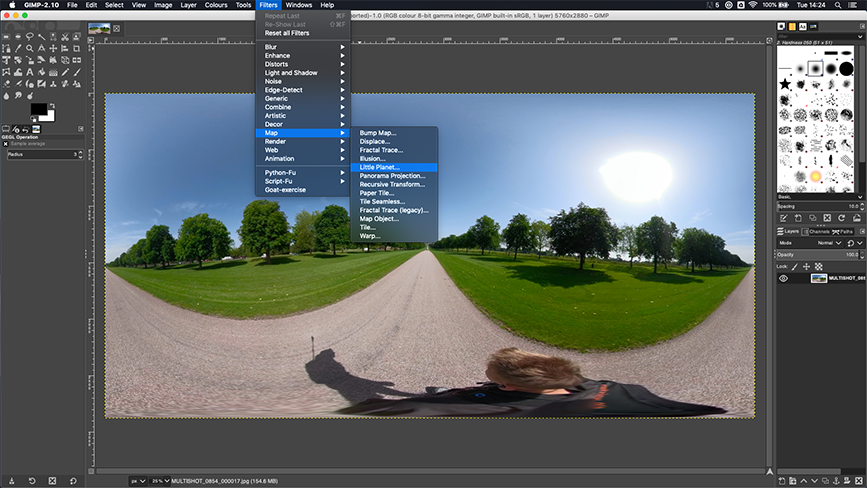
Open your 360-degree photo in GIMP.
To apply the little planet filter, in the navigation menu select; Filters > Map > Little Planet
Step 2: Adjust the orientation
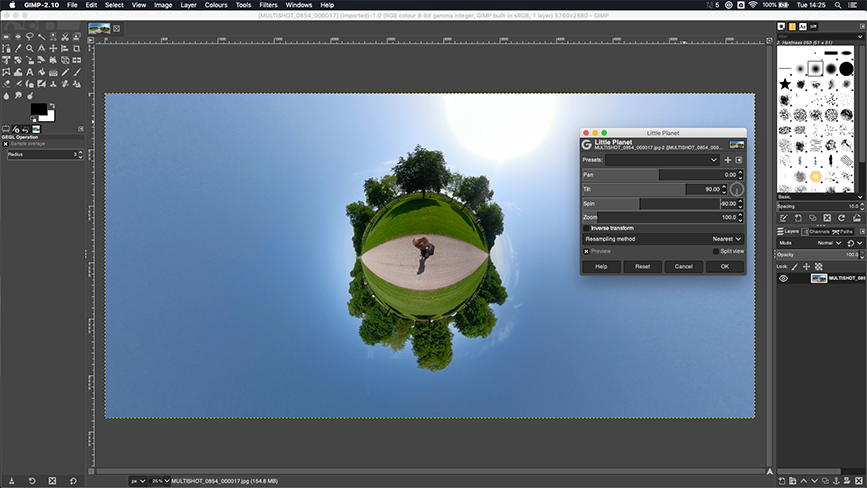
Play around with the available settings.
Zoom in and out.
Spin your globe.
Tilt it left and right.
Keep playing until you’ve got the perfect little planet.
Step 3: Crop to a square
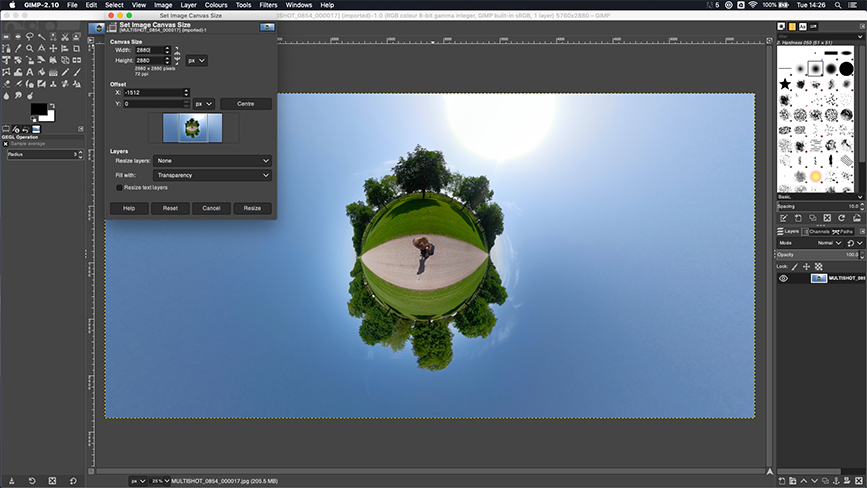
You can keep your little planet in a landscape frame.
I like to make mine a perfect square. It contrasts nicely with the little planet.
To do this, in the navigation menu select; Image > Canvas Size...
Make sure you turn of the constrain proportions setting is unlocked (chain icon between width and height values shows as broken), the set the width to equal the height (e.g 2880 x 2880 in the screenshot above).
Finally, make sure the offset lines up with the middle of your little planet.
You can now save (“Export” option in GIMP) the image to share with the world.
Step 4: Share your creations with us
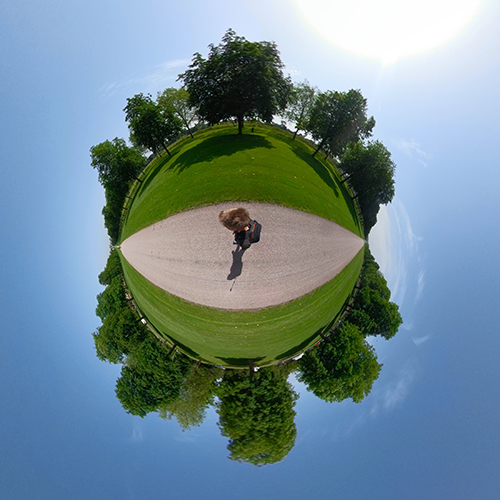
Tag us in your little planets on Instagram (@trekviewed).
We're building a Street View alternative for explorers
If you'd like to be the first to receive monthly updates about the project, subscribe to our newsletter...
