An ELI5 description of how software takes 2 or more photos to create a 360 image.
Most 360 cameras have stitching software to turn the photos it has taken into panoramas.
This is either done on the camera, or done using software on your computer.
For example, to stitch photos from GoPro Fusion cameras on our Trek Pack v1 we use a piece of software called GoPro Fusion Studio.
On the GoPro MAX cameras we use for the Trek Pack v2 this stitching is done on the camera for photos and using the GoPro MAX Exporter software for videos.
If you’re anything like me, you will have pondered how this process actually works.
As I mentioned a few weeks ago, software is often where many manufacturers are competing, and there are some very good stitching tools that have been developed by manufacturers.
Unfortunately all of this software is proprietary, but the general workflows to process images into 360 projections are all very similar.
Building a camera
The team at Open Path View built their own 360 camera using 6 GoPro Hero 2 cameras (5 facing outward, 1 upwards).
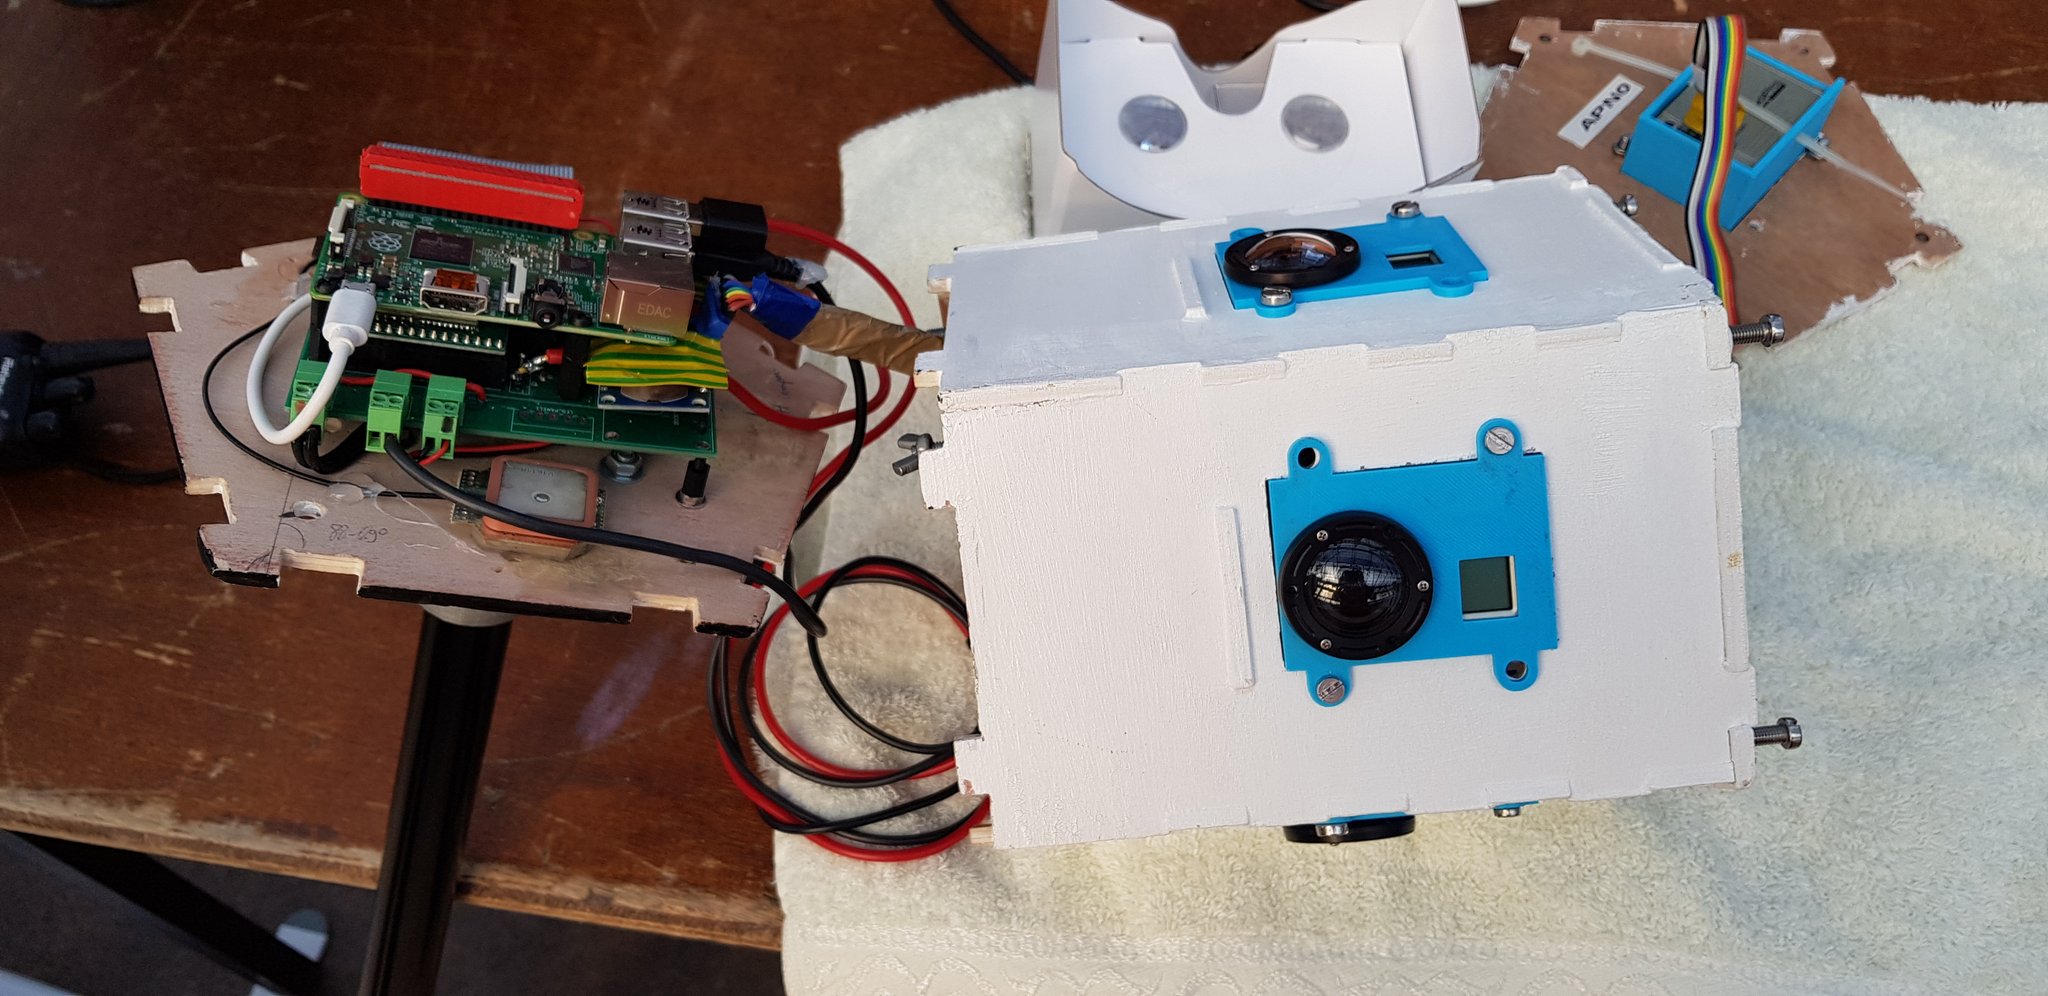
They’ve open-sourced all their work, including the 3D printed parts for the camera housing.
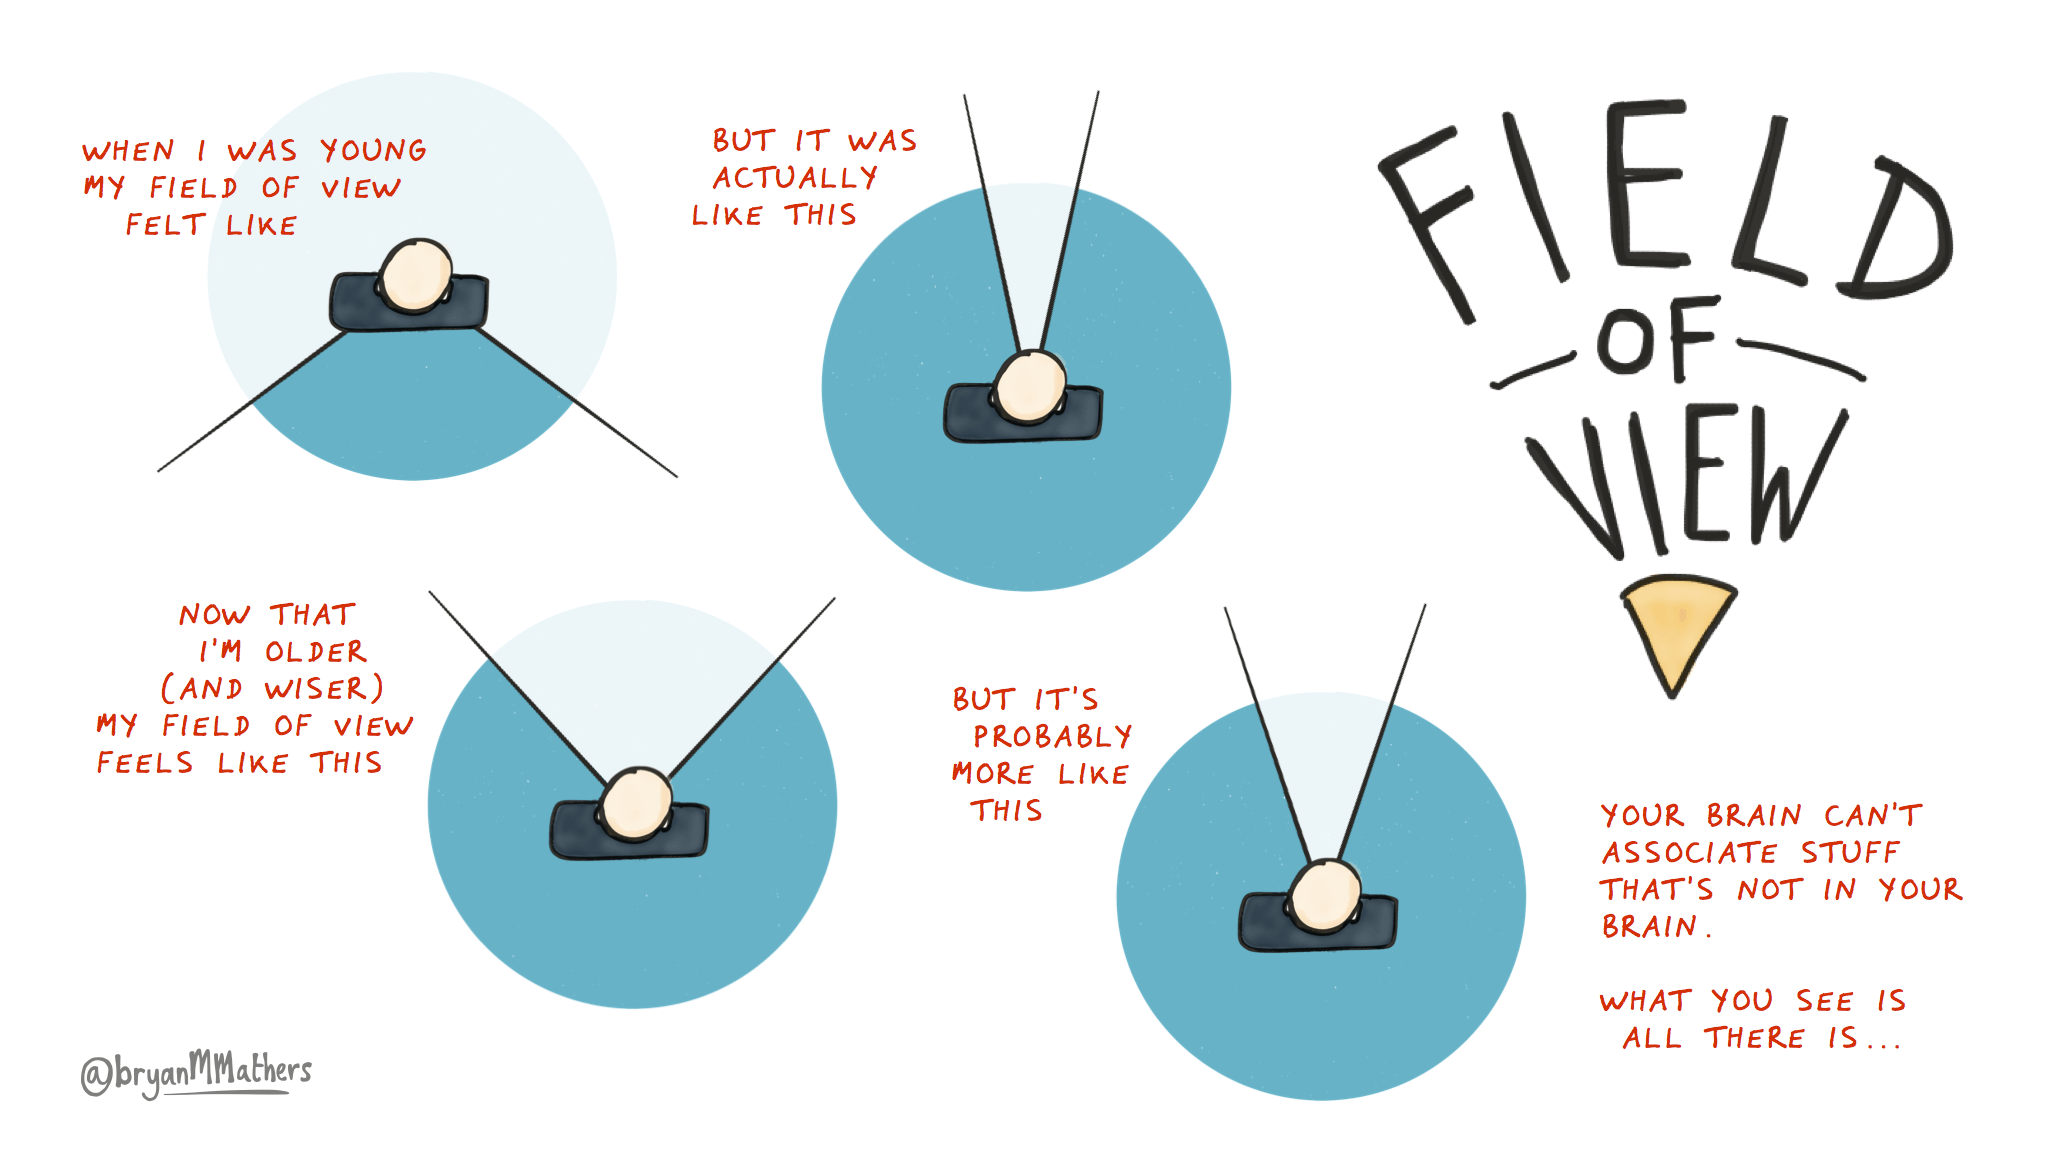
Source: Bryan M Mathers
The Hero 2 cameras offer a 170 degree horizontal field of view.
I could not find data for the vertical field of view, but would estimate it being somewhere between 50 - 70 degrees.
Looking at horizontal field of view there is an overlap between the images taken on the Open Path VIew camera (170 * 5 = 850 degrees). Simply put, the sensors (each GoPro) are catching parts of the same image (there is an overlap).
The Open Path View cameras have roughly a 20% overlap.
Based on my experience, it seems for two consecutive photos to stitch easily and automatically, they must present an overlap surface of at least 15% with 20% - 30% being ideal.
Generally speaking, a high overlap is really only required when shooting in enclosed places (especially indoor tours). For outdoor imagery, this is not such an issue.
Control points
Control points are the reason image overlap important.
Imagine you have 6 photos taken by a 360 camera.
Creating a 360 projection is not as simple as putting the images side by side.
Lighting, movement, timing and a whole host of other things (even if the fields of view lined up perfectly) make this a more complex task.
Control points are points (or regions) of two images that refer to the same point in space and are used to stitch images.
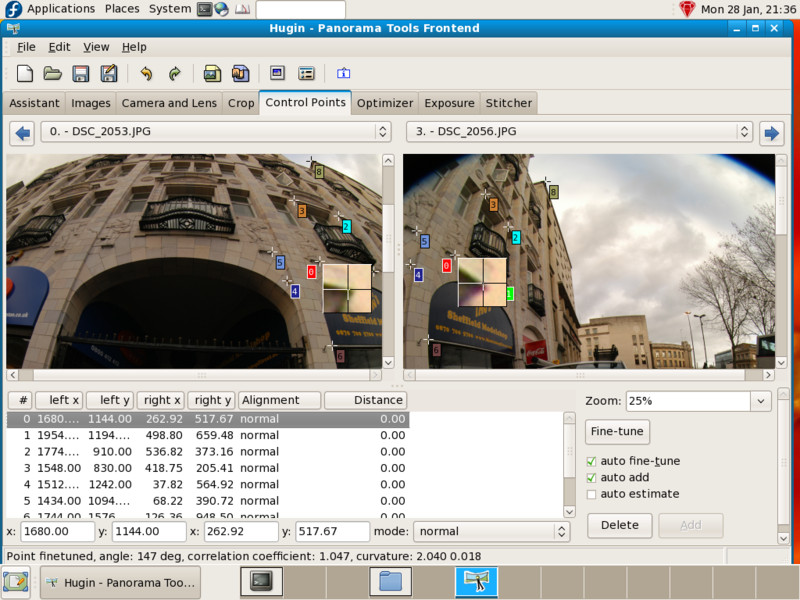
By including an overlap in each photo for each period of time, you can use these control points to create a smooth transition (stitch) between the photos. The better the overlap, the smoother the join.
You might have seen “stitch lines” where control points haven’t worked as intended. “Stitch lines” in 360 photos are the areas of overlap between the lenses that have been stitched together, and appear as disconnected lines that are clearly meant to be continuous. This is often caused by differences in lighting between images, or where a detailed subjects (for example a person) are very close to the camera.
Introducing Hugin
Whilst a lot stitching software is proprietary, there are many open-source tools that are very good too (and in fact are used by many camera manufacturers in their own software).
Hugin can stitch a series of overlapping pictures into a complete immersive panorama.
Hugin is graphical front-end for Helmut Dersch’s Panorama Tools and Andrew Mihal’s Enblend and Enfuse.
Enfuse is the part of Hugin that handles the stitching process.
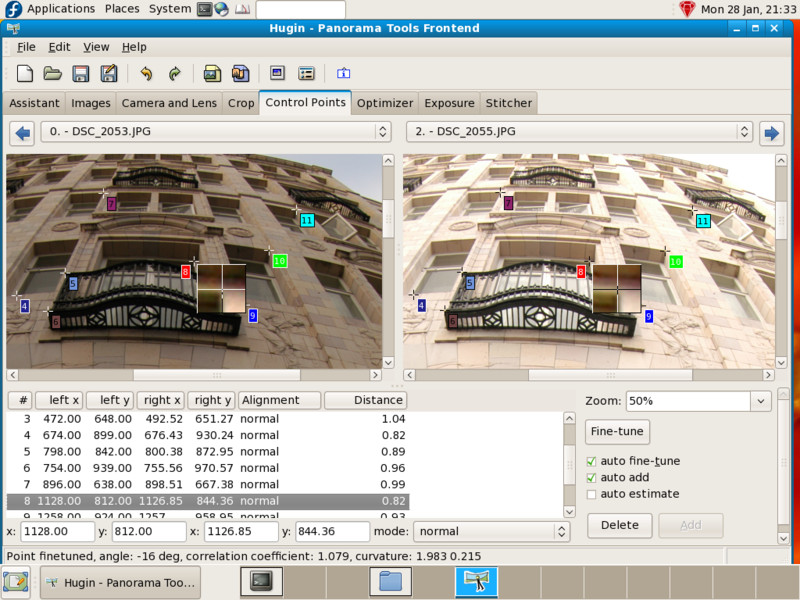
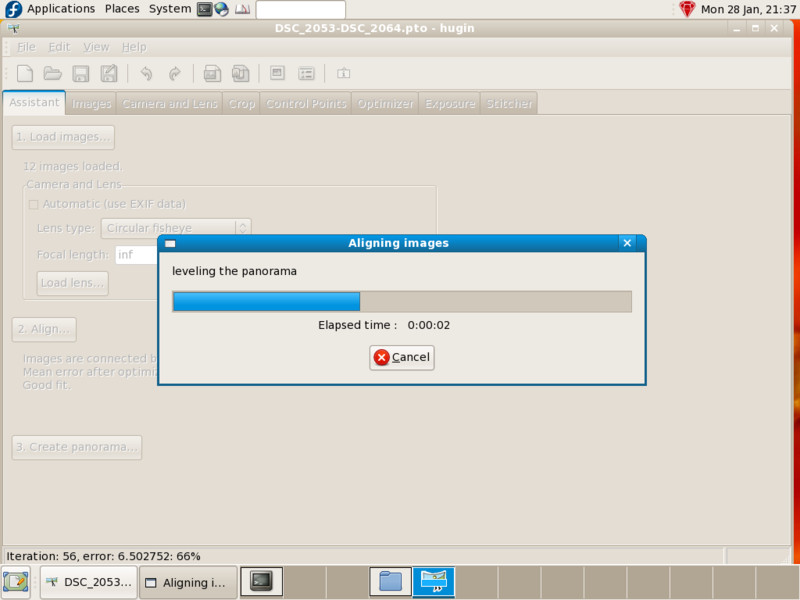
What’s more, Hugin is suitable for people who like tinkering with either basic or more advanced technical skills, with options from fully automated to manual stitching workflows.
Here’s a great tutorial that will get you started. All you need is a camera… and most of us all have one of those built into our phones.
We're building a Street View alternative for explorers
If you'd like to be the first to receive monthly updates about the project, subscribe to our newsletter...
