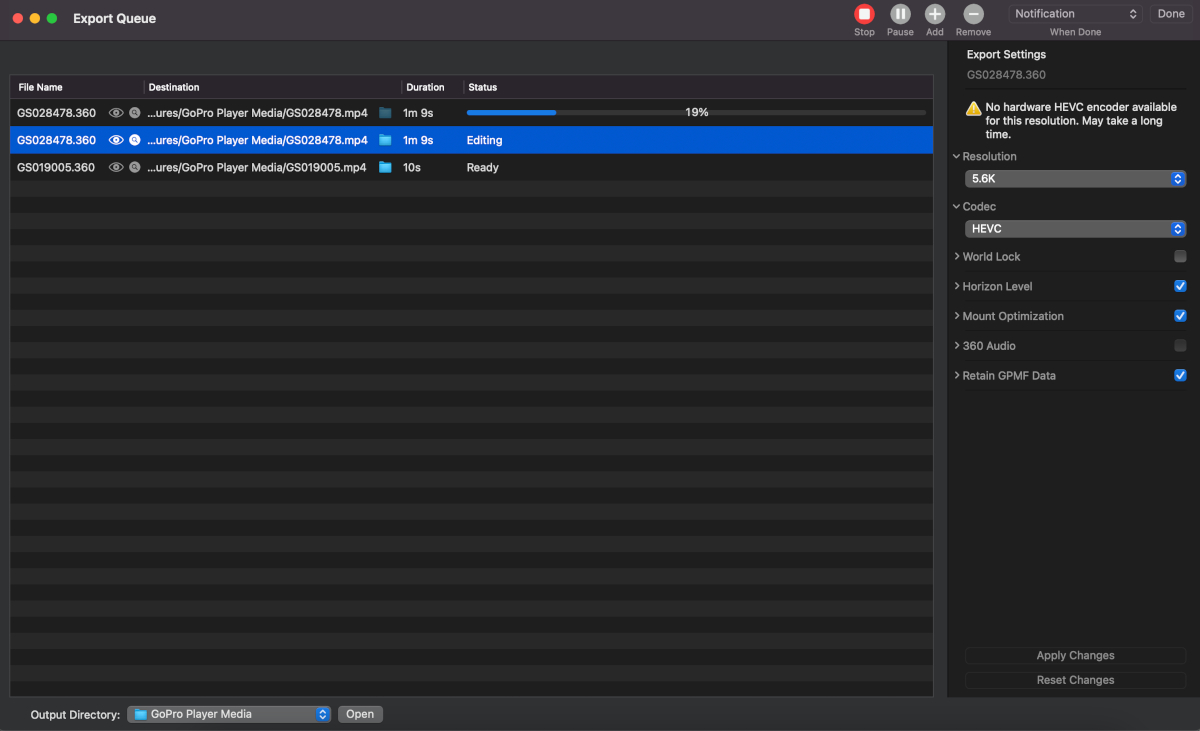
Once you’ve shot a video on the MAX, you will need to process it using GoPro Studio. Here are our recommended settings.
When out with the Trek Pack, we recommend capturing content in video mode.
Videos shot on the MAX are processed using GoPro Studio software.
GoPro Studio has a small, but useful, set of features for post-processing, especially when it comes to creating virtual tours of the outdoors where the camera is mounted to your body.
In this post I wanted to share the settings we tend to use, and why we use them.
Defining GoPro Studio settings

Open up GoPro Studio, select Batch Exporter, and then drag the .360 files you want to convert into the list.
If you’ve added more than one file to the queue, hold down shift and select all files in the list. Else select the one you want to edit.
Click edit (top right of app).
You will now be prompted to set the following settings.
Resolution and Codec
Resolution defines the size of the video. Generally you want the largest possible (though this will result in a larger filesizes).
Different Codec’s have limitations in the resolutions they can support.
If you want to learn more about why different codec’s exist, I’d suggest reading this post.
H.264 and HEVC (H.265) are two of the most widely known Codec’s available.
HEVC is the next generation codec to H.264, and is now at a point where it is widely known by most video software.
In a sentence, the difference between H.264 and H.265 is video compression efficiency. H.265 provides more efficient bandwidth and resources on both the encoding and storage devices than H.264.
Our verdict
Select HEVC, and its maximum available resolution of 5.6K.
World Lock
World lock is a feature that allows you to lock the view of the camera throughout the footage.
As a simple example, if I start recording facing North, with World Lock set to true in GoPro Studio, the entire footage will always face North.
It’s a useful mode if the camera it rotating significantly.
Using the Trek Pack, the camera is mostly facing in the same way as trekker, and it is this view we want to have as the default when viewed by the user. With no significant rotation, world lock negatively affects users.
To highlight when it’s useful, here are two examples I filmed; one where I hung the MAX from a string and let it spin (useful), the other from a recording cycling around my block (not useful).
World Lock = True
Spinning string example (video mode)
Bike ride example (timewarp 15x mode)
World Lock = False
Spinning string example (video mode)
Bike ride example (timewarp 15x mode)
Our verdict
Always set World Lock to false.
Horizon Level
Horizon Level is a very similar feature to World Lock, however, instead of locking onto the same compass heading, Horizon Level locks the camera onto the horizon.
Horizon Level ensures your videos are always level with the horizon.
Levelling footage offers a much better viewing experience as users are most used to seeing level content.
Enabling Horizon Level takes away from the immersive feel of action, but means the camera is not swaying from left to right during footage (which can be especially problematic when the MAX is mounted to a helmet).
Horizon Level = True
Horizon Level = False
Our verdict
Always set World Lock to true.
Mount Optimisation
Mount Optimization is a way to improve the stitch line for mounting configurations that are located underneath the camera at the “Nadir.”
Applying this is supposed to fix stitch issues around the mount and can greatly improve shots where you want the mount to disappear.
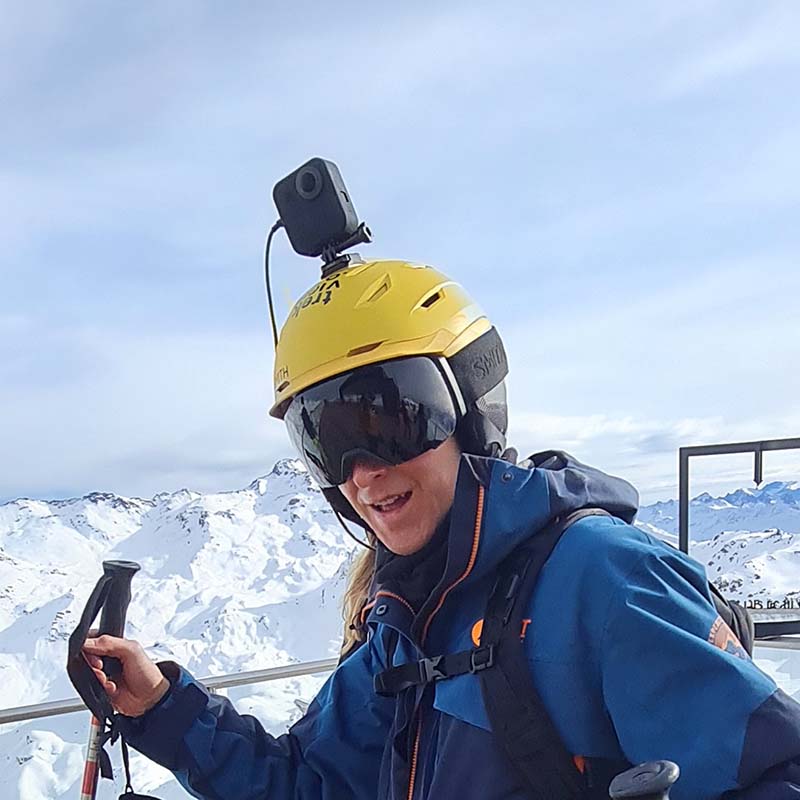
Our guess is when the mount is long and thin it works particularly well. When it’s a larger mount point closer to the camera (like on a helmet), the resulting stitch is not particularly good.
As you can see in the examples below, we haven’t noticed much of a visual difference in our footage when switching between Mount Optimisation true and false.
Mount Optimisation = True
Helmet Bike ride example
Hike monopod example
Mount Optimisation = False
Helmet Bike ride example
Hike monopod example
Our verdict
We’ll let you play around with your own footage to determine if this setting offers any improvements to your footage. When it comes to virtual tours, it’s not something to be too concerned about.
As we add a logo in the nadir of our footage (which would cover the area any stitch improvement occur), we set Mount Optimisation to false to reduce processing power required during conversion in GoPro Studio.
360 Audio
Ambisonics is a method for recording, mixing and playing back three-dimensional 360-degree audio.
Ambisonics is a full-sphere surround sound format: in addition to the horizontal plane (covered by traditional surround sound), it covers sound sources above and below the listener.
It is paticualy valuable for those viewing footage in VR headsets.
By enabling 360 Audio should include a spherical ambisonic audio track in the video from the 6 microphones on the camera. If 360 Audio is disabled, you will only get a standard surround sound audio.
However, this feature has never worked for me (and others).
Our verdict
The feature is broken. Secondly, 360 Audio is not available when Horizon Level is selected.
Therefore we can’t enable 360 Audio, even if we wanted to.
GPMF
If you’re a regular follower of this blog you’ll be very familiar with GPMF (GoPro Metadata Format) from past posts, like this one.
The GoPro Metadata telemetry captures information captured by the camera’s IMU and GPS chips – data including; orientation, pitch, heading, GPS position, etc.
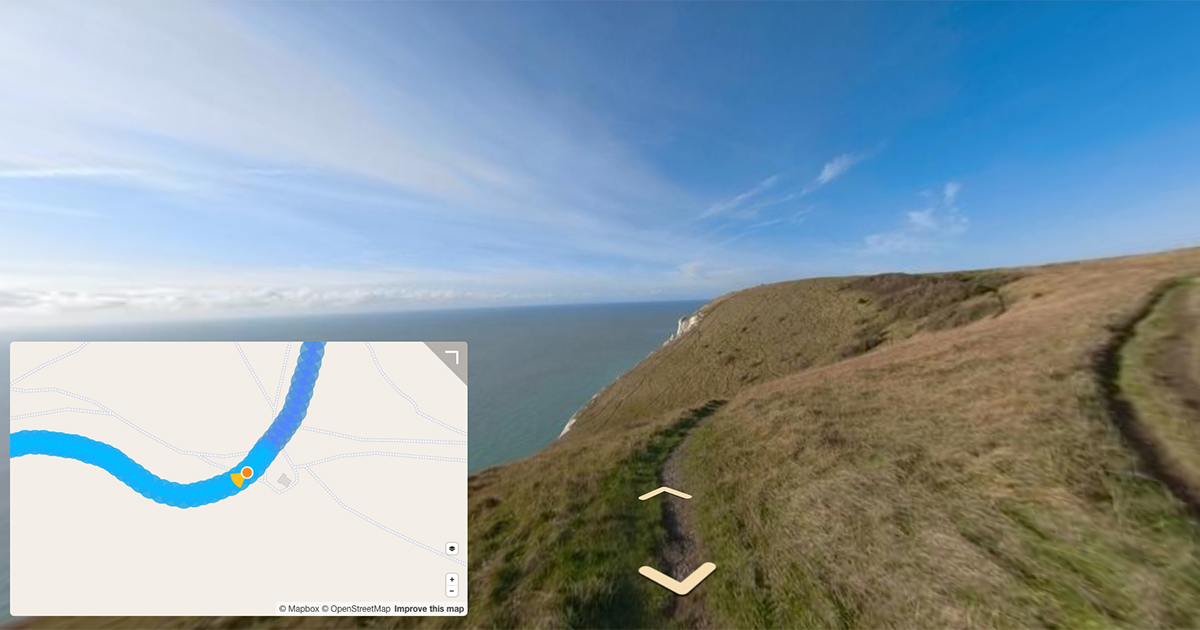
GPMF is absolutely essential to ensure your video retains GPS information so that it can be mapped correctly when creating virtual tours.
The only times I can think of when you would want to set this to false would be if you’d like to process a video without GPS information embedded for privacy reasons (e.g. before sharing publicly).
Our verdict
Always set Retain GPMF data to true.
Windows users: At the time of writing, only the GoPro Player for Mac will allow you to create .mp4 videos with GPMD.
We're building a Street View alternative for explorers
If you'd like to be the first to receive monthly updates about the project, subscribe to our newsletter...


