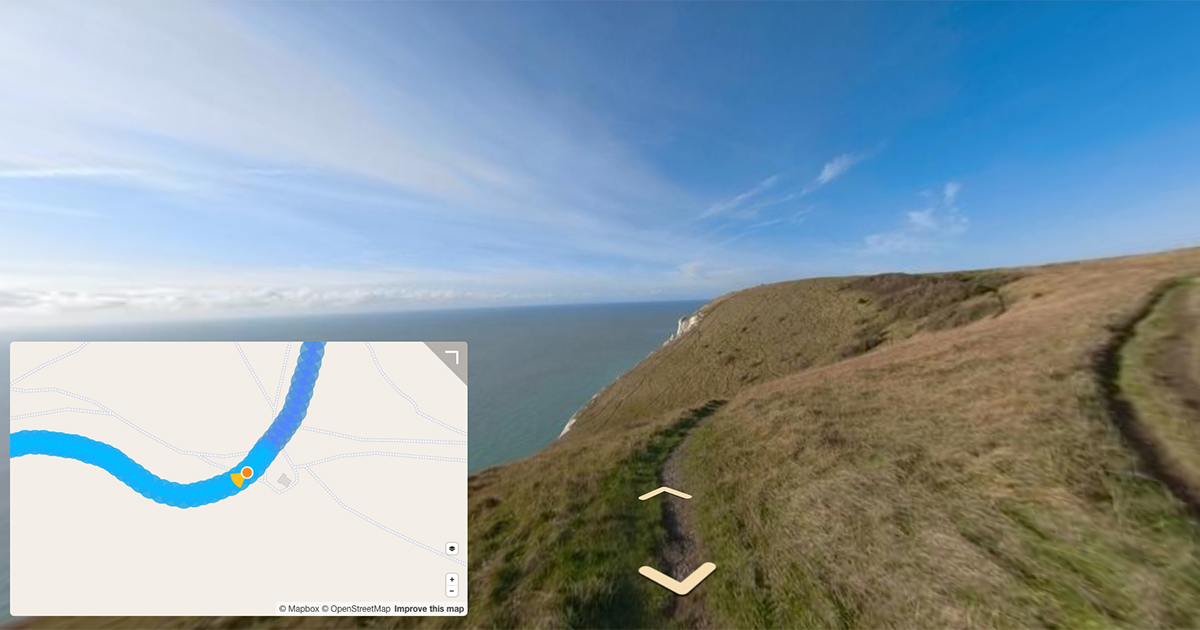
Automate the process of adding a custom branded nadir to all your equirectangular photos using Python and Imagemagick.
Last year I showed you how to use GIMP to manually add a branded nadir to your photos.
In many cases, you will want to add a branded nadir to all of your photos, not just one or two. Using GIMP to do this manually isn’t viable – unless you have A LOT of time on your hands.
For those that have a large amount of images, it’s relatively simple to do this programmatically with the help of Imagemagick.
Imagemagick provides a huge variety of functions to manipulate image files. If you’re a follower of this blog, you might have seen me use it previously to create a cubemap.
This time I’ll show you how to use it to overlay a logo file onto an equirectangular photo to create a branded nadir.
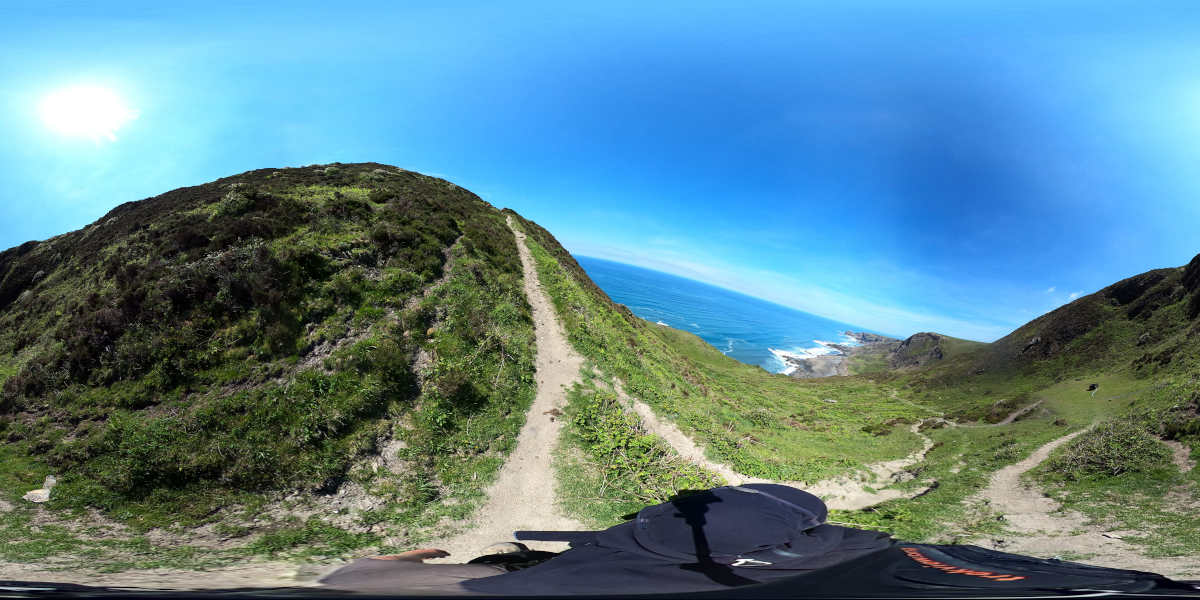
Here is the photo I will use (taken along the South West Coast Path, Cornwall, England earlier this year using the Trek Pack v2), and the Trek View logo I will use for this exercise.

If you want to use your own logo, make sure its dimensions are square, and is at least 500px x 500px (ideally larger if your photo has a resolution above 4K).
You can use a logo with a transparent background (in .png format), but in my experience, I find a solid background works best.
Step 1: Convert the logo to an equirectangular projection
Here’s how to do it with Imagemagick:
1.1 Rotate 180 degrees
magick trek-view-square-nadir.png -rotate 180 trek-view-square-nadir-1.png

1.2 DePolar Distortion
magick trek-view-square-nadir-1.png -distort DePolar 0 trek-view-square-nadir-2.png

See Imagemagick for more docs in DePolar Distortion.
1.3 Flip
magick trek-view-square-nadir-2.png -flip trek-view-square-nadir-3.png

Flip vertically.
1.4 Flop
magick trek-view-square-nadir-3.png -flop trek-view-square-nadir-4.png
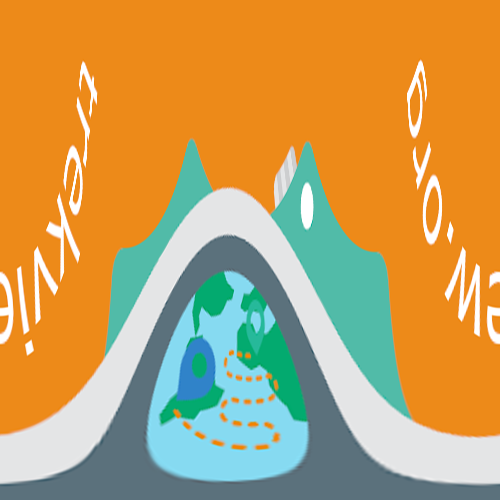
Flip horizontally.
Step 2: Resize the nadir
The first step here is to obtain the image resolution (width x height).
My example image is 1200x600.
So the nadir needs to be 1200 wide.
magick trek-view-square-nadir-4.png -geometry 1200x500! trek-view-square-nadir-5.png
Note the ! in the dimensions instructing Imagemagick to ignore aspect ratio. See the Imagemagick docs for more information.
Now the nadir is 1200px wide, and 500px in height.
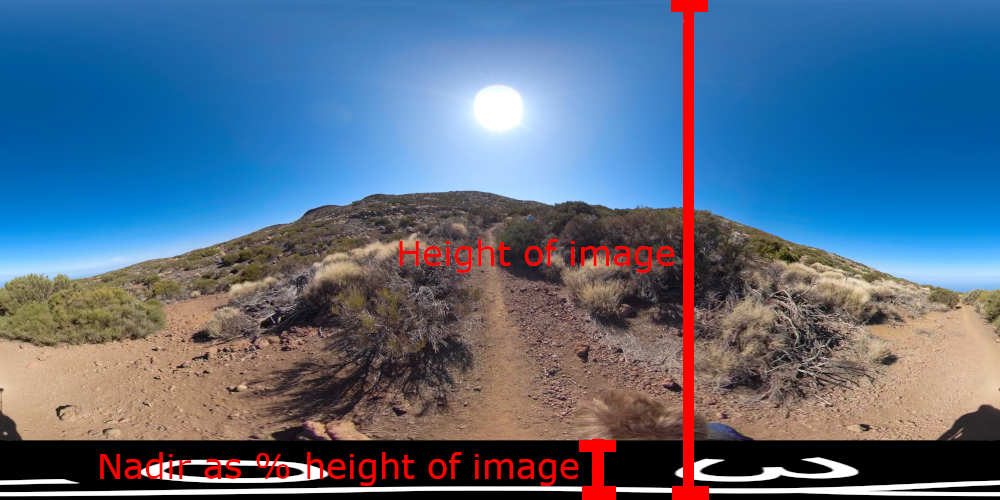
My equirectangular image is 600 in height, so we need to reduce the nadir size (because our nadir is almost as large as the photo right now!).
Generally a nadir covers 10% to 20% of the photo. Let’s use 20% for this example.
600 (height of photo) * 0.2 (percentage size) = 120
Now we can resize the nadir to be 120 in height.
magick trek-view-square-nadir-5.png -geometry 1200x120! trek-view-square-nadir-6.png

Step 3: Overlay the nadir
All that’s left to do now is overlay the equirectangular nadir created onto the photo.
We need to know where to place the nadir vertically. To calculate this; we know the photo is 600 in height and the nadir 120 in height, so:
600 - 120 = 480 (our vertical offset position).
composite trek-view-square-nadir-6.png GSAD0049-resize-1200.JPG -geometry +0+480 GSAD0049-resize-1200-nadir.JPG
Look down…
What’s great is that approach retains all metadata between source and final image.
Step 4: Script it
Now all you need to do is run the final command (step 3) on all your equirectangular photos to add the nadir (that is, assuming all your photos are the same dimensions and you want the same nadir size overlaid on each).
To save you some time here’s one we prepared earlier, our Nadir Patcher script.
We're building a Street View alternative for explorers
If you'd like to be the first to receive monthly updates about the project, subscribe to our newsletter...
