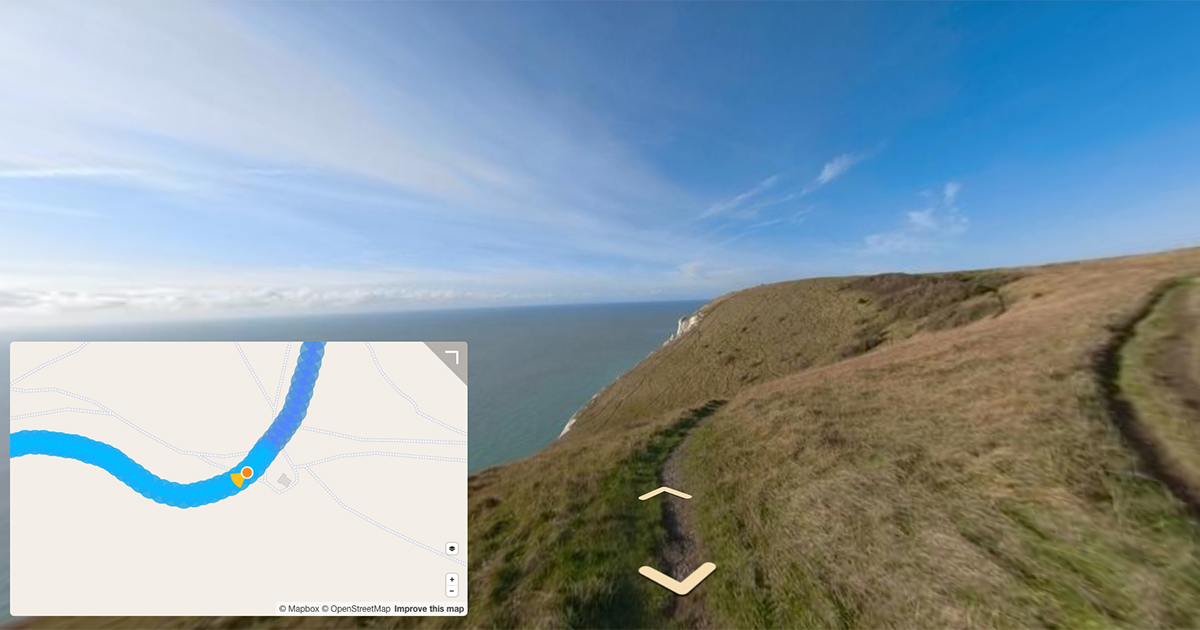
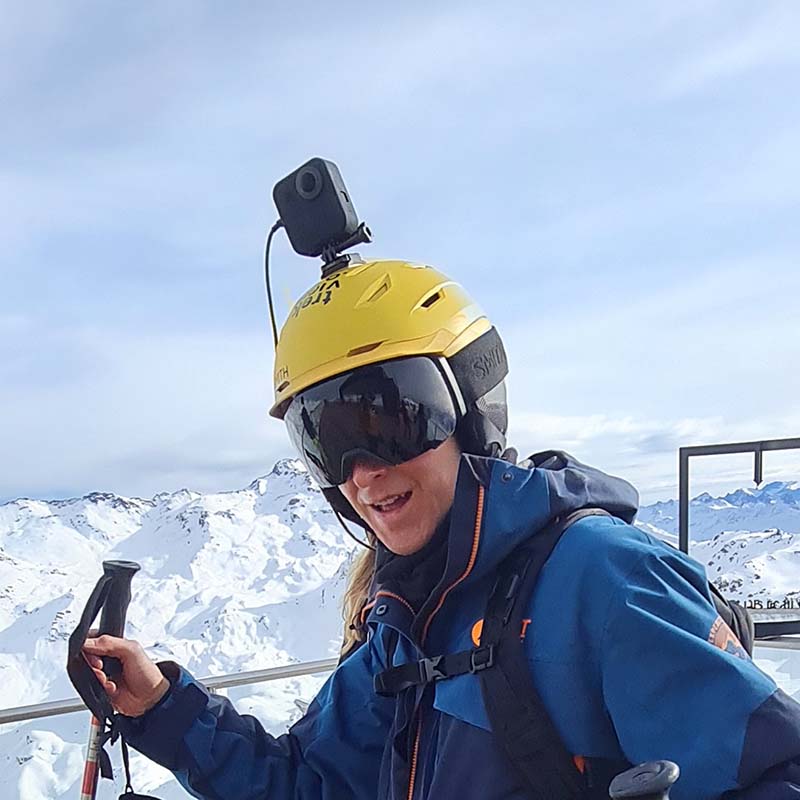
Simple tips for setting up your Trek Pack to shoot a 360-degree photo tour for Google Street View.
Deciding how you’re going to shoot
You can upload tours to Google Street View using video or photo files.
The GoPro Fusion camera shoots both.
My tours tend to cover 10+ kilometres / 2+ hours in total. Shooting video for this length of time quickly drains the cameras battery and can often cause overheating issues (especially on warmer days).
Update (2019-07-05): Read more about increasing the battery life of your GoPro Fusion to shoot videos here.
I also like the to edit the final imagery (i.e. deleting frames I don’t want to publish, without using third-party software).
With all this in mind, I shoot using the time-lapse photo mode over video mode.
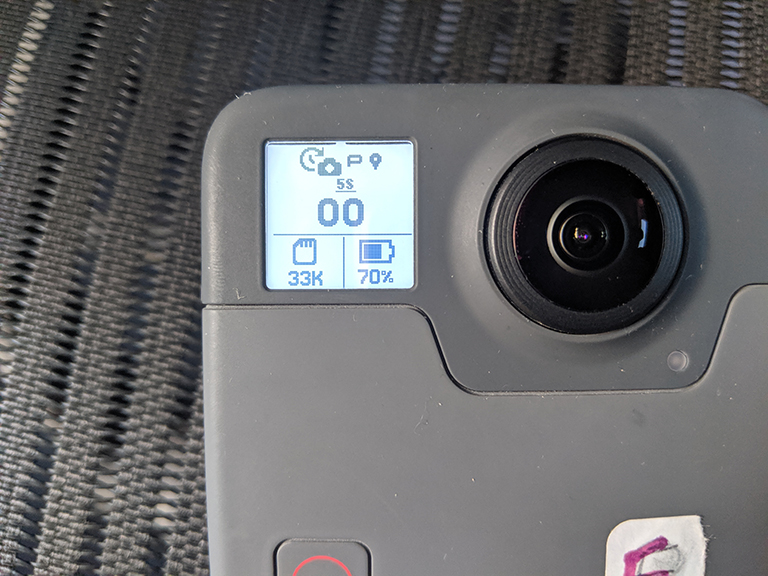
You can setup the GoPro Fusion to shoot time-lapses in 0.5sec, 1, 2, 5, 10, 30 and 60 seconds.
Ideally, as indicated by this post on the Google support forum, Google Street View paths (photos connected with a blue line) should not be greater than 5 metres apart.
I’ve found the following time-lapse settings work well for each method of transport to ensure the 5 metre requirement is met:
- Road Bike (flat) - 0.5 second
- Mountain Bike (flat) - 1 second
- Walk (flat) - 2 seconds
- Stand-up Paddle-board (calm water) - 2 seconds
- Hike (lots of elevation) - 5 seconds
If you plan to shoot when moving at more than 30 km/h (8.333 metres /s), use video mode. At this speed the lowest time resolution of the Fusion’s time-lapse mode (0.5s) will be too slow to capture at 5 metre intervals.
Set at 5.6K video, the GoPro Fusion will shoot at least 24 frames per second – more than enough for tours captured at 100 km/h, if required. Sadly, the number of frames captured per second for each video mode on the Fusion is fixed and can’t be changed (which could have potentially solved the battery life/heat issue).
Enabling GPS
It is important each photo is tagged with GPS co-ordinates so that it can be correctly mapped. If not, you’ll have to do this manually.
Fortunately the GoPro Fusion will add GPS co-ordinates to the front facing photos it captures (GF) if GPS mode is turned on. These co-ordinates are then stitched into the resulting 360-degree photo file by GoPro Fusion Studio in post-processing.
To learn how to enable settings, read the GoPro Fusion manual here.
When on site you can see of the camera is locked on to GPS on by ensuring the pin icon is a solid black colour (as shown in the photo above).
A word of warning
Some of our test cameras produced corrupt GPS data (the same co-ordinates were reported for all photos). We noticed this occurred when the camera locked on to the GPS signal immediately after the camera was turned on.
My guess is this happens due to overheating because the problem seemed to occur after turning the camera off and on again after shooting for long period of time.
If the camera locks on to the GPS signal immediately, remove the battery and let the camera cool down for 5 minutes. Then reinsert the battery and restart the camera.
The camera should take 5 - 60 seconds to lock on to the GPS.
Other metadata considerations
The downside of using time lapse mode on the GoPro Fusion is that heading, pitch, and roll of each photo is not includes, unlike when using the video mode.
Preparing the kit at home
Here is the check list I go through before leaving to shoot:
- Are the batteries are fully charged and is one in the camera? Have you packed a spare?
- Do the MicroSD cards have enough free space for everything you plan to shoot? Are they both in the camera?
- Is the monopod in/on the pack (including GoPro mounts and screws)?
- Have you enabled GPS mode?
- Is time-lapse mode on the correct interval for the type of transport you will use to shoot?
- What is the weather like? Have you checked the best source of weather information available for the location?
I do a final check by turning the camera on and taking some test time-lapse photos.
Setting up the kit on site
The kit can be setup in minutes.
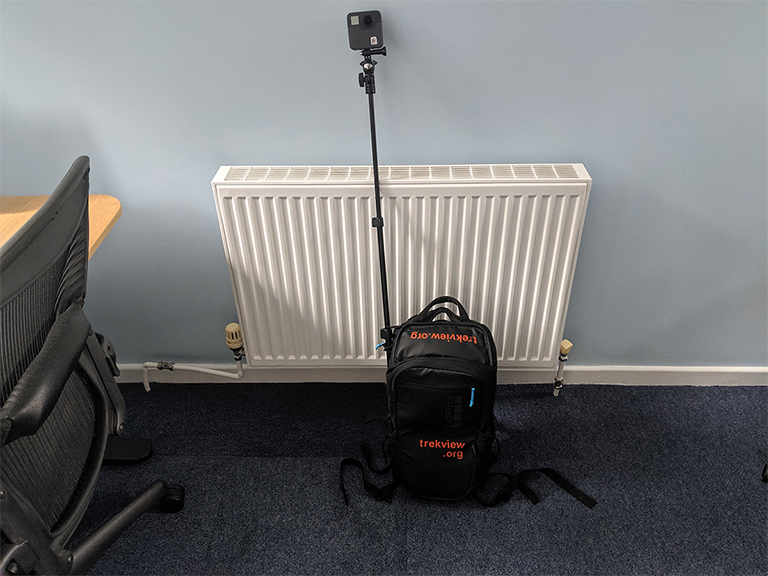
First mount the monopod to the side of your backpack and ensure it doesn’t move around with momentum. I keep the monopod secured and attached to the side of my backpack even when it’s not in use. This means I can simply attach the camera and raise the monopod when I’m ready to shoot.
Attach the GoPro Fusion to the monopod using the GoPro mount and screws. Make sure it’s tight so the camera doesn’t move. Don’t spend to much time making it perfect, as this can be fixed when processing the photos later.
The Fusion does have a front and a back (the front has the screen), though don’t worry if you discover you’ve placed the camera the wrong way round because this too can be fixed in post-processing.
Capturing the Tour
Put on the pack, set the mode to time-lapse (ensuring the settings are correct), make sure that the GPS is locked on (the GPS pin icon is a solid colour), and start press the red button.
When shooting, try not to move your torso around too much, but remember to enjoy the environment around you too.
The only other thing I would recommend is, when shooting in timelapse capture a series of photos in batches. Stop/start the time-lapse every 10 or 15 minutes. This means photos can processed in batches, rather than one single series, which can be useful for reasons I’ll describe in part 4 (hint: software crashes).
The GoPro Fusion has a two very helpful options for shooting tours in batches;
- Voice Control: You can enable the GoPro Fusion’s voice control (think Siri, Google Assistant, etc.). You can start capturing time-lapses by saying, “GoPro Start Time Lapse”. A full list of voice commands can be viewed here. Don’t forget to set the time lapse settings correctly first because you can’t do this using voice control. Oh and, “GoPro That Was Sick”, is also useful for keeping a personal record of interesting things you see on your journey.
- GoPro Smart Remote (recommended): When shooting a tour where the camera can be 1 metre above your head the Voice Control feature can easily miss instructions. Add in a small amount of wind (e.g. riding a bike) and this feature becomes unusable. Good news, the GoPro Fusion works with the GoPro Smart Remote that can start and stop video or time-lapse captures.
Regardless of whether you choose to shoot in batches or not, there will be no difference in the final imagery.
Be prepared for questions
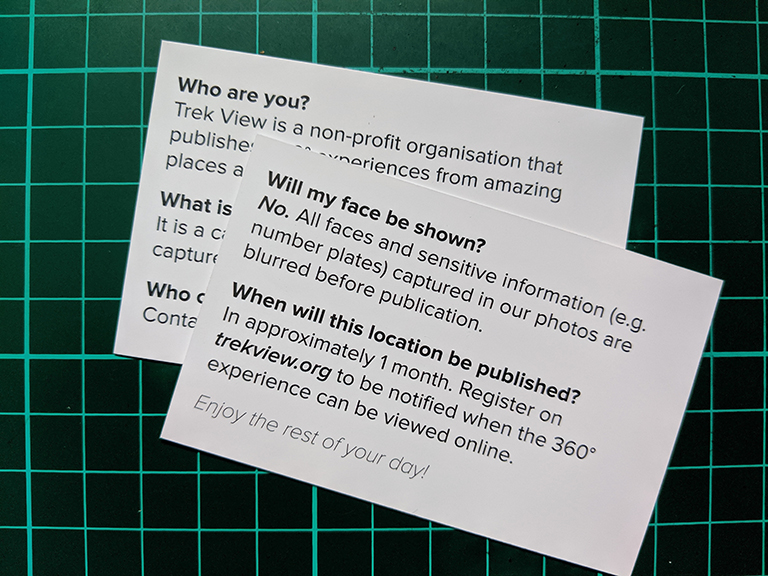
Many people will be intrigued by your Trek Pack. Be prepared for questions.
We encourage Trekkers to share what they’re doing with others, and why.
Many people will, rightly, be concerned about their privacy. Be prepared to tell them how your photos will be used.
Make sure you comply to local laws around public photography too.
Disclaimer: I’m not a legal professional.
We're building a Street View alternative for explorers
If you'd like to be the first to receive monthly updates about the project, subscribe to our newsletter...
