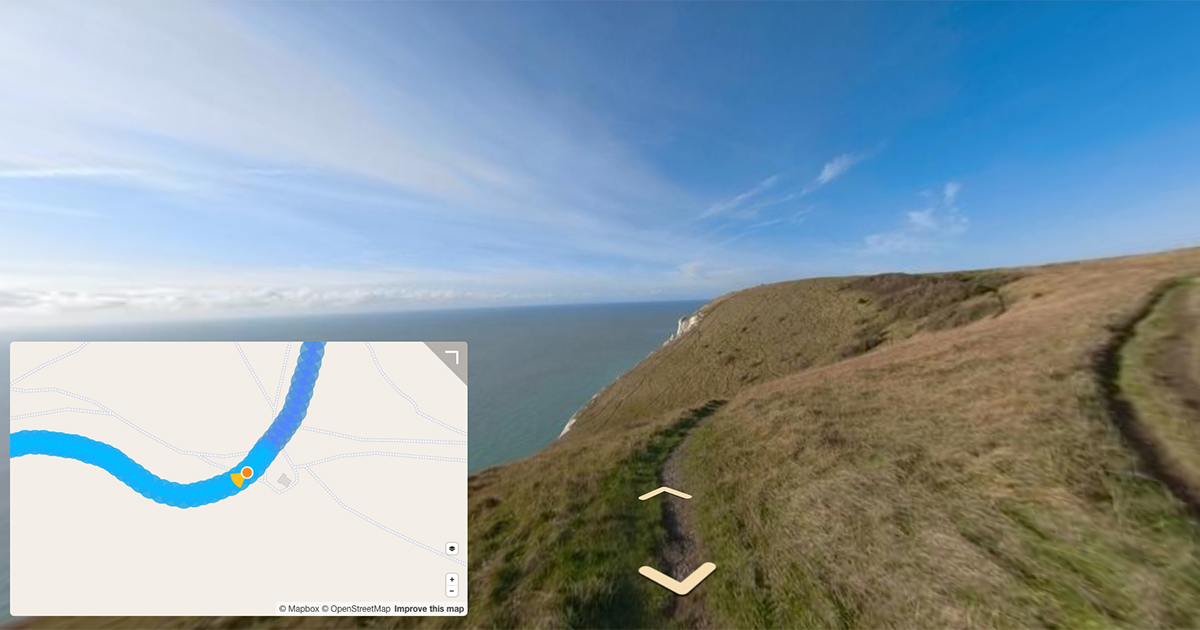
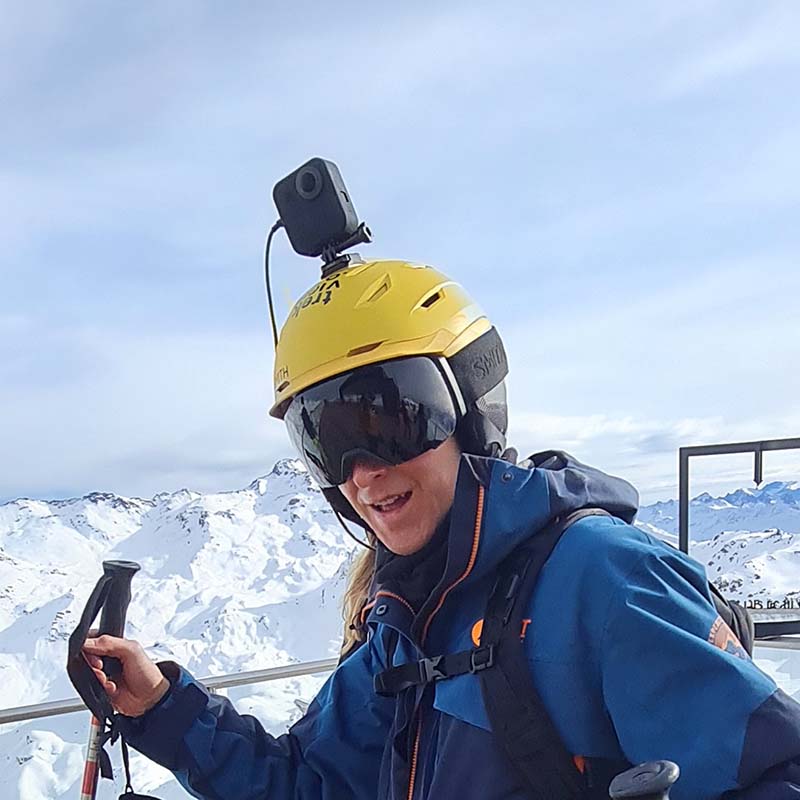
How to create the perfect 360-degree photo for Google Street View, and the things I’ve learned using GoPro Fusion Studio.
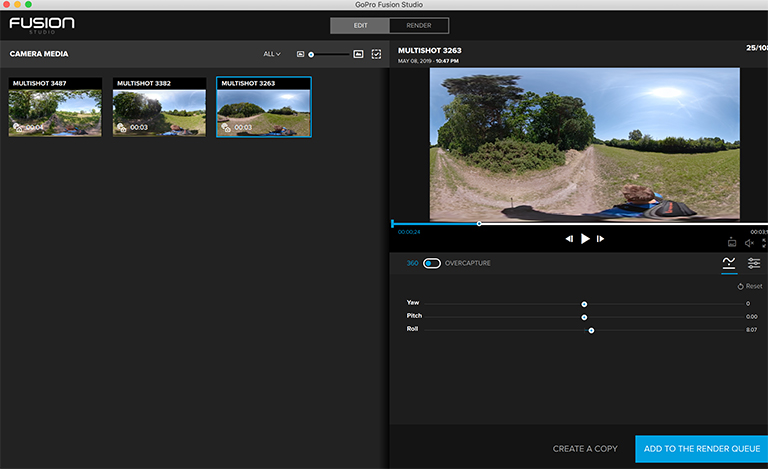
GoPro Fusion Studio
When you get home, you’ll have two memory cards full of photos; one set taken by the front camera, the other by the rear facing camera on the GoPro Fusion.
GoPro have built a very simple piece of software, GoPro Fusion Studio, to stitch the two together to produce a 360-degree photos.
The photo files
You can ignore this part entirely if you just want to plug in your GoPro Fusion Camera via USB to create your 360-degree photos. If you want to understand a bit more about what’s stored on the MicroSD cards, read on…
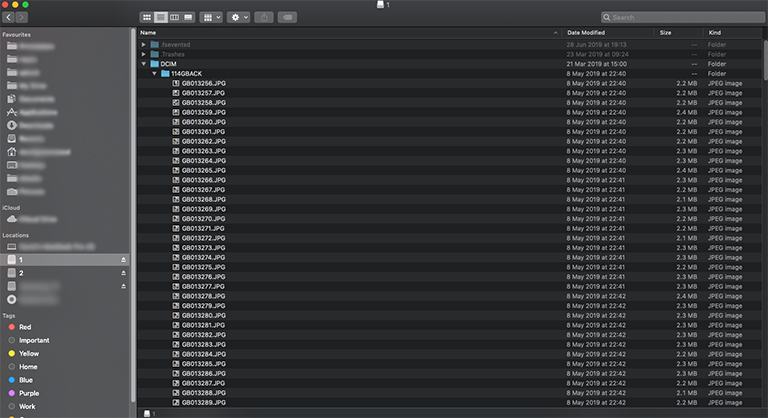
You’ll be able to tell which photos are from the front and back by examining the file prefix (GF = Front, GB = Back).
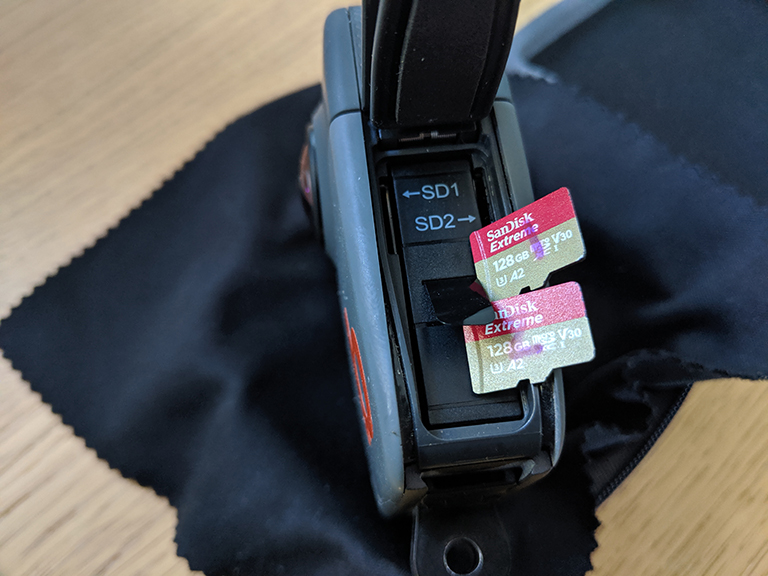
Protip: rename (and physically mark) your MicroSD cards as “1/F” and “2/B” so you can easily identify them. They are formatted as front and back by the GoPro Fusion camera when first used and subsequently placing them in the wrong slot will result in errors. The battery points out the correct slots for each card.
The front photo files hold all of the GPS information in their EXIF data.
Using GoPro Fusion Studio
You can connect the GoPro Fusion to your computer using the supplied USB cable or point the software to where the photos are stored on your computer.
After shooting, I copy the front and back files for each segment of the tour into individual folders on my computer. Often the first and last 20 photos will be me setting up the camera. Occasionally I am also disturbed mid-tour (usually by animals) too. By moving to my computer first I can remove photos that I want to delete from the tour before processing.
If you do start deleting photo pairs before stitching, make sure you delete the pair (e.g. GF023401 and GB023401). If you have uneven number of photos GoPro Fusion Studio will not load the photos and show an error.
GoPro Fusion Studio settings
Once you’re photos are loaded, have a play with some of the settings.
The key ones I tend to modify are:
- Yaw: rotation around the front-to-back axis (use if camera facing left or right)
- Pitch: rotation around the side-to-side axis (use if camera facing up or down)
- Roll: rotation around the vertical axis (use if camera tilted to left or right)
Still unsure?
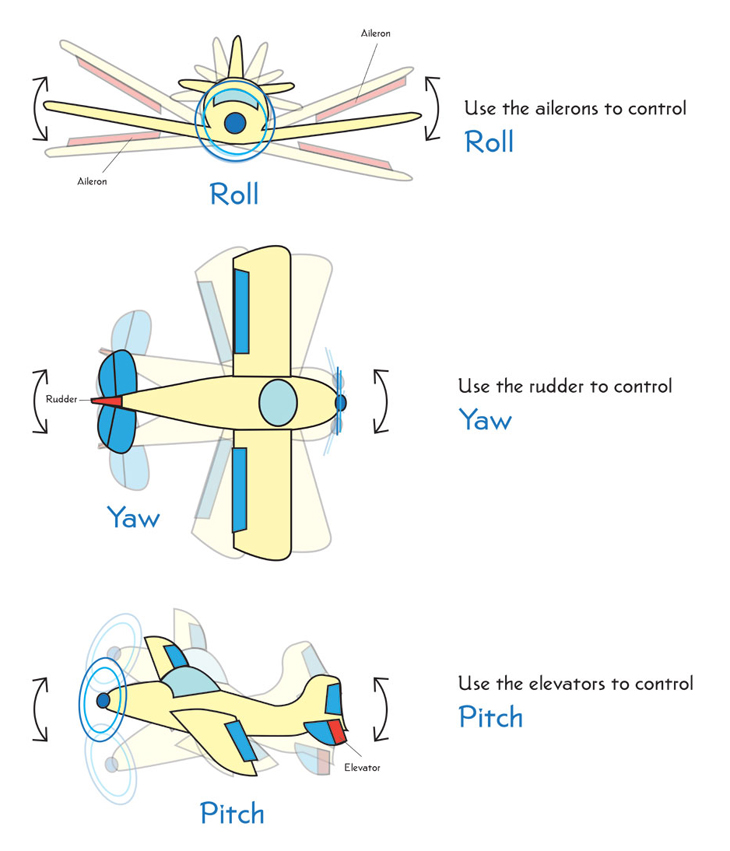
It’s the same basic logic as you’ll be taught if you ever learn to fly. Simply replace the plane with a camera in the diagram above.
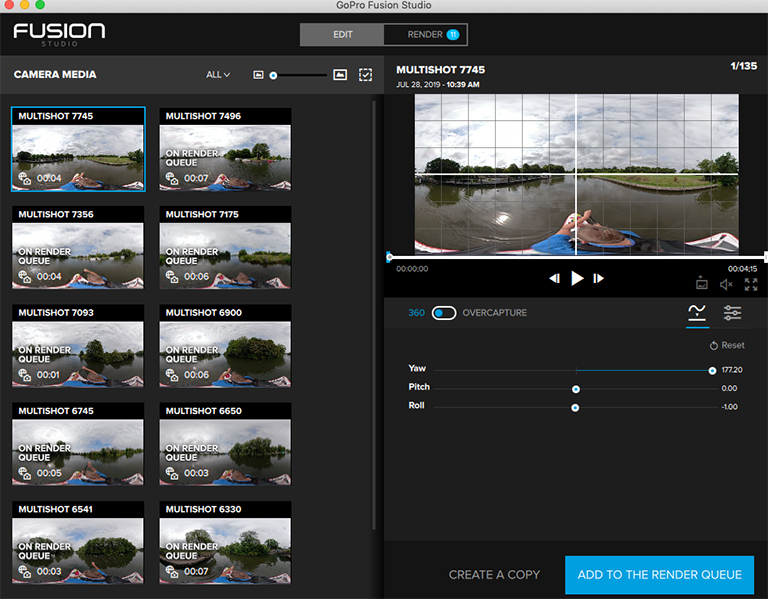
Use the sliders to try and line up the horizon and make sure the centre of the photos is straight ahead.
Make sure to move the time selector to different points to see if your settings look good. You might have the odd photo that was taken at a wonky angle (I have many like this where I’ve bent down or slipped) which is why checking against a larger number of photos is advisable.
The “grab a 360 photo” tool is also useful to test your modifications. Using a 360-degree photo viewer (e.g. Insta360 Player) you’ll be able to see if everything is level and as expected.
Note, don’t mess around with the colour settings too much, if at all. If you plan to upload to Google Street View, images where colouration has been significantly modified (think Instagram filters) will be rejected by Google.
You might notice GoPro Fusion Studio does not stitch a 100% true 360-degree photo due to small blind-spots between the two GoPro Fusion lenses. These blind-spots are virtually unnoticeable in the stitched photos, and in fact work as an advantage to ensure the photo does capture monopod stand.
Once complete, select all the tour segments and add them to the render queue.
GoPro Fusion Studio rendering
Rendering = stitching.
You have a few more options to select here.
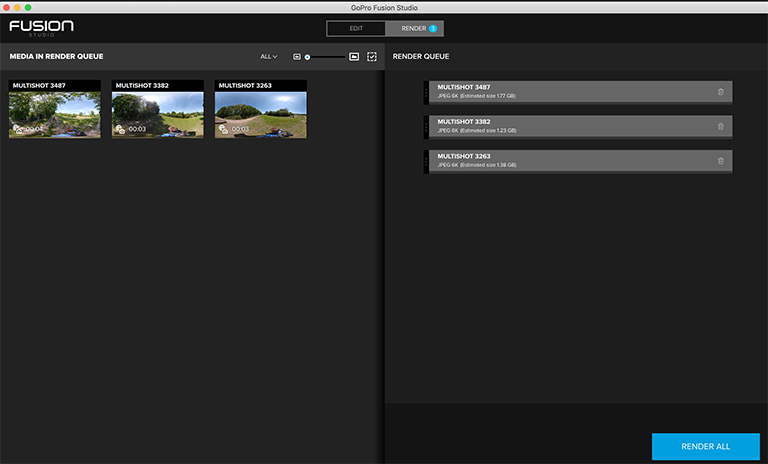
Make sure to select the highest resolution possible if you plan to upload to Street View (they must be at least 4K).
If you shot in time-lapse mode, set the video codec to JPEG OR TIFF. This will produce individual photos.
Note: you can stitch time-lapse photos to video files using GoPro Fusion Studio, however, I have found these are incompatible with Google Street View with Google rejecting the video file. You must therefore record in video mode on the GoPro Fusion to produce a Street View compatible output using GoPro Fusion Studio.
I prefer individual photos over video as it allows me to easily manage what I and what I don’t upload. It’s easy to delete photos you don’t want versus cutting up video files.
Before rendering, check the output location on your machine for stitched photos is correct. You can view or modify this location under “Preferences”.
A word of warning
Rendering in GoPro Fusion Studio is memory intensive. I use a MacBook Pro with a good CPU (i7 processor) and 16GB of RAM. Whilst fairly powerful, the rendering process will make my computer unusable until the process completes. As a rough estimate, on my computer it takes 10 minutes for every 1GB of photo output.
Note: Stitching video captures to video files is noticeably quicker and results in a significantly smaller output size.
In any case, time to make a cup of tea…
We're building a Street View alternative for explorers
If you'd like to be the first to receive monthly updates about the project, subscribe to our newsletter...
