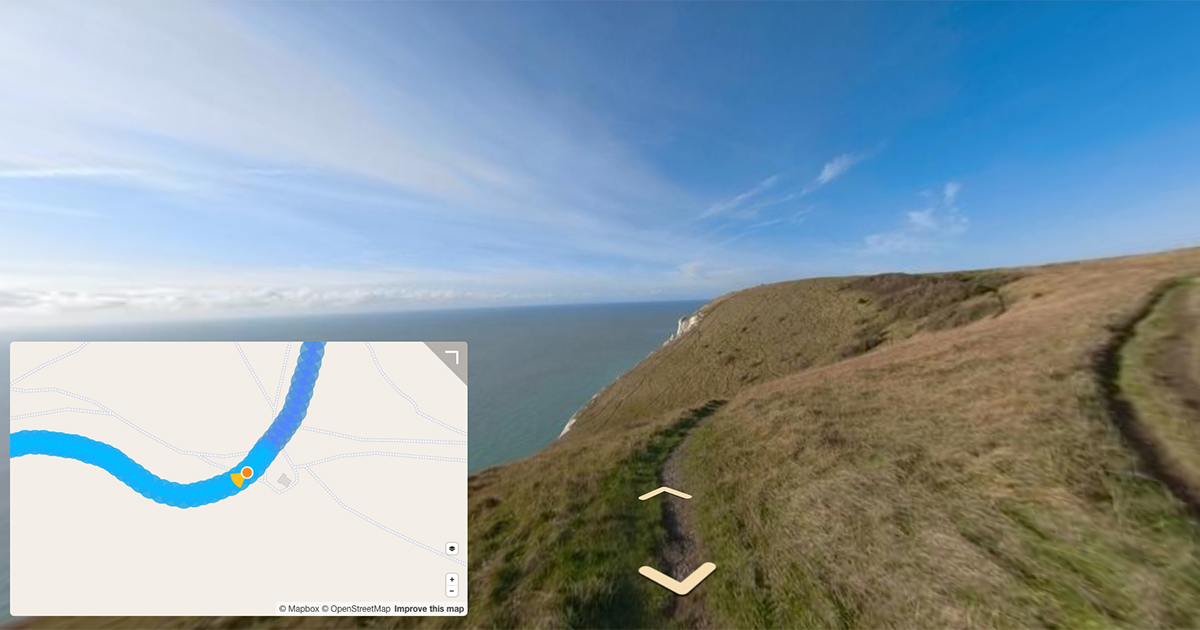
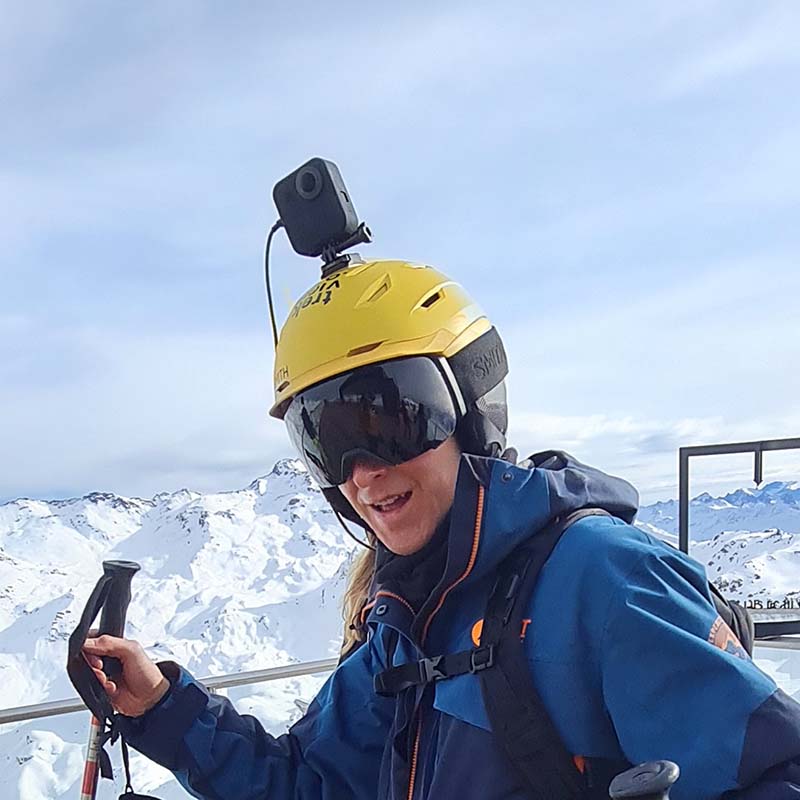
A proof-of-concept for capturing 360-degree tours of cycling adventures.
Bicycles are by far my favourite method of transport. It was only a matter time before I decided to start capturing some of my rides using a 360-degree camera.
After a little research, I stumbled across the Google Street View tricycle.
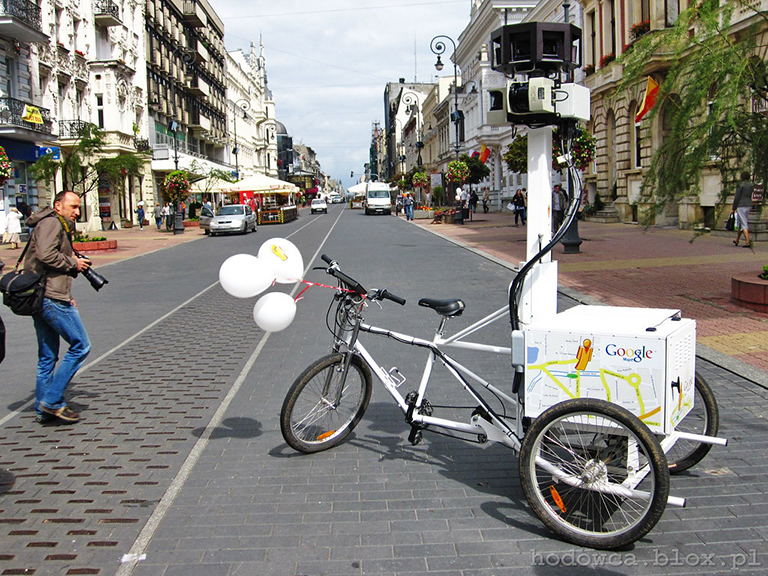
It’s quite something, isn’t it?
Sadly my budget wasn’t going to stretch to a custom built bike, so I decided to build my own using equipment already in my garage.
Problems biking with the Trek Pack
For simplicity (and cost), I originally wanted to use a Trek Pack to shoot tours.
However, the vibrations, torso movements, etc. encountered on a bike often caused problems. From camera roll to shaking the camera out of position.
It became clear that I would need to secure the monopod to the bike frame rather than my body.
Solutions for mounting the camera
Similar to the criteria for building the Trek Pack, one of the key requirements was to mount the camera above my head for the largest field of view.
I also wanted something that could easily be detached from the bike yet still be very rugged.
Looking through my garage I already had an adjustable pannier rack, an old plastic crate, and, crucially, lots of zip ties.
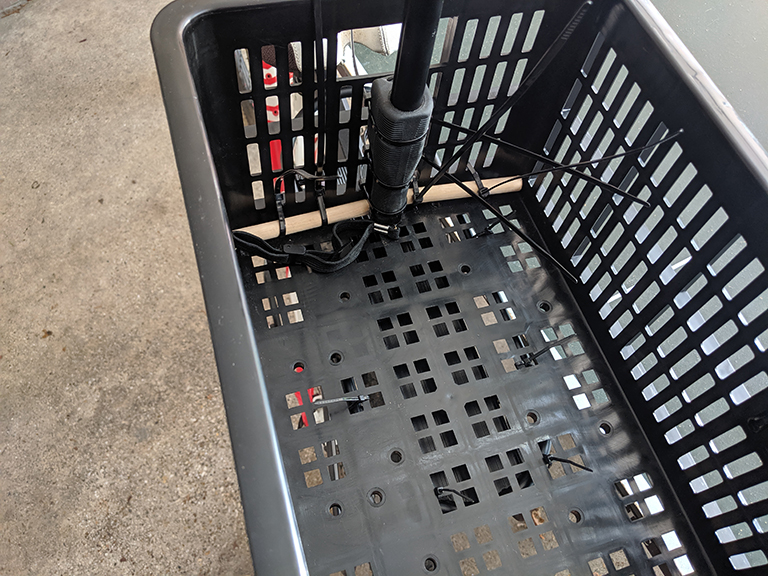
Securing the monopod to the frame was simple. I just had to ensure they were tight to hold the monopod in position. To account for more violent movements, I cut two pieces of wood to press the monopod in place.
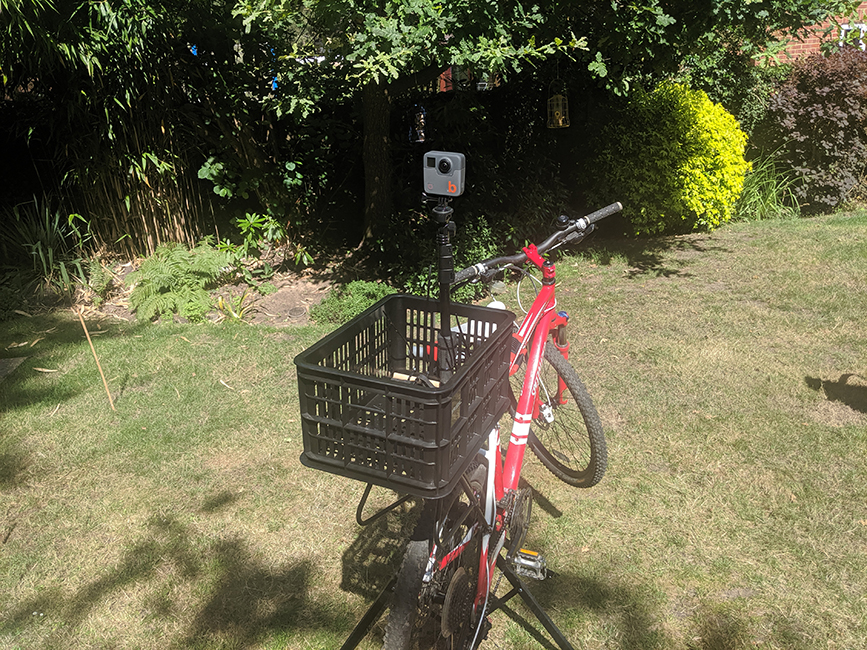
On well maintained gravel tracks with clear headroom this mounting system is perfect.
The yaw, pitch, and roll of the images remains stable throughout. The GoPro Fusion’s shutter speed is more than adequate, even when moving at 30km/h.
Controlling the start and stop of time-lapse captures using a GoPro Wireless remote mounted to the handlebars also means I can break up tours for post-processing easily whilst on the move.
However, on fast, uneven downhill mountain bike trails it falls way short (yet, ironically, is also too tall).
Limitations of the proof-of-concept
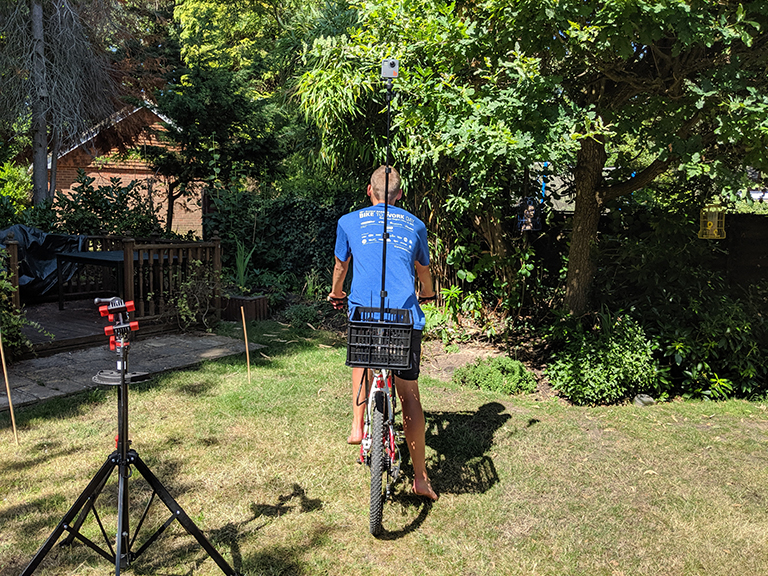
The plastic frame of the basket and plastic zip tie mounts have too much flex because of the forces put on it by the monopod extended to almost 2 metres.
To try an reduce the stress, I reduced the length of the monopod to just above my head, though on fast and uneven trails, the flex in the plastic is still a problem.
This itself poses its own problem for such trails, which are often littered with low hanging branches.
In the coming weeks I’m going to search out new parts to improve my existing proof-of-concept. This includes a studier basket, ideally with a strong metal frame to form a better mounting system.
If anyone has any ideas or recommendations for a detachable and affordable camera mounting system that will work on a wide range of bikes, please do email me.
In the meantime I’ll stick to scenic trails.
We're building a Street View alternative for explorers
If you'd like to be the first to receive monthly updates about the project, subscribe to our newsletter...
