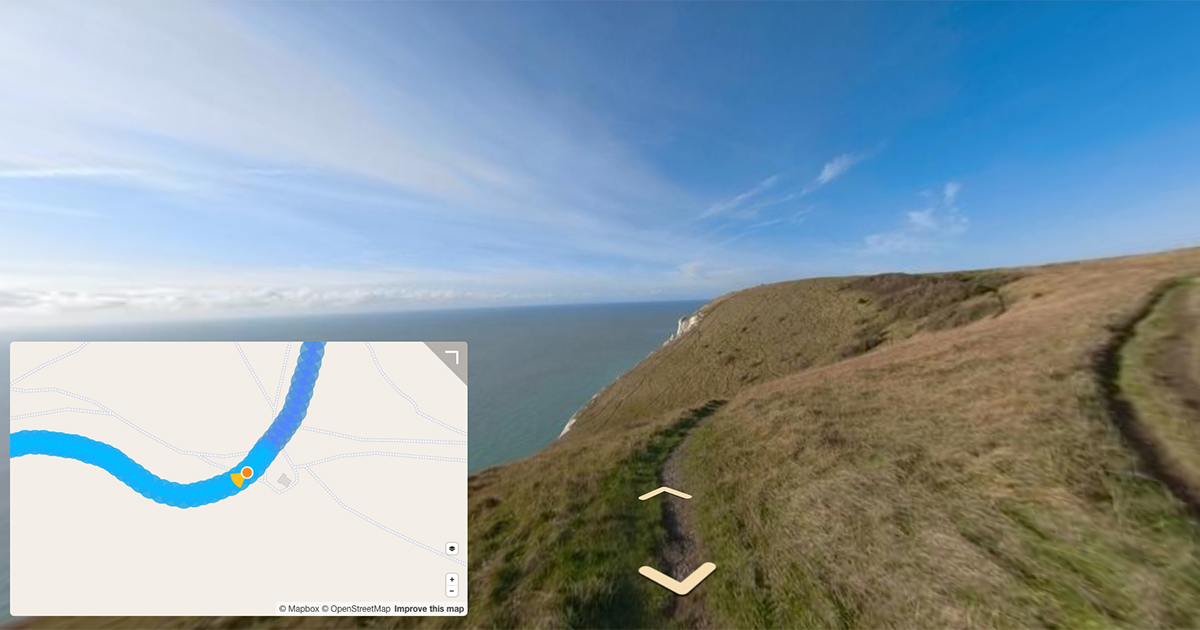
In the second part of this post I will show you how to add metadata to images previously extracted from frames.
Last week I showed you how to split a 360 video into frames.
However, the frames extracted using ffmpeg did not copy over vital metadata like capture time and GPS data used for mapping.
The next step is to re-embed the video metadata into the extracted frames.
I’ll be using the same video to demonstrate this process as the one used last week.
You’ll need EXIFtool installed to manipulate the telemetry.
1. Extract metadata track from video file (for telemetry information)
The finer details of this process are detailed here (and you should read this before continuing).
$ exiftool -ee -p gpx.fmt VIDEO_7152.mp4 > VIDEO_7152.gpx
This will give you a .gpx file names VIDEO_7152.gpx.
Note, this a simple extraction and only preserves GPSLatitude, GPSLongitude, GPSAltitude and GPSDateTime values. In many cases the telemetry track also includes other sensor data including pitch and heading.
2. Extract global metadata (for camera info, etc.)
This process is described in more detail in the section of this post titled, extracting metadata for video level:
CLI input:
$ exiftool -G -a VIDEO_7152.mp4 > VIDEO_7152_metadata.txt
This will give you a text file called VIDEO_7152_metadata.txt
3. Add timestamps to frames
Before you can add the GPS track you need to add the time each frame was taken (the datetimeoriginal EXIF value of the image).
To calculate the time the image was taken, two pieces of information are needed; the start time of the video, and the spacing (time) between frames defined when splitting the videos into frames.
In last weeks example the spacing of frames is 1 second (-r 1).
$ ffmpeg -i VIDEO_7152.mp4 -r 1 FRAMES/img%d.jpg
WARNING
Videos are stitched on the GoPro Fusion, and a number of other cameras, after the date the time they shot (using desktop software).
This can be problematic.
The CreateDate of the video (extracted during step 1) shows:
[Main] CreateDate : 2020:04:15 09:14:04
This is the date I stitched the file.
But if you look at the first GPS sample time:
[Doc1]          SampleTime                      : 0 s
[Doc1]          SampleDuration                  : 1.00 s
[Doc1]          DeviceName                      : Fusion
[Doc1]          TimeStamp                       : 1066.344245
[Doc1]          CameraTemperature               : 27.048828125 C
[Doc1]          Accelerometer                   : (Binary data 10227 bytes, use -b option to extract)
[Doc1]          TimeStamp                       : 1066.365138
[...]
[Doc1]          GPSMeasureMode                  : 3-Dimensional Measurement
[Doc1]          GPSDateTime                     : 2020:04:13 15:37:22.444
The GPS shows two days previous to the CreateDate. The GPSDateTime is the time I actually shot the video.
Therefore, be careful not to use the CreateDate before being absolutely sure it’s correct.
End of warning
Using this logic, you know img0001.jpg, the first frame, was captured within +/-1 second of 2020:04:13 15:37:22.444 because the SampleTime = 0 s and SampleDuration = 1.00 s.
Using 2020:04:13 15:37:22.444 as the video start data time, you know (given frames extracted 1 second apart using -r 1) that all following frames increment by +1 second.
img0002.jpg at 2020:04:13 15:37:23.444, img0003.jpg at 2020:04:13 15:37:24.444 …, img0018.jpg at 2020:04:13 15:37:39 which matches the video Duration of 15.98 s (2020:04:13 15:37:39.444 - 2020:04:13 15:37:22.444 = 00:00:17. Don’t forget to count from 0 (0s to 16s = 17s).
You can use exiftool to do this pragmatically in two steps (as I discovered thanks to this answer on the exiftool forum)
3.1. First set all images to the same date/time
Set the same -datetimeoriginal for all photos (using first GPS time).
$ exiftool -datetimeoriginal="2020:04:13 15:37:22" FRAMES/
Which will create 18 files with the same DateTimeOriginal = 2020:04:13 15:37:24.
You’ll also notice exiftool preserved the original data creating a set of files with the extension .jpg_original. This is important to consider for step 2.
3.2. Increment the datetimeoriginal values
Now you need to increase each file by +1 seconds from the previous image:
$ exiftool -fileorder FileName -ext jpg "-datetimeoriginal+<0:0:${filesequence;$_*=1}" FRAMES/
On Mac/Linux, use single quotes (‘) instead of double quotes (“) around arguments containisng a dollar sign ($) when uing exiftool.
We created frame files with names ascending numerical order when extracting them using ffmpeg. -fileorder FileName makes sure this command is run in the correct order of frames.
-ext jpg ensures the script only consider files with the extension .jpg.
-datetimeoriginal+<0:0:${filesequence;$_*=1} increments each photo by 1 second. For a different spacing, simply change the value from 1 to whatever other time spacing (in seconds) is required.
The response gives:
    1 directories scanned
   17 image files updated
    1 image files unchanged
1 image files unchanged because this is the first file (img0001.jpg) in the sequence with the correct date (set by making sure files are in ascending alphanumeric order using -fileorder FileName). The original files were omitted because I only wanted files with .jpg extensions (-ext jpg) not the originals with .jpg_original extensions.
If you check the datetimeoriginal in the subsequent files (img0002.jpg - img0018.jpg) you should see they all update by +1, with img0018.jpg ending at DateTimeOriginal = 2020:04:13 15:37:39.
4. Geotag the frames
Now that the frames have datetimeoriginal values you can geotag the photos, again using exiftool, using the track file extracted during step one.
exiftool -ext jpg -geotag VIDEO_7152.gpx FRAMES/
exiftool loads the GPS track log file, and matches the GPS position time with the time of the image to determine and tag its location.
Other track formats
exiftool also supports the following telemetry track formats in addition to .gpx, should you have used a separate GPS logger.
- NMEA (RMC, GGA, GLL and GSA sentences)
- KML
- IGC (glider format)
- Garmin XML and TCX
- Magellan eXplorist PMGNTRK
- Honeywell PTNTHPR (see Orientation)
- Bramor gEO log
- Winplus Beacon .TXT
- GPS/IMU .CSV
- ExifTool .CSV file
5. Add EXIF/XMP tags
There are a variety of other fields in the original video metadata you will want to include into each image file.
For example, the cameras make or model. For 360 images this will also include XMP tags to define the projection type (so it’s loaded correctly by 360 viewing software).
You can see a full list of tag formats and the exiftool supported tags here.
During step 2, I captured the original metadata from the video. e.g.
[Composite] Image Size : 3840x1920
You can now use these values to determine the tag values to inject.
exiftool -make="GoPro" -model=Fusion -ProjectionType=equirectangular -UsePanoramaViewer=True -CroppedAreaImageWidthPixels=3840 -CroppedAreaImageHeightPixels=1920 -FullPanoWidthPixels=3840 -FullPanoHeightPixels=1920 -CroppedAreaLeftPixels=0 -CroppedAreaTopPixels=0
These EXIF and XMP values provide enough metadata to upload to Mapillary, and Google Street View… though you can add other tags as you wish.
We're building a Street View alternative for explorers
If you'd like to be the first to receive monthly updates about the project, subscribe to our newsletter...


